I chill my cake 15-20 minutes until the buttercream firms up like clay, then press my stencil flush and pin the edges so nothing shifts.
I load my icing, slightly thicker than toothpaste and spreadable but stubborn, and scrape at a 45-degree angle with a bench knife in one clean stroke.
After 30 seconds, I lift smooth and upward. No gaps, no bleeding, just crisp edges.
Each step follows a specific sequence that produces clean, repeatable patterns consistently.
Choose Your Surface: Buttercream, Fondant, or Royal Icing Base
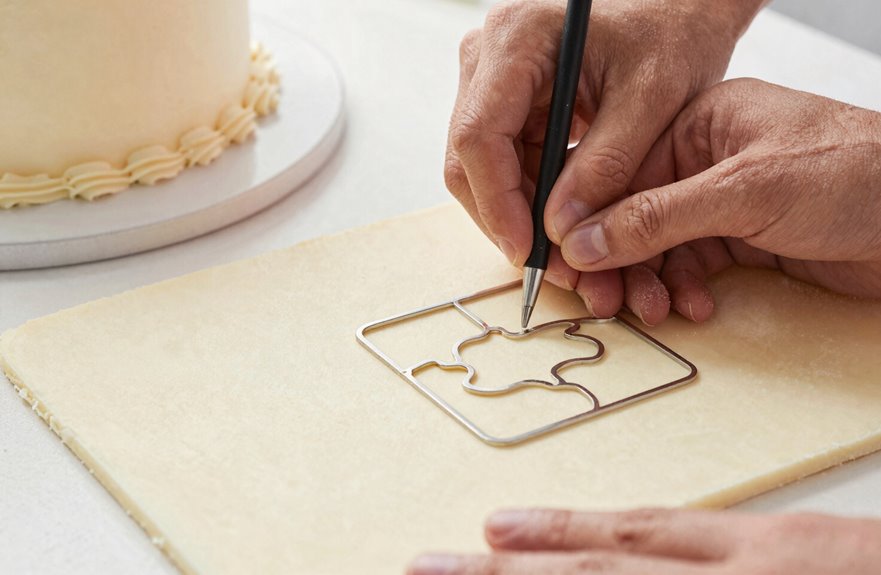
First, pick the right base for your stencil work, since each surface demands a slightly different approach.
Buttercream: Chill your cake for 15-20 minutes until the buttercream firms to a workable hardness, like clay rather than cream. This chilling step prevents smudging. Press your stencil flush against the chilled buttercream and pin or tape the edges so nothing shifts. Use either stiff icing or royal icing, scraping excess clean for crisp results.
Fondant: Wait until it’s set (about 2-4 hours), then chill briefly. Secure your stencil flush with light pressure or edible glue dots. Royal icing works best here, though edible spray works too. The key is preventing seepage: apply an even layer of medium that’s thin enough to dry quickly but thick enough to cover.
Royal icing as a base: Details follow next.
Get the Right Consistency for Your Stencil Medium
How do you know your icing’s ready for stenciling? Consistency separates amateur blobs from bakery-worthy designs. Your royal icing or buttercream should feel slightly thicker than toothpaste, spreadable but stubborn.
Too soft? You’ll battle seepage underneath your stencil. Too stiff? It won’t smooth, and cracks threaten. Follow these steps:
- Test on parchment before touching the cake
- Adjust with drops of liquid or pinches of icing
- Chill the cake 20 to 30 minutes if using buttercream
Cold firms the surface, giving your icing scraper the crisp edge you need. When I load piping bags, I check again since temperature shifts change everything. If spreading feels off, pause and chill the stencil area 5 to 10 minutes. Consistency directly determines your results.
Apply, Scrape, and Lift Your Stencil Without Smudging
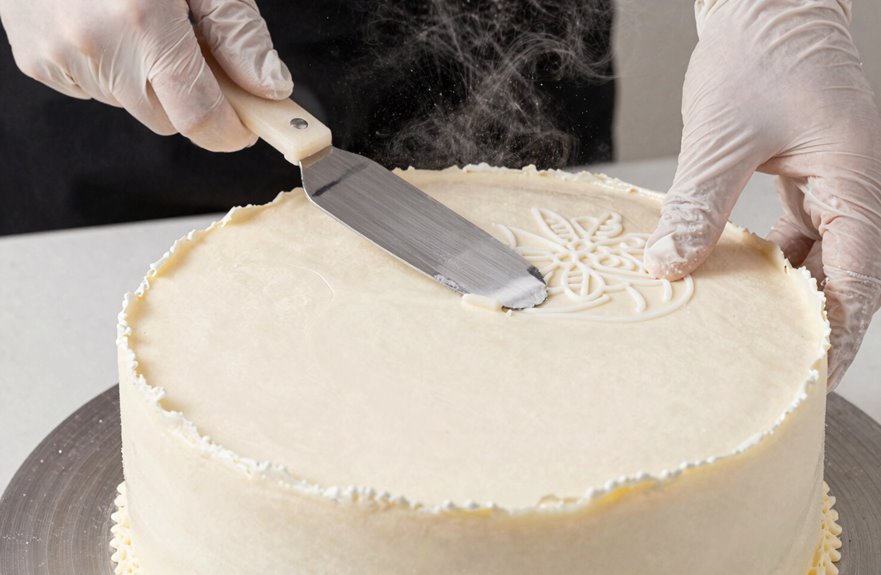
Why do stencils smudge? It happens when frosting consistency is wrong or we rush the lift. Pros nail clean pattern transfer every time by following these steps.
First, chill your base frosting to 65-70°F until it’s firm but not hard, about 15 minutes in the fridge. Position your stencil flush against the surface; gaps invite bleeding. Apply icing generously with an offset spatula, working from the center outward.
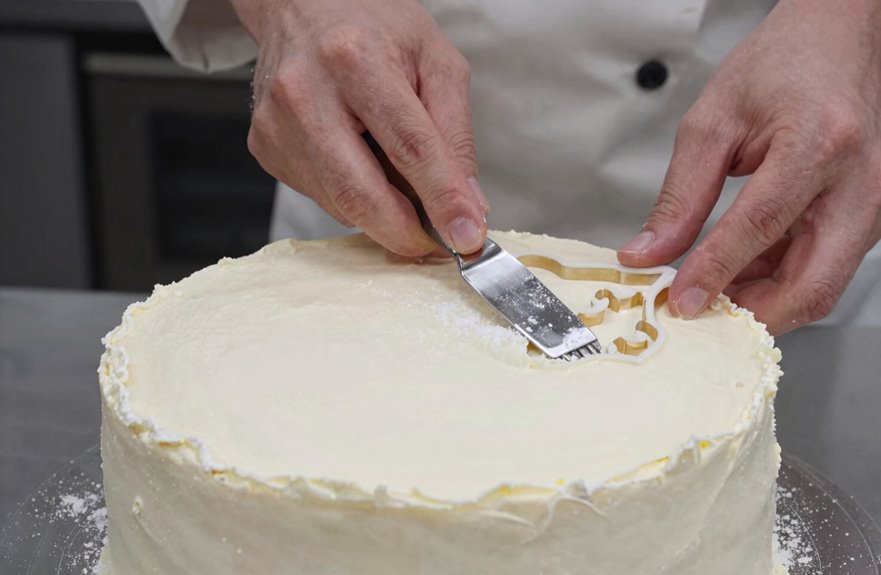
Grab your bench knife. Hold it at a 45-degree angle and scrape firmly across the stencil in one direction. Remove all excess in one pass with a clean sweep.
Wait 30 seconds to set the surface. Then execute the critical step: lift the stencil in one smooth motion, peeling straight up. No wiggling. No hesitation. Your pattern stays crisp and maintains the sharp definition that distinguishes professional results.
Fix Bleeding, Gaps, and Blurred Stencil Edges
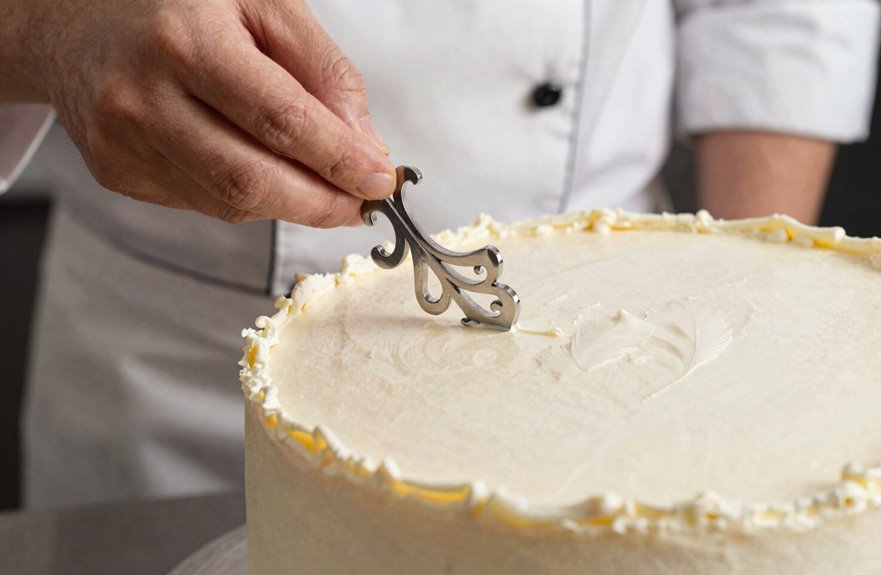
Even the steadiest hand encounters challenges like bleeding edges, gaps where frosting seeps through, and patterns that blur instead of popping. Prevention is more effective than repair.
To stop stencil bleeding, keep your icing consistency slightly thicker than toothpaste. This single adjustment prevents seepage under delicate damask patterns. Before applying to cake, test on parchment. A stiffer royal icing produces clean transfers without complications.
Fix-it checklist:
- Chill frosting for 10–15 minutes so the stencil lifts cleanly
- Use a spatula to spread thin, even layers with no excess pooling
- Lift with a bench scraper in one steady motion for crisp veining and edges
Stencil removal requires patience. Rushing the process will blur your work.
Master Advanced Stencil Techniques for Professional Results
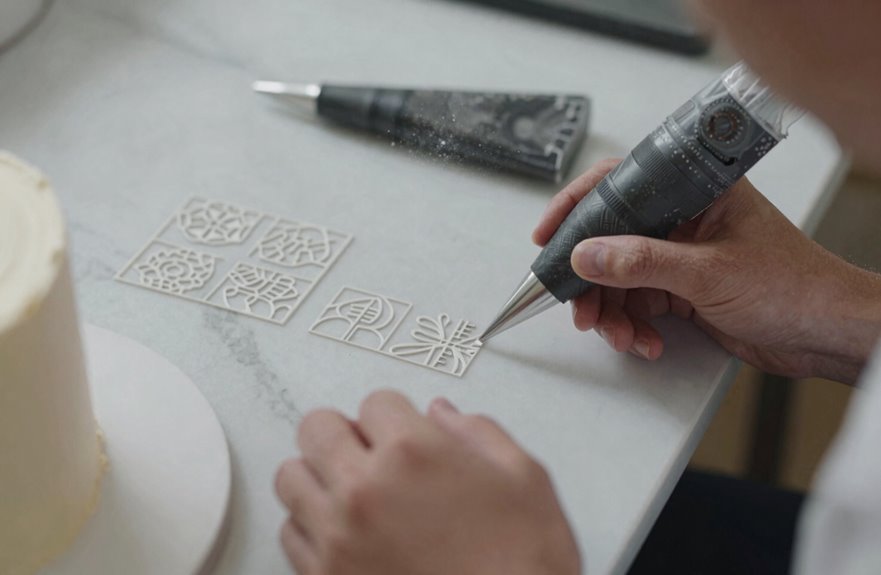
Move beyond basic stenciling by treating your icing state and stencil security as controlled variables. Chill buttercream or royal icing until firm, about 15–20 minutes at 40°F, to prevent bleeding under the stencil. Mix icing to a stiff, toothpaste-like consistency, spread in one direction with a scraper, then execute stencil removal in one smooth upward motion.
For securing the stencil, use pins, tacky fondant edges, or a dab of shortening at corners to prevent shifting. A thin base layer of matching icing beneath enhances color transfer and edge sharpness.
Practice and prep on dummy cakes first. Refine your stenciling techniques on test surfaces by focusing on steady motion, timing, and consistency before committing to the final cake. Precision requires rehearsal.