
These lemon crinkle cookies taste like bright citrus held in a soft, almost pillowy center with edges that turn just crisp enough to contrast. The version here depends on a double sugar coating and a real chill time, not a shortcut, and that combination is what forces the powdered sugar to crack open against the pale gold dough underneath. Plan on about 15 minutes of active work plus at least an hour in the refrigerator, though the texture keeps improving up to four hours.
What Lemon Crinkle Cookies Are
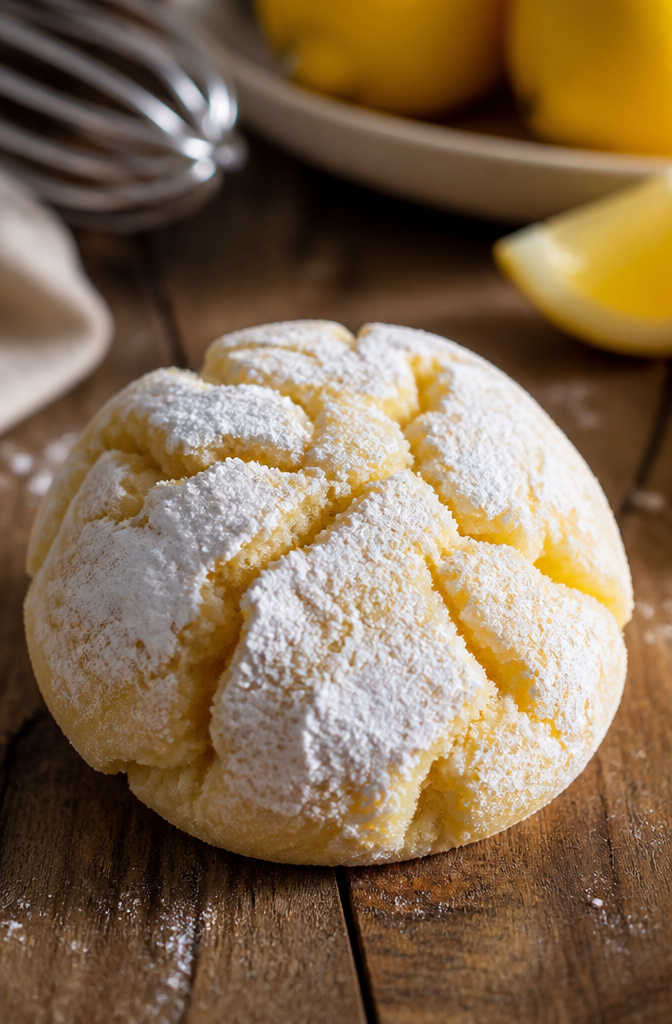
A lemon crinkle cookie lands somewhere between a soft sugar cookie and a chewy brownie, threaded through with bright citrus from both juice and zest. The outside gets a double coating, granulated sugar first and then powdered sugar, which cracks open in the oven’s heat and leaves those white ridges against the pale gold dough underneath.
The texture splits the difference in a way plain sugar cookies rarely manage. Sources describe it as soft and almost pillowy in the center, with edges that turn slightly crisp rather than hard. King Arthur Baking Company puts it at "perfectly between gooey and cakey," which is the single most useful framing I’ve found:
"Flavored with both lemon zest and lemon juice, these cookies have a strong lemon flavor that’s balanced by their coating of confectioners’ sugar…a texture that falls perfectly between gooey and cakey."
That balance matters because lemon desserts easily tip too tart or too sweet. The powdered sugar on the outside buys you room to push the citrus inside.
Yield runs from 18 cookies if you make them large, up to 44 if you keep the scoops small. They’re fair-weather cookies in practice — spring holidays, summer potlucks, winter when you need something not chocolate — though the dough comes together fast enough for an ordinary weeknight if the mood strikes.
Ingredients
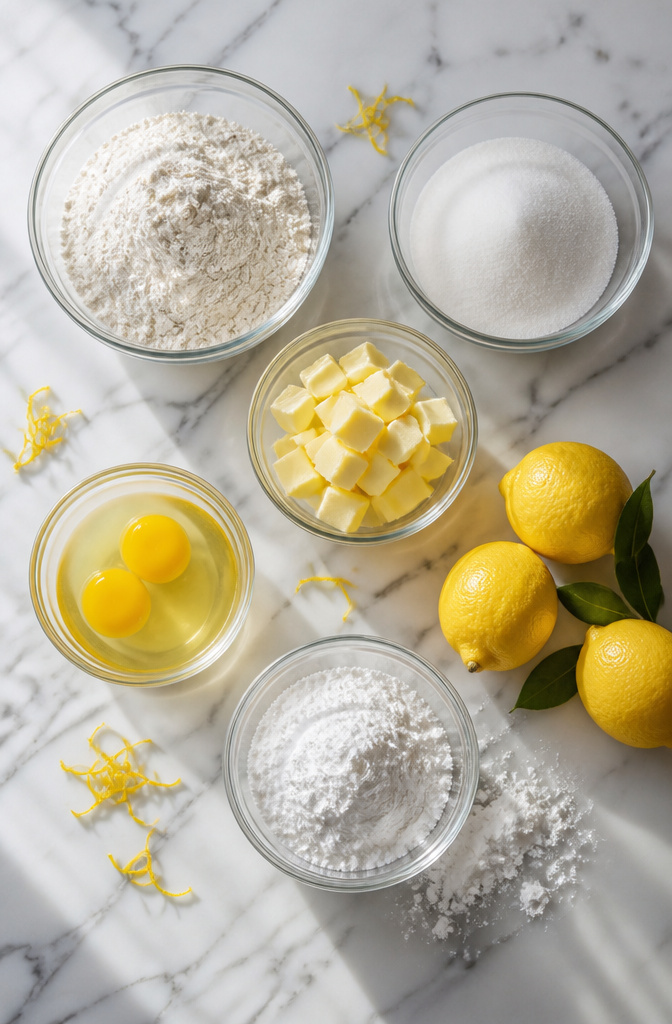
Most of the work in a lemon crinkle cookie happens before you turn the oven on, and the ingredient list is straightforward pantry fare with one non-negotiable exception. Here’s what goes in and why each one matters.
• All-purpose flour forms the base; spoon and level it so the dough doesn’t turn dense.
• Unsalted butter, softened to room temperature, creams with the sugar for the cookie’s structure. Salted butter will throw off the balance.
• Granulated sugar sweetens the dough itself, while ½ to 1 cup of powdered sugar is reserved for rolling. That powdered sugar coat is what cracks into the crinkle pattern in the oven’s heat.
• One or two eggs, room temperature, bind everything without making the dough cakey.
• Baking powder and baking soda both leaven; the combination gives the spread and lift that force the powdered sugar apart.
• Salt and a small amount of vanilla extract round out the flavor.
• Fresh lemon juice, one to two tablespoons, and one tablespoon of packed lemon zest deliver the actual lemon character. Bottle juice tastes flat against the sugar; the oils in fresh zest do the heavy lifting.
• A drop or two of yellow food coloring is optional. It does not change the taste, only the look.
Prepare the Dough
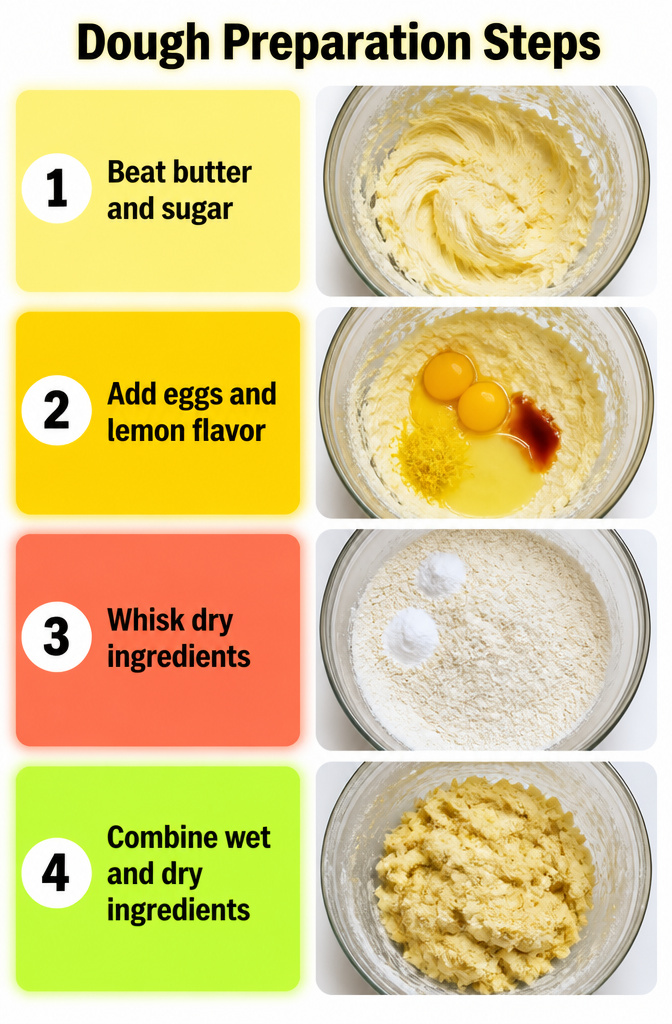
- Beat the butter and sugar until the mixture turns fluffy and pale, somewhere between 2 and 4 minutes depending on the mixer. The creaming method works by whipping thousands of tiny air pockets into the fat, and those pockets are what lift the cookie in the oven before it sets. Start low so the sugar doesn’t spray the counter, then raise the speed as the butter softens.
- Scrape the bowl, then add the eggs, lemon juice, lemon zest, and vanilla. The batter will look a little curdled at first from the acid hitting the fat. Keep mixing until it smooths out and the lemon smell gets strong.
- Whisk the flour, baking soda, baking powder, and salt in a separate bowl. This distributes the leavening so you don’t get a bitter bite of baking soda in one cookie.
- Add the dry ingredients to the wet on low speed and stop the second you no longer see flour. Overmixing develops gluten, and gluten makes cookies tough and domed instead of soft and cracked. The dough should look almost underdone, with streaks of butter still visible; it comes together in the fridge.
Chill the Dough
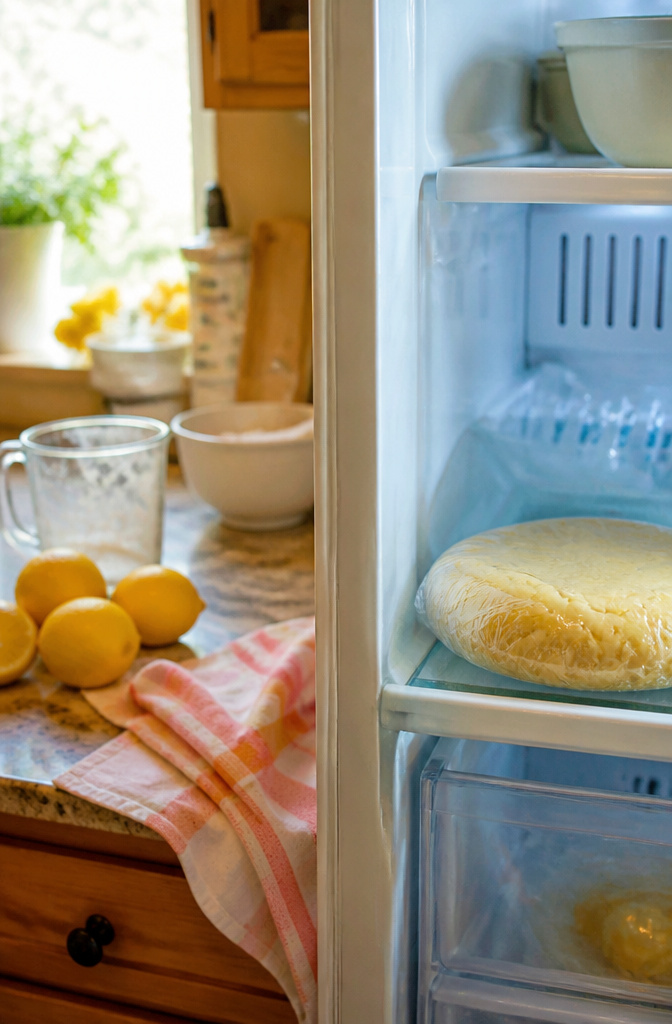
The lemon juice in this dough leaves it soft, almost sticky, and that extra moisture means spread is a real risk without cold time. Chill the dough 1 to 4 hours to firm up the butter and let the flour hydrate; both things keep the cookies thick and fluffy rather than thin and crispy. Overnight works too, and plenty of recipes build that right into the timeline. Three hours seems to be the point where handling gets noticeably easier, though the full four hours gives the most insurance against puddling on the sheet. Cold dough also holds its shape when you roll it in confectioners’ sugar, so that crinkled coating stays on the outside where it belongs instead of melting into the cookie. If you’re tight on time, even a shorter chill helps, but the texture payoff gets better the longer you wait.
Preheat and Shape
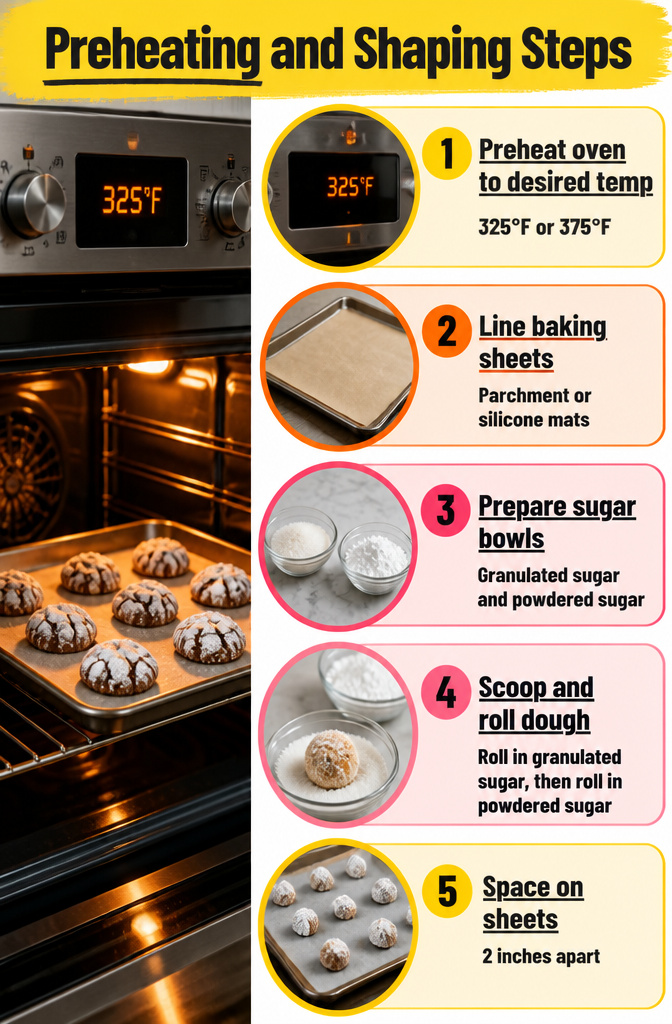
- Preheat the oven to 325°F if you want chewier cookies with softer centers, or push to 375°F for crisper edges. The sources split on this, and it is the first real choice in the recipe.
- Row two baking sheets with parchment paper. Silicone mats work too, though they keep the bottoms slightly softer.
- Set out two shallow bowls: granulated sugar in one, powdered sugar in the other. The two-stage coating is what creates the crackle. Raw dough rolled straight in powdered sugar absorbs it like a sponge and the surface turns pasty. A quick roll in granulated sugar first seals the surface, so the powdered sugar sits on top like dry dust. In the heat of the oven the cookie spreads, that dry shell fractures, and the fissures stay pale against the browned dough underneath.
- Scoop chilled dough into 1-inch balls. Roll each in granulated sugar, then roll in powdered sugar until thickly coated. Do not shake off the excess. The generous layer is what cracks.
- Space the balls 2 inches apart on the prepared sheets.
Bake
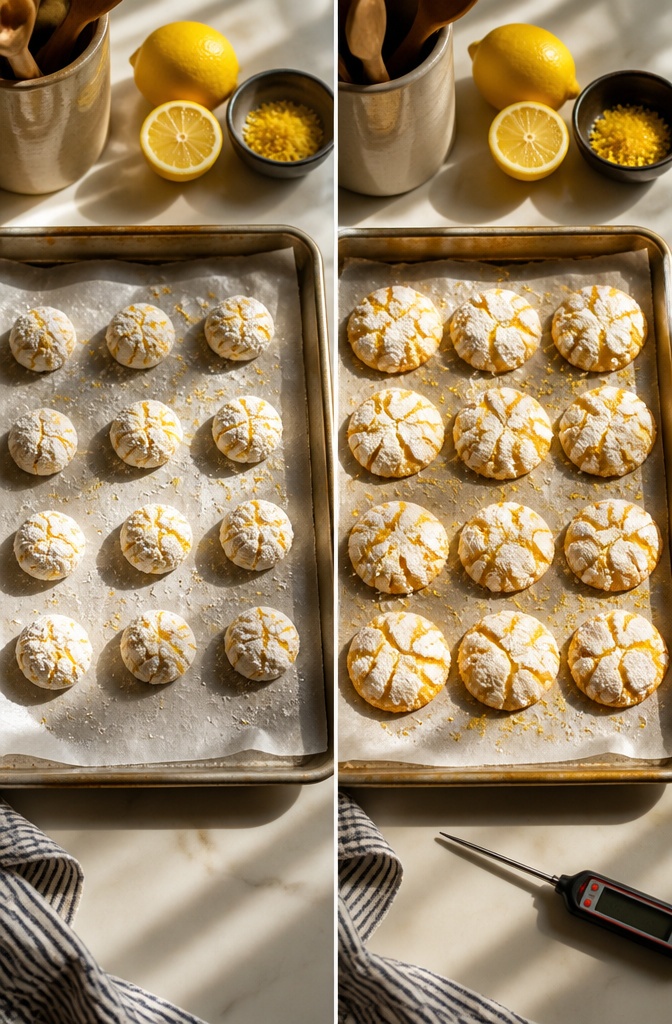
The edges should look set while the centers still carry a slight softness, barely set underneath the cracked sugar top. Pull them at that window and they finish on the sheet; wait until the middle looks fully dry and you get a cookie that snaps instead of bends. I had that happen once and the lemon crinkle cookies never recovered their chew once they cooled.
Temperature sets the texture. A lower oven, around 325°F, keeps the centers plush and the rise taller but the spread stays modest. Crank it to 375°F and the dough relaxes faster, giving you wider cookies with thinner centers and more exposed crackle. The bake time narrows to that 8 to 14 minute range depending on which direction you go, and on size. I’ve found the visual cue matters more than the clock: matte edges, soft centers, no wet shine left where the crackle web opens widest. If they haven’t flattened by the nine-minute mark, pull the tray and bang it on the counter two or three times, hard enough to jolt the structure, then slide it back in. The cookies deflate slightly as they cool; that is normal and desired.
Cool and Store
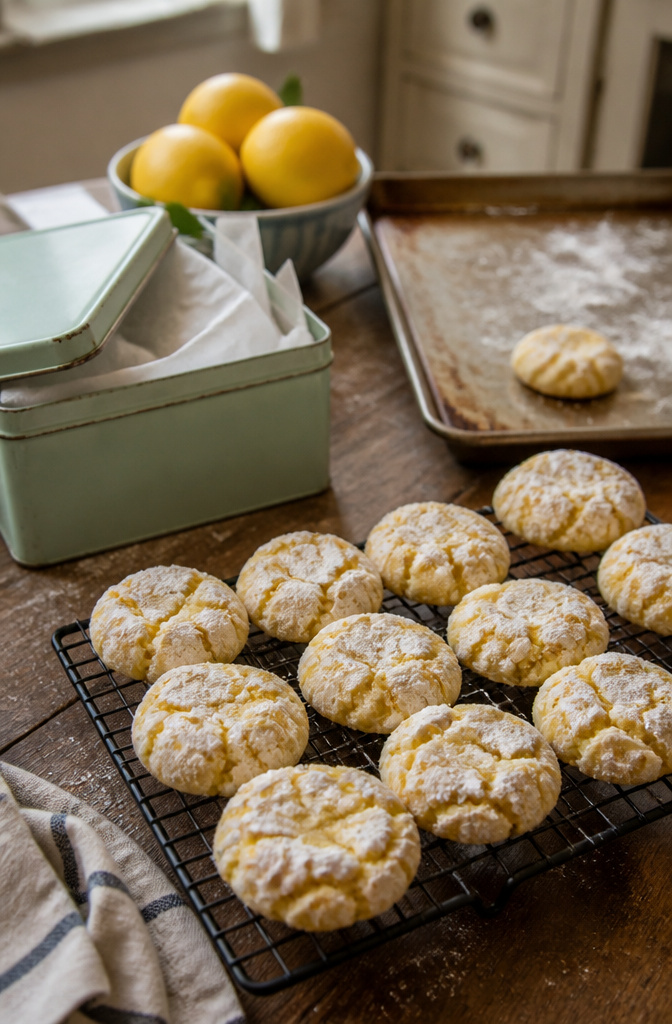
Cool the cookies right on the baking sheet for about 5 minutes before moving them. The centers will still look soft, and they will deflate slightly as they cool. That is normal. Transfer them to a wire rack to cool completely so that the undersides do not steam and soften.
Store the cooled cookies in an airtight container at room temperature for up to 1 week. Some say 10 days, others 3. I land in the middle and check by the fifth or sixth day. If you want a longer life, freeze the baked cookies in single layers between parchment for up to 2 months, though the powdered sugar can absorb moisture and the crinkle pattern will dull. The better move is freezing the dough. Roll the balls, freeze solid on a tray, then bag them. Add an extra 1 to 2 minutes when baking straight from the freezer.
Chilling Time and Baking Temperature
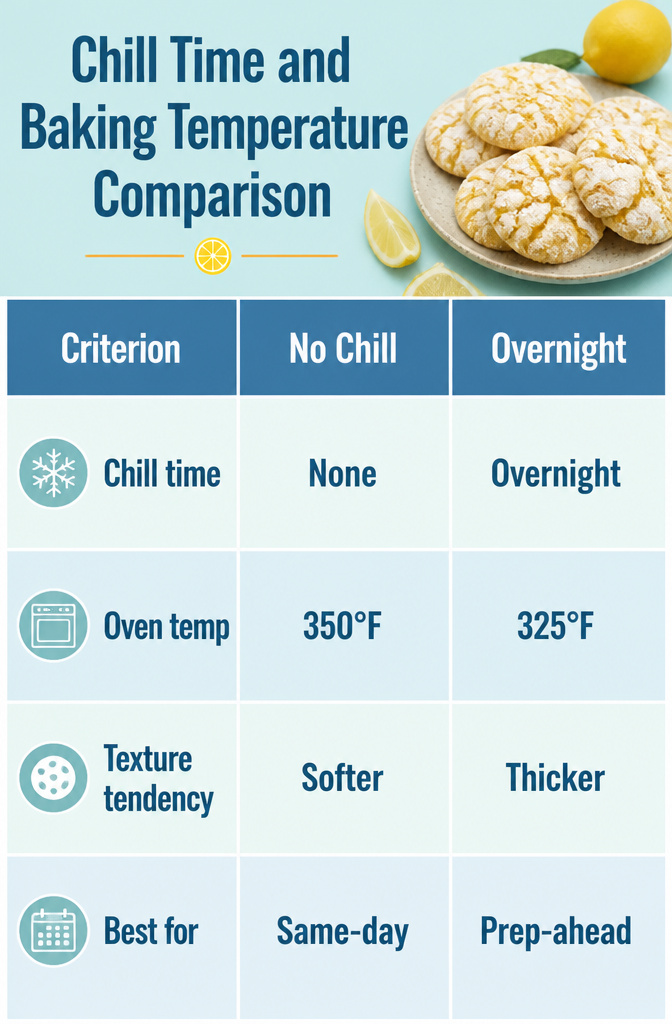
Recipes disagree on timing and heat for lemon crinkle cookies more than most bakes I looked through. Some call for chilling at least 3 hours, others claim no chilling required at all. Baking temperatures range from 325°F to 375°F depending on whose page you’re reading. The whole batch turns on what texture you’re after and how much time you actually have.
| Chill time | Oven temp | Texture tendency | Best for |
|---|---|---|---|
| None | 350°F | Softer, wide spread, flatter crackle | Same-day baking |
| 1–3 hours | 350°F | Balanced height, some chew | Weeknight schedule |
| Overnight | 325°F | Thicker, cakey center, defined crinkle | Prep-ahead weekends |
The shorter the chill, the more the cookies spread. Dough that’s barely cold bakes fast at standard heat and lands closer to chewy, though several commenters who skipped chilling entirely ended up with lemon pancakes that swallowed their sugar coating. Longer chills let you drop the oven ten or twenty degrees, which dries the surface slowly enough for a pronounced crack without collapsing the middle. I pick my chill based on when I need the cookies out, not on some ideal version of the bake. If it’s 9 p.m. and I’m starting dough, overnight is the only honest path. If I mixed at 3 p.m., three hours gets me most of the control without the wait.
Why Cookies Fail to Crinkle
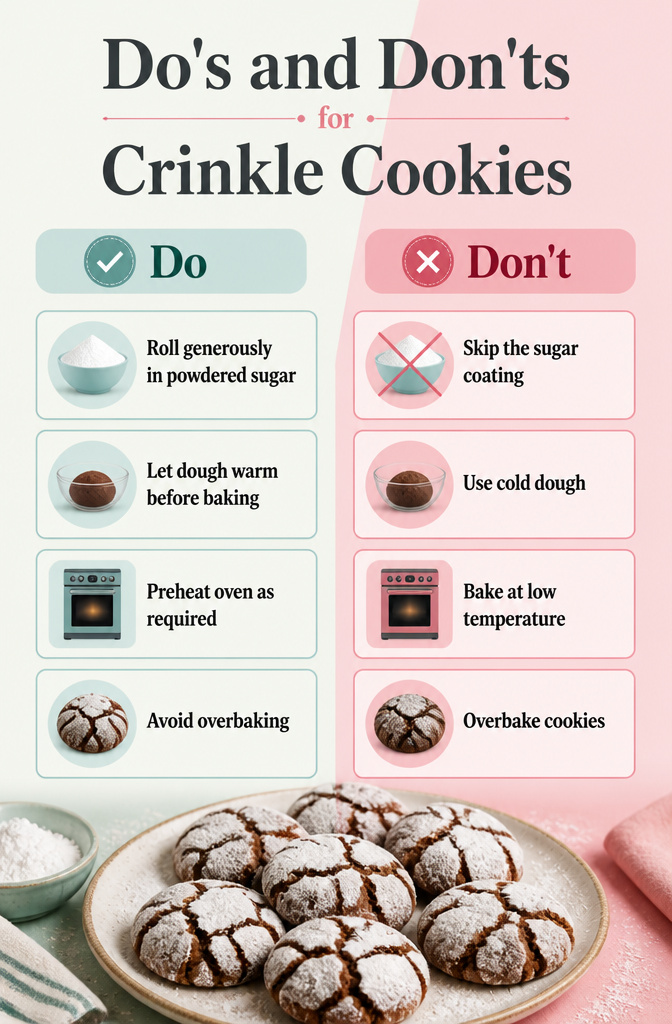
Every batch that comes out smooth has one of four problems.
- Too little powdered sugar. The coating gets absorbed during baking. Roll each ball generously and leave a visible pile on top before the cookies hit the oven.
- Dough straight from the refrigerator. Cold dough resists spreading. Let it sit out until workable, or the cracks won’t form.
- Oven not hot enough. Low heat lets the dough set before it expands. Bake at the temperature stated in the recipe.
- Overbaking. The cookies continue baking after removal. Pull them when edges are set but centers still look puffy and underdone. They will deflate and crack as they cool.
Variations and Substitutions
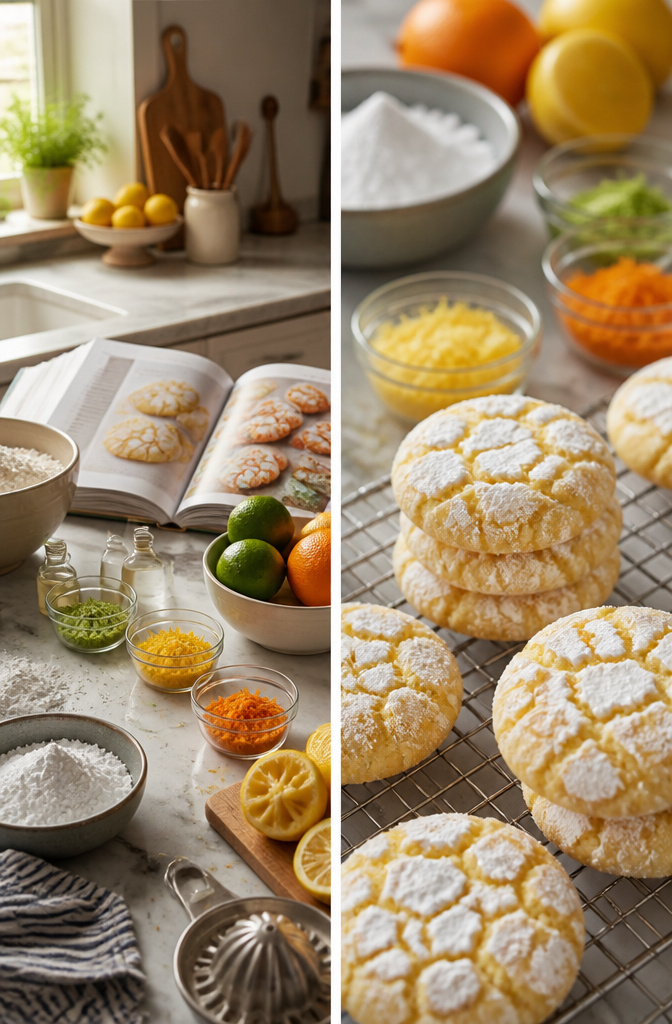
A few swaps keep the dough working when the original isn’t on hand.
- Lime or orange zest and juice slot straight in for the lemon, using the same measurements. Lime is sharper, orange milder and closer to a creamsicle effect.
- 1 teaspoon lemon extract on top of the usual vanilla punches the bakery-style lemon aroma without adding liquid. One commenter doubled it and liked the intensity, though I’d follow the base recipe once before tweaking.
- 1:1 gluten-free flour blends (King Arthur Measure-For-Measure has been tested here) replace all-purpose cup for cup. The cookies hold their shape and moisture, though a tablespoon extra butter helps the texture along.
- Cake mix shortcut exists as an alternate route in some kitchens, but the scratch method wins on crinkle formation and a cleaner flavor profile. Most recipes worth keeping use butter, sugar, eggs, and flour the old way.
Frequently Asked Questions
Can I use bottled lemon juice instead of fresh?
Fresh lemon juice is the better choice. Bottled juice tastes flat against the sugar, and the oils in fresh zest do most of the heavy lifting for the actual lemon character. If you only have bottled juice on hand, the cookies will still bake, but the bright citrus punch will suffer.
Why didn’t my cookies crinkle?
The usual culprits are too little powdered sugar, dough that is too cold, oven heat that is too low, or overbaking. Roll each ball generously in powdered sugar and leave a visible pile on top. Let chilled dough sit out until workable before baking. Pull the cookies when the edges look set but centers still carry a slight softness; they finish on the sheet and crack as they cool.
Can I freeze the dough?
Yes. Roll the dough into balls, freeze them solid on a tray, then transfer to a bag. The better move is freezing raw dough rather than baked cookies, since the powdered sugar on finished cookies can absorb moisture and the crinkle pattern will dull. Add an extra 1 to 2 minutes when baking straight from the freezer.
How long do lemon crinkle cookies stay fresh?
Store cooled cookies in an airtight container at room temperature for up to 1 week. Some recipes claim 3 to 4 days, others push toward 10. I land in the middle and check by the fifth or sixth day. For longer storage, freeze the dough instead of the baked cookies.