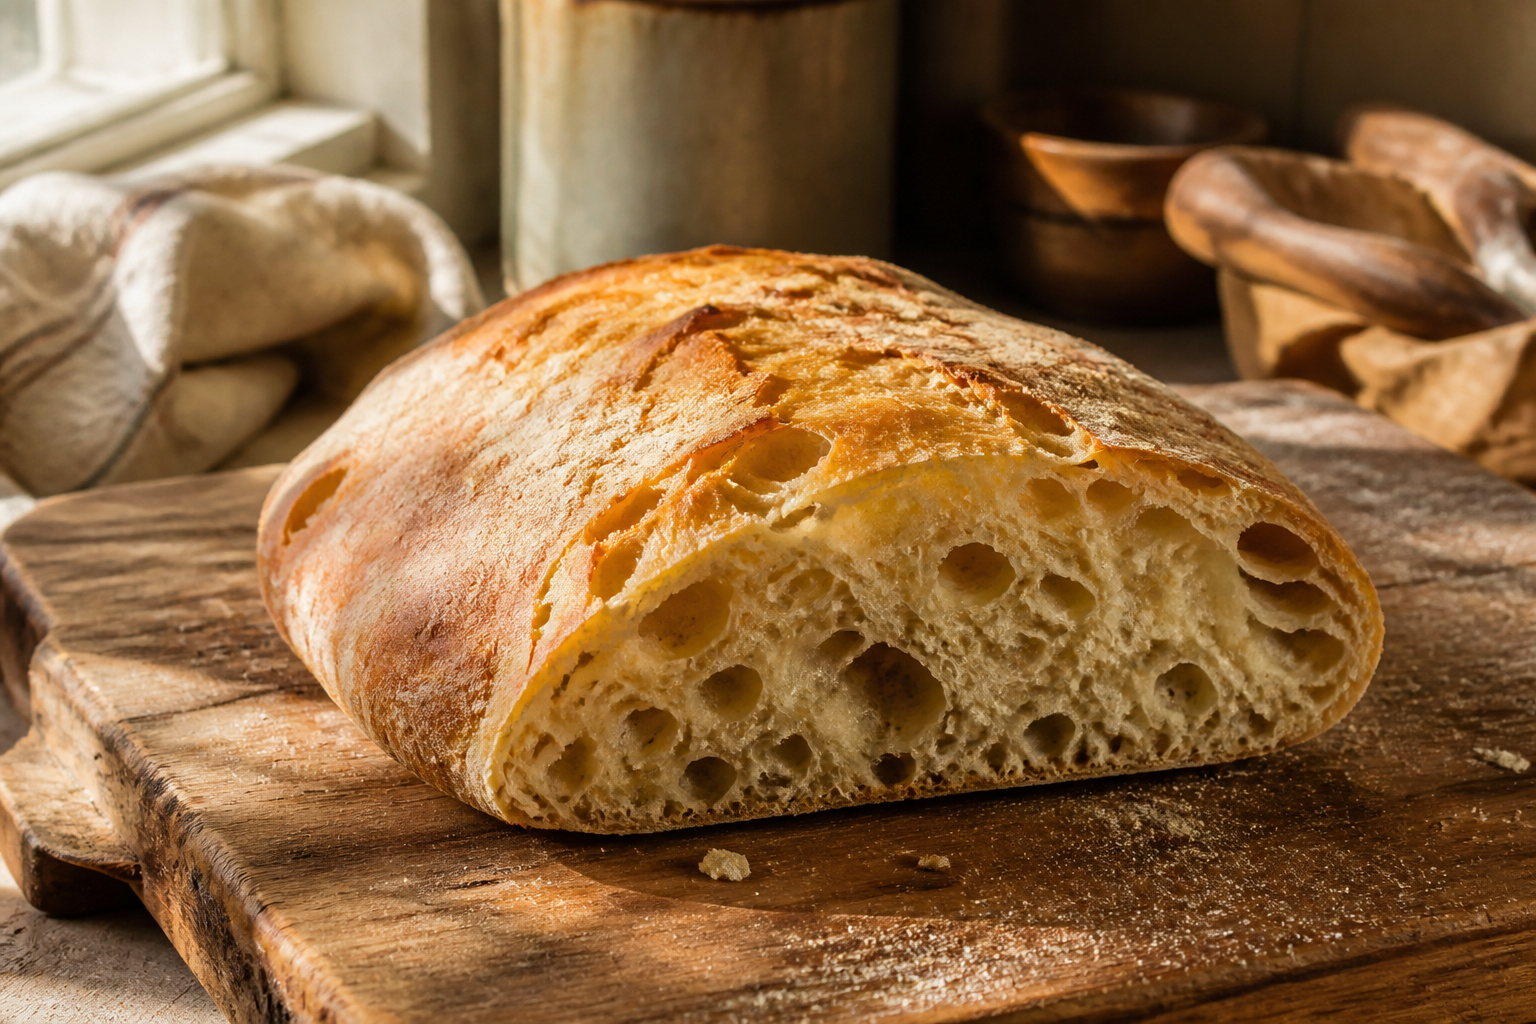
This bakery-style no-knead ciabatta bread has a crackling crust and an open, hole-riddled crumb that tears rather than slices, and it comes together with four ingredients and about four hours of mostly waiting. The catch is the hydration: at 80% water to flour, the dough looks like a mistake until the stretch-and-fold sets build structure without kneading. Bread flour is the one place not to substitute; all-purpose will still bake, but the holes shrink and the chew goes soft.
What Ciabatta Is and When to Make It
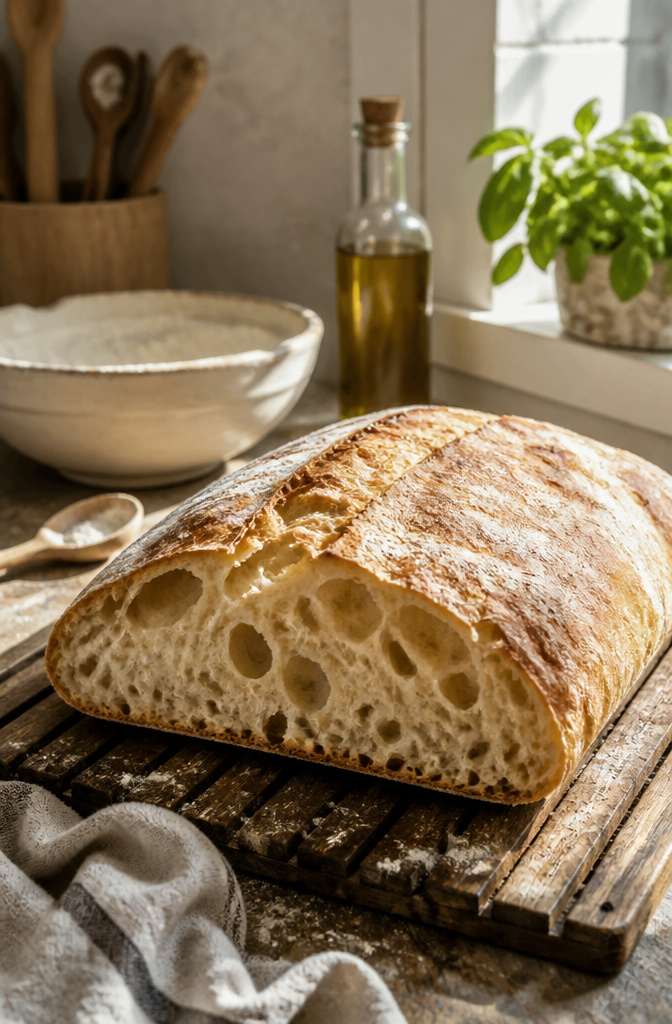
The first time I pulled a ciabatta from my oven, the crust crackled like a bowl of Rice Krispies when I set it on the rack. That sound is what hooked me. Ciabatta is an Italian bread built from high hydration, roughly 80% water to flour, which creates the big, irregular alveoli inside and that rough, bark-like crust you want to tear through. The no-knead method trades muscle work for time. You mix four ingredients in a bowl, then walk away while long fermentation builds the flavor and structure for you. Most of the clock is waiting, not working. Start it after lunch and it is ready for dinner, or let it go overnight if your schedule fits better. For weeknight cooks who already have a pot of something simmering, this is bread that does not demand center stage.
Ingredients
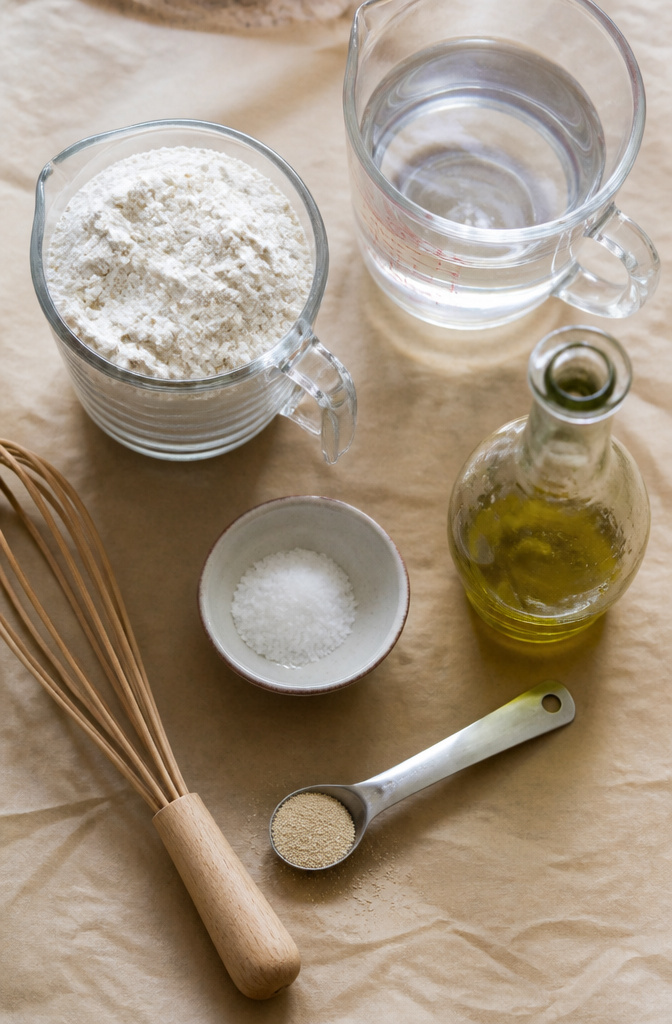
The ingredient list for this ciabatta is short enough to memorize after two loaves. Bread flour is the one place not to substitute, unless you are already resigned to a flatter, less chewy crumb. All-purpose works in a pinch, but the dough lacks the same strength and the holes come out smaller.
- 3 1/2 cups (17 1/2 oz/496g) bread flour
- 1 1/2 teaspoons salt
- 1/4 teaspoon instant yeast
- 2 cups (16 fl oz/450ml) lukewarm water
- 1 tablespoon olive oil, optional
I use the olive oil. It softens the crust just slightly and makes the dough easier to handle during shaping.
Some recipes add a teaspoon of honey to help the yeast along. I have tried it and noticed no difference in rise or flavor, so I skip it. Instant yeast needs no blooming; if you only have active dry, proof it first in warm water with a pinch of sugar until foamy.
Mix the Dough
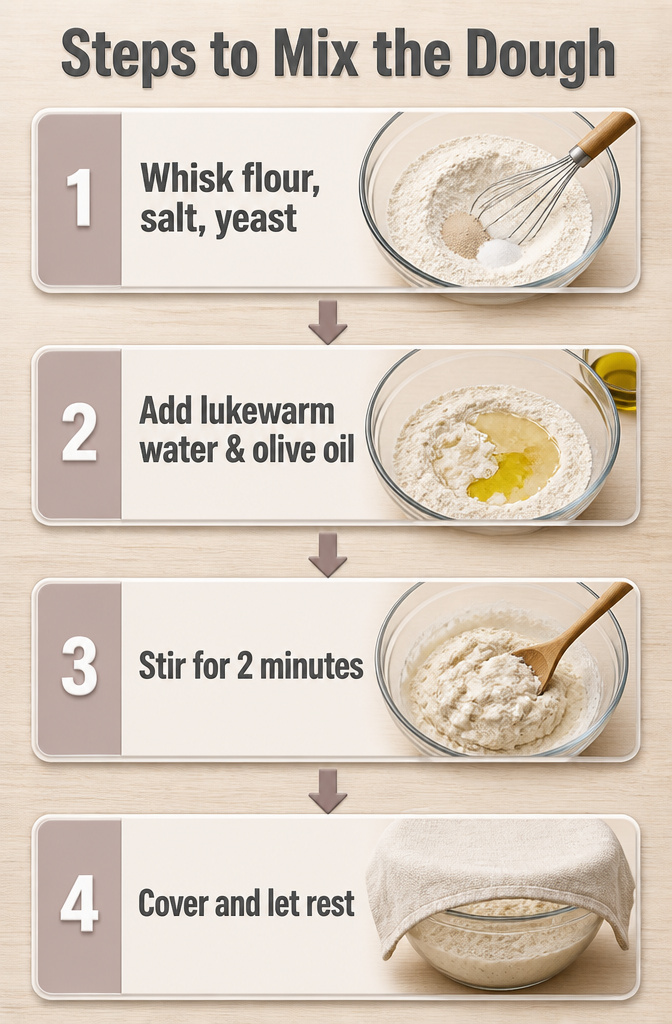
- Whisk the flour, salt, and yeast together in a large bowl until the dry ingredients look evenly mixed.
- Pour in lukewarm water and a glug of olive oil. Stir with a wooden spoon for about two minutes. The dough will look wet, shaggy, and almost like a mistake. That sticky, messy texture is exactly right.
- Cover the bowl and let it rest somewhere at room temperature for 30 minutes to an hour before you touch it again. This rest lets the flour fully hydrate, which matters more for ciabatta than for most breads.
Stretch and Fold
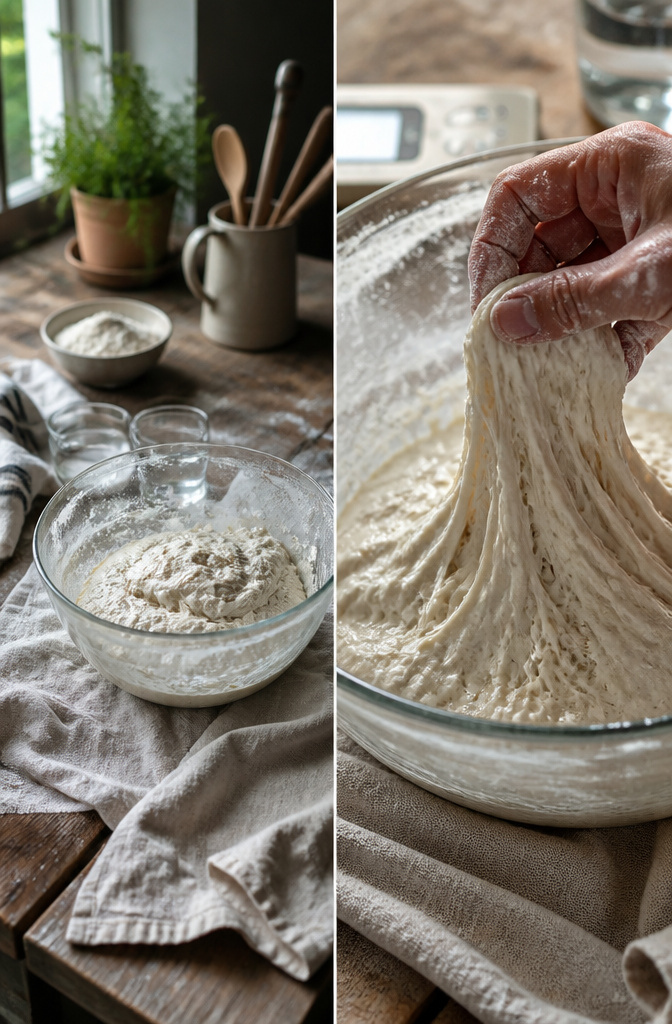
Wet your hand before you touch this dough. Water works better than flour here; the dough is too hydrated for a dusting to do anything but clump.
- Grab one side of the dough, pull it up, and fold it toward the center.
- Rotate the bowl a quarter turn. Repeat the pull and fold three more times. That completes one set.
- Cover the bowl and wait 30 minutes.
- Come back and do it again. Two more times, minimum; three or four if the day allows.
- After the last set, let the dough rest. Some recipes call for 30 minutes, others stretch to 60.
The transformation happens gradually. The first set is the messiest; the dough clings and stretches like wet cement. By the third set, it holds a shape. Each fold builds strength the way kneading would, just slower and with less cleanup.
I usually stop at three sets. Four is worth it if I started early and the dough still feels slack, but three is enough for a weeknight when dinner waits.
First Rise
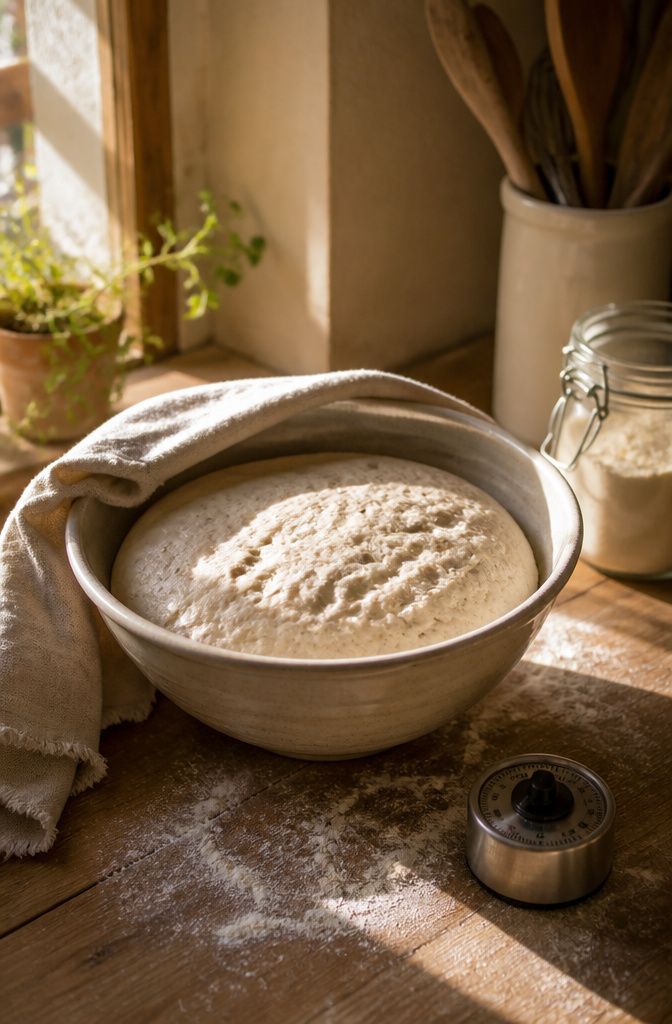
The dough goes into the bowl one last time, covered, and left to rise until it has roughly doubled. At room temperature this takes 1 to 2 hours, though the same visual cue matters more than the clock: the surface should look bubbly and alive, not merely bigger. An overnight stay in the refrigerator stretches the timeline to the next morning but trades the wait for deeper flavor. Cold dough is also easier to shape, which matters when you are working with something this wet. I plan for the fridge when I can, yet same-day rise has saved more weeknight dinners than I care to count. The rolls will still be light and good; only the flavor tilts milder. Either path, the dough should feel like it is working, with visible bubbles catching light when you lift the cover.
Shape and Final Proof
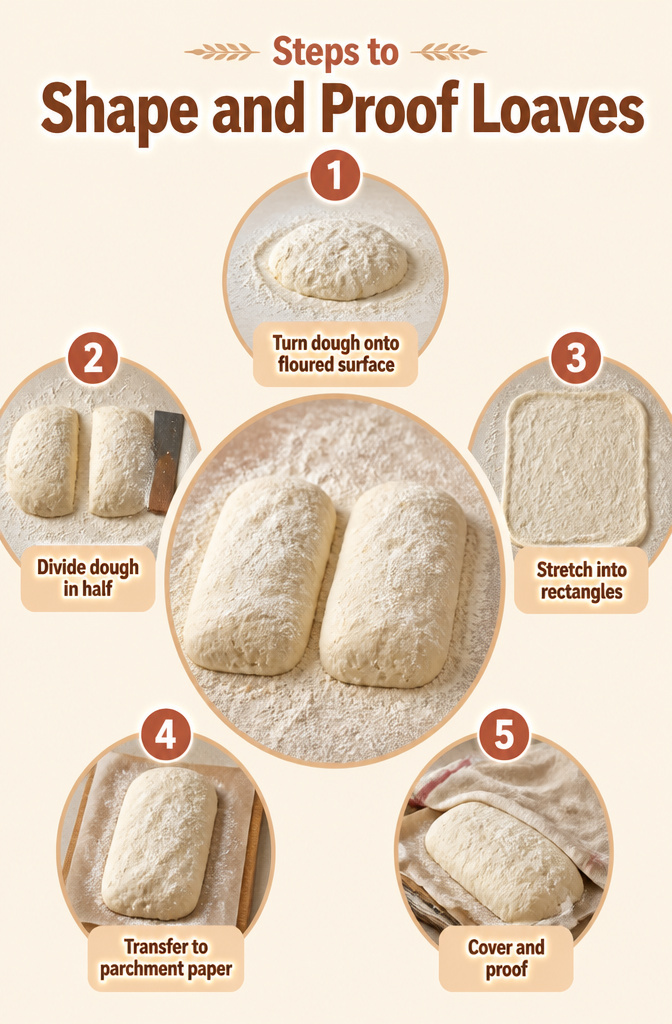
- Turn the dough out onto a well-floured surface. The dough is wet and fragile, so flour underneath matters more than usual.
- Divide it in half for two loaves. A floured bench scraper or knife works; the goal is a clean cut without tugging.
- Gently stretch each piece into a rough rectangle, about 12 by 6 inches. Move the dough minimally to keep the air bubbles intact.
- Transfer each loaf to parchment paper. This becomes your baking surface, so line it up where it will go into the oven.
- Cover and proof 1 to 2 hours at room temperature, or leave it overnight in the fridge. The loaves should look puffy and jiggle slightly when you shake the paper.
Bake
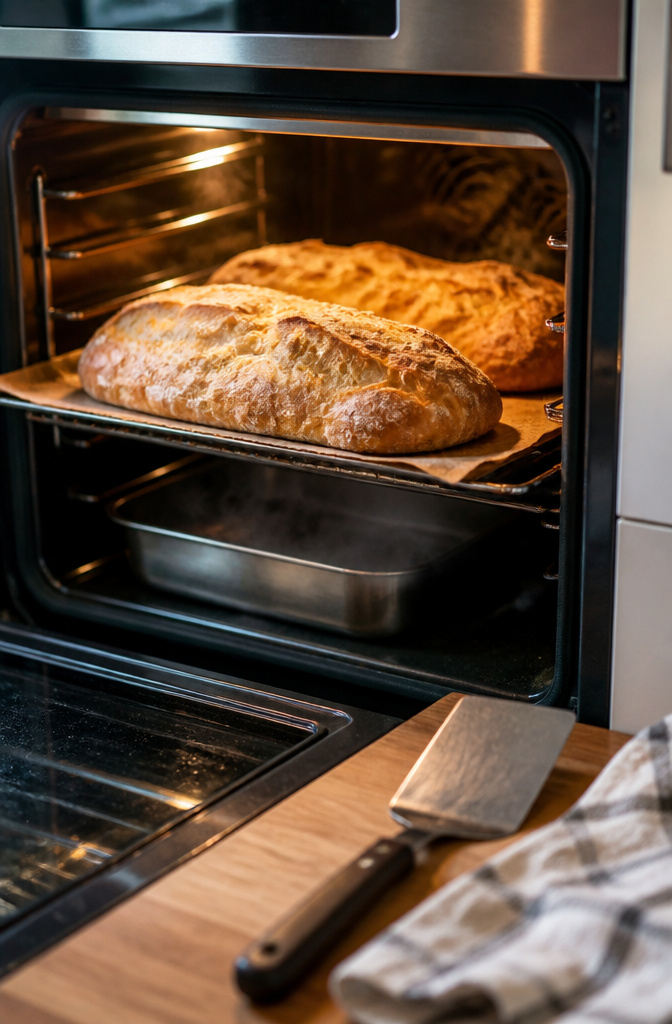
- Preheat the oven to 425°F (220°C) with a baking stone or steel on the middle rack if you have one. A sheet pan works fine too; the stone just gives you a bottom crust that crackles more.
- Slide the loaves in, parchment and all. Bake 20 to 40 minutes until the crust is deep golden brown and sounds hollow when you tap the bottom. I aim for 30 minutes, but ovens vary enough that you should start checking at 20.
- Steam matters for that thin, shattering crust. Pour a cup of water into a preheated pan on the bottom rack in the first five minutes. Some bakers use ice cubes instead; either way, the burst of humidity keeps the surface flexible long enough for the loaf to expand fully before it sets.
Overnight vs. Same-Day Proofing
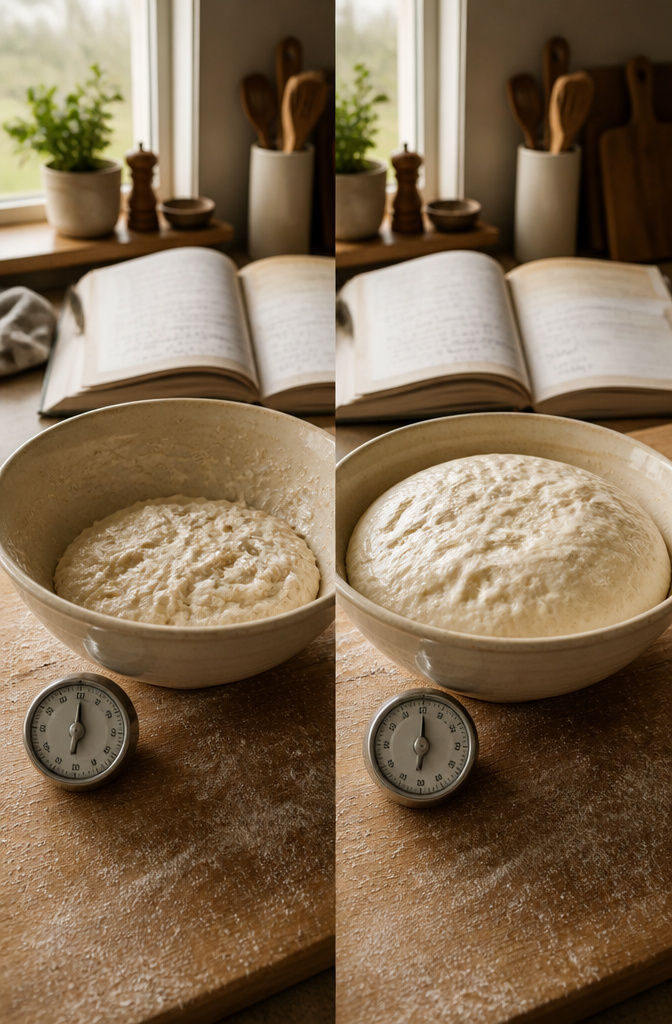
Cold dough from the fridge is easier to shape and takes color better in the oven, but it needs a longer bench rest before baking so the center isn’t cold. Room-temperature same-day dough is looser and stickier on the counter, though it goes from mix to bake in about four hours. The flavor difference is real: overnight fermentation gives a deeper, slightly tangy crumb that reads as bakery-style, while same-day stays milder and still yields a light, airy interior.
Both timelines work. I keep the overnight method as my default because I can mix it after dinner and bake fresh rolls the next morning with almost no active time. Same-day saves me when I forget to start the night before; the bread is still good enough that nobody at the table complains.
| Overnight (Fridge) | Same-Day (Room Temp) | |
|---|---|---|
| Mix-to-bake time | Next morning | ~4 hours |
| Flavor depth | Deeper, more complex | Milder |
| Dough handling | Firmer, easier to shape | Stickier, looser |
| Crust color | Better browning | Standard |
| Best for | Planned baking | Forgot to start yesterday |
I use both. The overnight method wins for weekends or when I want that bakery depth; same-day is my weeknight rescue.
Bread Flour vs. All-Purpose
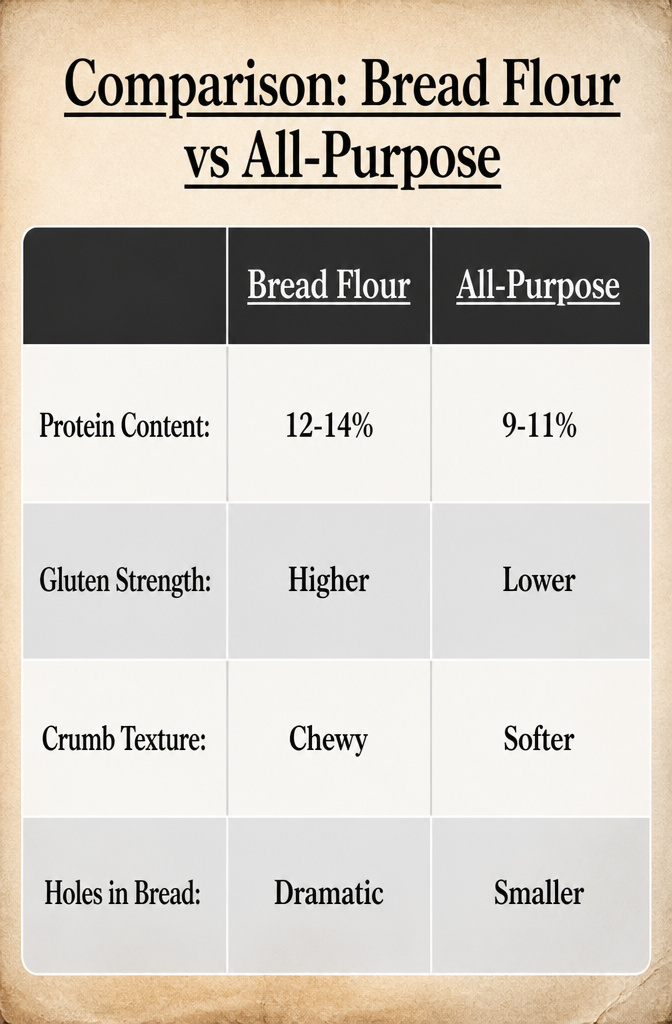
Bread flour is what gives ciabatta its structure: the higher protein builds stronger gluten, and strong gluten is what holds those dramatic holes open while the loaf bakes. I have made this recipe with both flours, and the difference is real. All-purpose delivers a softer, less chewy crumb with smaller, less impressive holes. It is still good bread, but it is not the same bread. If you only have all-purpose on hand, King Arthur’s is stronger than most brands and will get you closer to the chew and lift you are after.
Instant Yeast vs. Active Dry
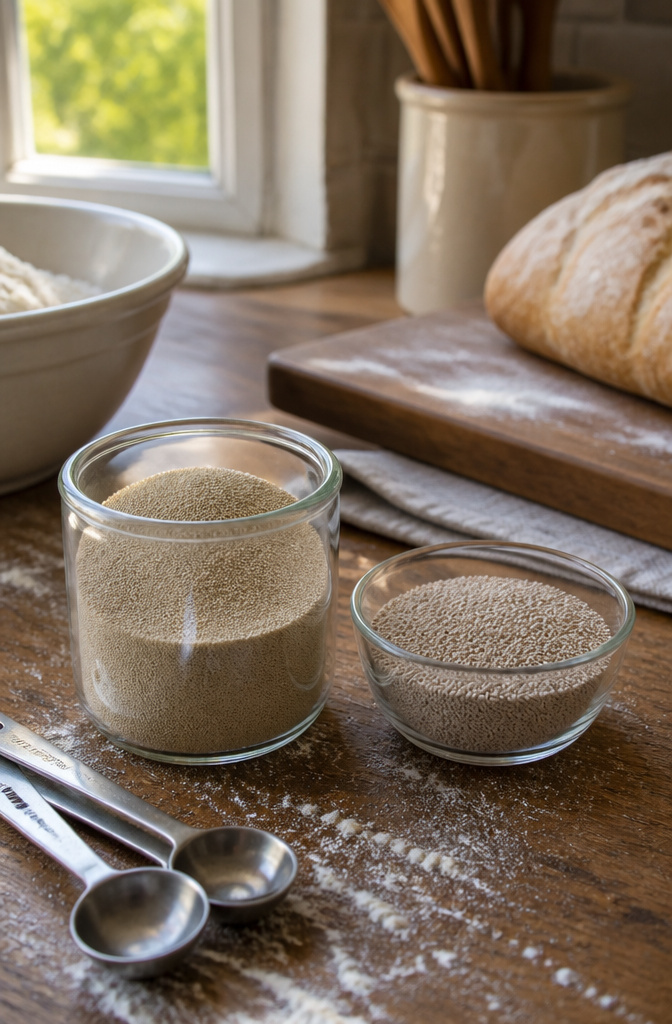
Instant yeast drops straight into the dry mix with no extra step, which is why it lives in my pantry. Active dry works fine if that is what you have, but bloom it five minutes in warm water first, around 110°F to 115°F, until it looks foamy. The rise times shift slightly; active dry can lag by 15 to 20 minutes. Either yeast produces good bread, so I reach for instant out of laziness and because it forgives a rushed morning.
Storage and What to Expect
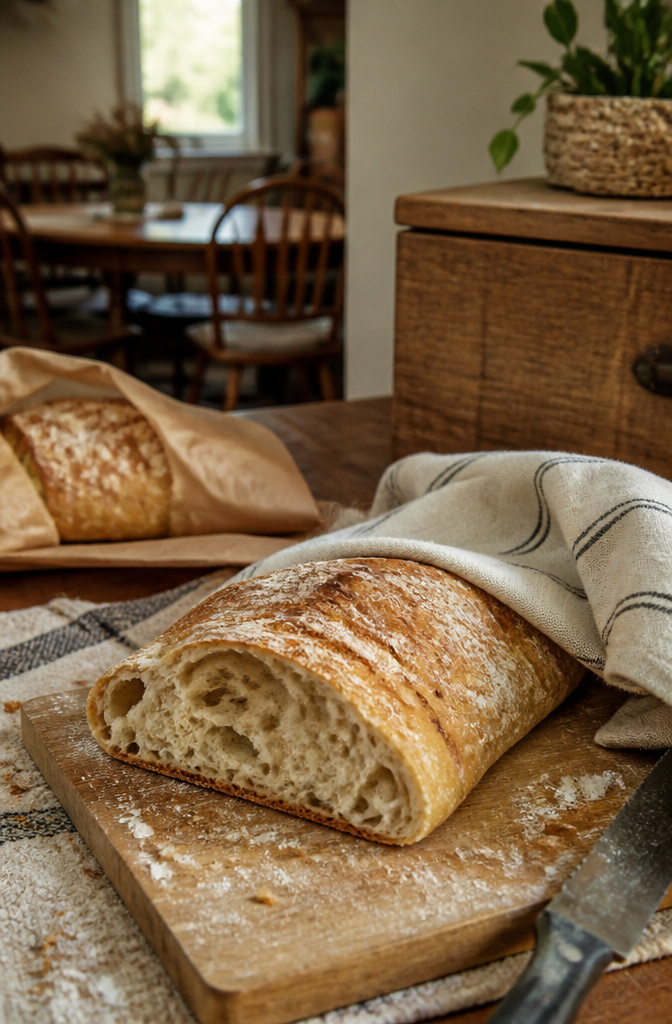
Ciabatta stales fast; that is its nature. The soft interior crumb is at its best on the day of baking, and the crispy, crunchy crust does not wait around for anyone. Store cut-side down on the counter, uncovered, for one day. After that, wrap in paper then plastic for up to three days, or freeze sliced for longer storage. The crust softens in plastic; revive in a 350°F oven for five minutes. Do not refrigerate; it ruins the texture. I usually freeze half the batch because we cannot eat two loaves fast enough.
Frequently Asked Questions
How do I store ciabatta bread?
Store cut-side down on the counter, uncovered, for one day. After that, wrap in paper then plastic for up to three days, or freeze sliced for longer storage. The crust softens in plastic; revive it in a 350°F oven for five minutes. Never refrigerate ciabatta, as it ruins the texture.
Can I use all-purpose flour instead of bread flour?
You can, but the bread will be flatter with a softer, less chewy crumb and smaller holes. Bread flour’s higher protein builds the strong gluten that holds those dramatic alveoli open. If all-purpose is your only option, King Arthur’s brand is stronger than most and will get you closer to the right texture.
What is the best way to achieve a crispy crust?
Pour a cup of water into a preheated pan on the bottom rack during the first five minutes of baking. That burst of steam keeps the surface flexible long enough for the loaf to expand fully before it sets, which creates the thin, shattering crust. A baking stone or steel also helps the bottom crust crackle more than a sheet pan alone.