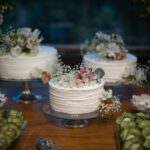
I start by gathering my turntable, serrated knife, cake boards, and dowels or bubble tea straws. I wait until my layers cool completely, about two hours, then trim each dome ¼ to ½ inch at a time until flat, checking for wobble. I tape boards two inches wider than my base tier, wrap them with foil, and pipe a 60–80 ml frosting dam around each layer’s edge to stop filling from oozing. I apply ¾ to 1 cup of American or Swiss meringue buttercream as a thin crumb coat, chill for 20 minutes to 1 hour, then smooth on my final coat while spinning. I refrigerate uncovered for 20 minutes to 6 hours before moving. Dowel spacing and tier alignment require careful attention in the next steps.
Gather Essential Tools for Cake Stacking
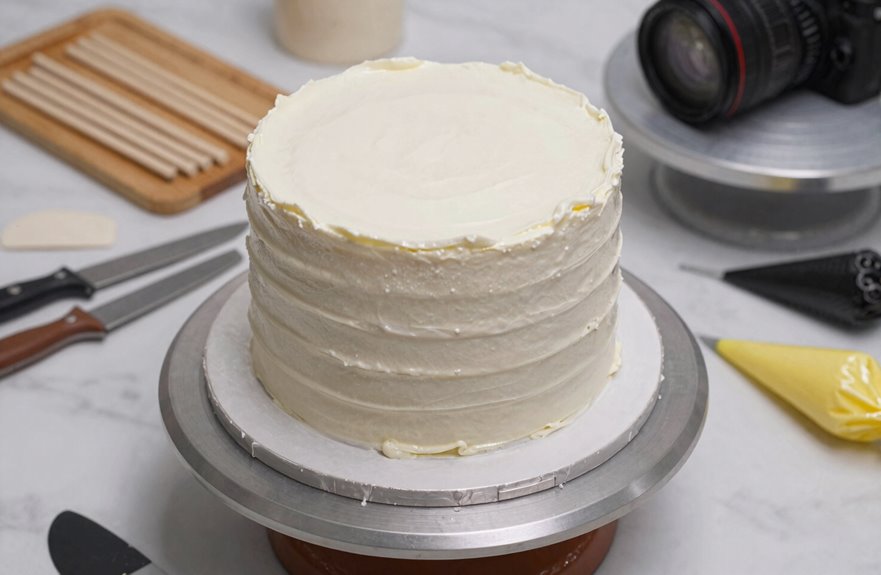
The right tools make cake stacking manageable, even straightforward.
I start with a turntable. You’ll spin the cake smoothly for even icing and precise placement. Next, grab a serrated knife or cake leveler to level domed tops before assembly; wobbly layers compromise the stack.
For support, I use cake boards under each tier, matching their diameters exactly. These separate layers and provide sturdy foundations. Then come dowels or bubble tea straws. Insert them about 1-1.5 inches from the edge, adding more rods for larger cakes.
Finally, you’ll need tools for your crumb coat: a straight icing spatula or bench scraper. Apply roughly 1/4 to 1/3 cup per layer, chill 20 minutes to 1 hour, then smooth again. You’re building something stable.
Level Cake Layers Before Stacking (Without Waste)
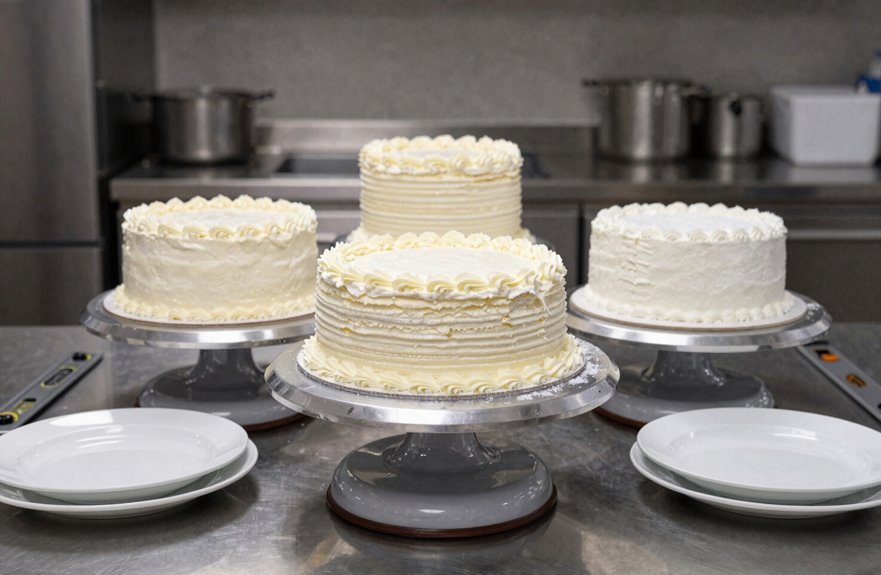
I always trim domed cake tops while they’re completely cool, usually 1 to 2 hours out of the oven, using a serrated knife held level to remove just enough cake (about ¼ inch to ½ inch) for a flat surface. You can save those scraps in an airtight container at room temperature for up to 3 days, then pulse them into crumbs for coating the finished cake or mix them with buttercream for cake pops. This approach eliminates waste, and your layers stack straight without the wobble that ruins a tiered build.
Trim Dome Evenly
Before you stack anything, those domed tops have got to go. Flat layers are the foundation of a stable cake.
First, wait until your layers are completely cool, about 2 hours at room temperature. Warm cake crumbles.
To trim dome evenly, grab a large sharp serrated knife or cake leveler. A 10-inch knife with a thin, flexible blade works well, though a leveler gives beginners more control. Set your layer on a turntable if you have one. Position your blade at the lowest point of the dome’s edge, hold it steady, and rotate the cake slowly while slicing horizontally. Take off small amounts, about ⅛ inch per pass, until you’ve leveled the top.
Check for evenness by eyeballing the circumference. Rock the layer lightly. If it wobbles, shave the high spots. A flat layer sits still without movement.
Reuse Cake Scraps
Why let those trimmings go to waste when they’re perfectly good cake. After leveling each layer, I collect every scrap. Those domed tops from trimming aren’t trash.
I crumble them into frosting for a textured filling between tiers. I press larger scraps onto the finished cake as rustic garnish. Nothing disappears on my watch.
My waste-free workflow:
- Chill layers to 65°F before trimming for clean cuts
- Remove ¼-inch domes maximum per pass
- Tort thick layers into ¾-inch sub-layers if needed
- Fold crumbs into buttercream at 2:1 ratio
This trimming discipline protects your cake’s stability. Uneven layers shift. Your stack collapses. I’ve seen it.
Treat scraps respectfully. Your cake performs better, and you’ve earned your place among bakers who build smart.
Choose Stable Frosting for Your Cake Type
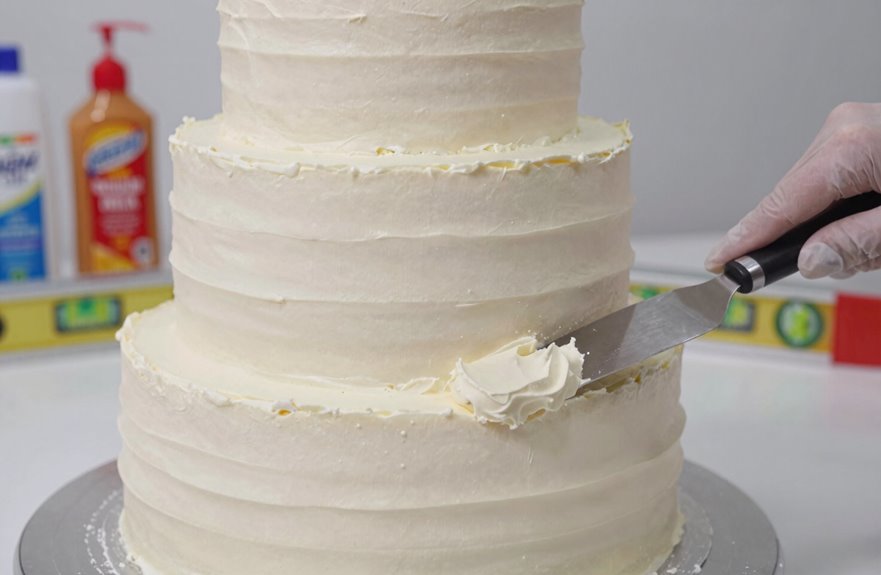
How exactly does frosting choice make or break a stacked cake? Frosting stability determines whether your tiers slide or stand tall. American buttercream and Swiss meringue buttercream are reliable choices for stable stacking because they hold their shape under pressure. Cream cheese frosting works too, but you should refrigerate it at least one hour before stacking.
For assembly, apply 3/4 to 1 cup (180–240 g) of frosting per layer as filling amount. Too much creates soggy interiors; too little leaves gaps. Next, spread another 3/4 to 1 cup (180–240 g) for the crumb coat, locking in crumbs before final icing. For turntable stability, chill the crumb-coated cake 20 minutes to 1 hour. This firms the sides, letting you finish with a smooth exterior using a straight icing spatula.
Prepare Cake Boards for Single or Tiered Stacks
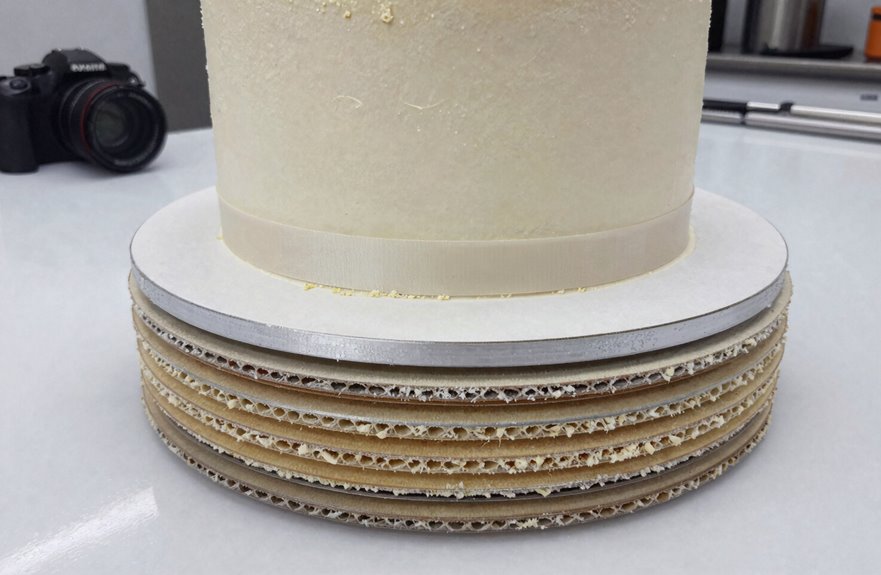
I’ll walk you through preparing your cake boards, starting with selecting the right size. Choose boards at least two inches wider than your base cake layer for stability. For heavier tiered cakes, tape two or three boards together, then wrap the stack completely in Fanci-Foil to block moisture and provide a clean, professional finish. Once your board is covered and ready, level your bottom cake layer, place it centered on the board, and begin filling and stacking.
Choosing Board Sizes
Where exactly do you begin when you’re staring down a multi-tier wedding cake or even a simple two-layer birthday stack. You start with the right cake boards.
For board sizes, follow this rule: select a base diameter at least 2 inches larger than your bottom cake layer. This creates room for borders and handling. When building a tiered cake, tape two or three boards together for a sturdy base. A sagging foundation will compromise your finished cake.
Each tier needs its own separation boards matching that tier’s exact diameter. Cover taped boards with Fanci-Foil wrap to block moisture and grease. Before stacking, verify every board sits level. Wobbly tiers collapse. Measured, stable separation boards keep your creation secure from kitchen to venue.
Securing Multiple Boards
Once you’ve chosen boards that fit your cake, you’ll need to lock them together so they don’t shift under the weight. I tape two or three cake boards together, creating taped boards that will handle serious stacking without flexing. Your base board needs to outsize your cake layer by at least 2 inches, which gives you room for borders and ensures proper dowel alignment. Going taller requires even more diameter. Now, wrap those taped boards in Fanci-Foil wrap. This seals out moisture and gives you a clean, professional surface. I level and fill right on that covered board, building my foundation before any tier goes up. Your cake won’t sink, slide, or shift during assembly.
Covering and Finishing
Start by taping two or three cake boards together, then wrap them completely in Fanci-Foil. My base must measure at least 2 inches wider than my bottom tier for proper support. For a layered cake, I level each layer after trimming domed tops because flat surfaces prevent sliding. I place matching-diameter cake boards between tiers to maintain clean alignment. When I decorate, I consider my border; piped shells need space, so I size up my base accordingly. I spread frosting smoothly to keep crumbs trapped in the frosting layer. For single cakes, one wrapped board works. For tiered stacks, I build upward with precision. Board size, leveling, and spacing create structural stability. These details separate professional results from amateur work.
Pipe a Frosting Dam to Prevent Bulging
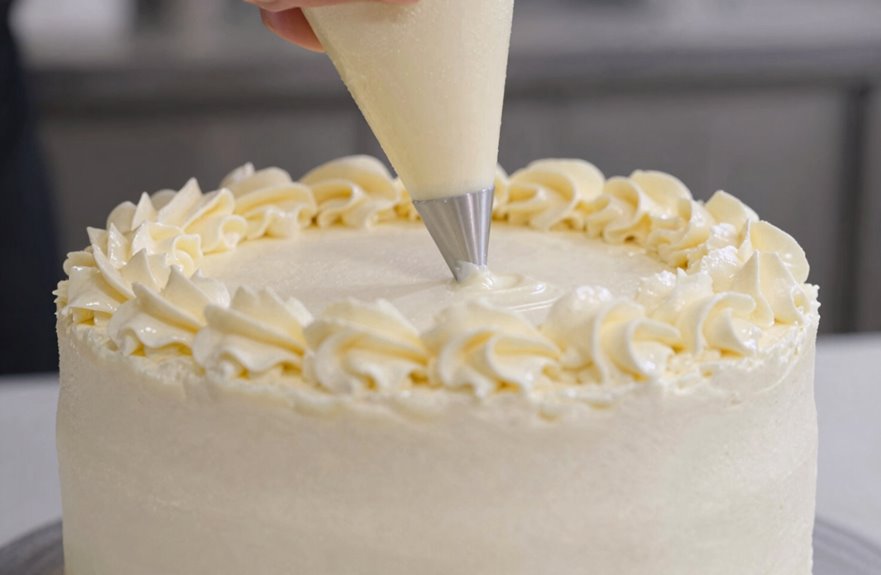
The real struggle with layered cakes is keeping that filling from squishing out the sides like a squeezed sandwich. Pipe a dam using a large round tip, ½ to 1 inch wide, creating a sturdy filling border about ¾ inch high for standard 1½-inch layers. This wall holds your jam, curd, or buttercream right where it belongs. Fill the center with your chosen filling, then spread it evenly with an offset spatula. No peaks, no valleys. Stack the second layer cut-side-down, pressing gently so the dam contains everything. A quick chill firms the structure. Apply the crumb coat knowing nothing will shift during frosting.
Stack Your First Two Layers Perfectly Flat
With your frosting dam in place and filling secured, you’re ready to build the foundation right. Start with completely cool cake layers, since warmth melts everything. Check if your layers dome. If they do, grab your serrated knife and trim off the rounded top, shaving bit by bit until you have a level surface. Small cuts matter here.
Place the bottom layer on a covered board, spread your filling evenly, then flip the second layer upside down. Its baked-flat bottom becomes your new top. This trick eliminates half your leveling problems. Align the edges carefully, checking that sides stay straight as you center everything.
Your turning stand spins while you work, helping you spot gaps before they grow. Fill evenly, avoiding overload. Once stacked, apply a thin crumb coat and chill for exactly 20 minutes. Cold sets the buttercream, sealing crumbs before your final coat.
Add Filling Without Overloading Your Stack
I pipe a frosting dam around each layer’s edge, which acts as a retaining wall, then I add only three-quarters to one cup of filling inside that border. Excess filling will sabotage your stack. This controlled approach keeps your filling where it belongs, preventing the oozing that ruins a smooth crumb coat and destabilizes everything above it.
Pipe a Dam Border
A dam border keeps filling where it belongs without leaks, bulges, or structural disasters. This essential wall for your layer cake enables confident stacking.
- Fit a large round piping tip (½ to 1 inch diameter) into your bag to create the foundation wall.
- Pipe a round border around the cake’s edge, building it ¾ inch high for standard 1½-inch layers.
- Fill the interior space with your chosen filling, then spread evenly with an offset spatula.
- Add your next layer, cut-side-down, align those edges, and chill 15 minutes to set everything firm.
The dam border works by creating a simple architectural structure that keeps cakes beautiful and stable.
Control Filling Amounts
The right filling amount keeps your cake stable and your kitchen clean. Precision matters in this step.
I pipe a frosting dam around each layer’s edge. My filling dam contains excess and creates structure. For a 3-layer cake, I use 60–80 ml of interlayer filling per layer. That’s roughly 1/4 to 1/3 cup, filled just inside the dam. Too much, and it’ll squeeze out during cake assembly.
I chill buttery fillings until thickened; firm filling reduces flow between level layers. I spread a thin cushion of frosting first, which evens minor variances and prevents gaps that cause tipping.
Finally, I place the top layer cut-side-down. This technique locks everything in place. When you control your filling amount, your stack stays straight through serving.
Insert Dowels Before Adding Tiers
Before you add another tier, you’ll need to install dowels, those hidden pillars that keep your cake from collapsing under its own weight. Proper support starts with preparation, and getting this right means your creation stays flawless through the entire celebration.
Here’s how to handle dowel placement:
- Cut dowels to height. Measure against your stacked tiers, trim until tops sit perfectly even with the cake surface.
- Position large dowels first. Insert one at its imprint spot, then align a second opposite using a drawn guide line.
- Add smaller support dowels. Create multiple anchor points throughout the tiers for balanced weight distribution.
- Verify with a cake board. Check levelness, adjusting heights before proceeding; leave space for a center dowel if stacking continues.
Continue Stacking With Proper Support
With your dowels trimmed and positioned, add the next tier. Each cake must undergo proper leveling; trim domes with a serrated knife so layers sit flat. Misalignment ruins your stack.
Imprint the next-size board onto each tier’s surface and mark precise dowel placement positions about 1-1/2 inches from that edge. For cakes 12 inches or larger, add three additional dowels toward the center. Even support prevents collapse.
Trim all dowels flush with the cake top. Before adding boards, dust dowel areas with parchment, cocoa, or coconut so icing won’t stick. Lower each tier slowly and check from all angles. Your cake stands firm and ready for the next tier.
Apply a Crumb Coat to Your Stacked Cake
Once I’ve got my tiers stacked and stable, I’ll move fast to lock down those stray crumbs before they ruin the finish. This thin layer of frosting prevents your final coat from looking speckled and amateur.
- Prep the frosting. Set aside 3/4 to 1 cup (180–240 g) for a three-layer cake, just enough to coat, not decorate.
- Spread from top to sides. Using a straight icing spatula, work downward, trapping crumbs as you go.
- Stabilize the surface. Thin, even pressure prevents gouges and keeps your stacking secure underneath.
- Refrigerate to set. Twenty minutes to one hour firms the buttercream, locking everything in place.
A crumb coat step produces noticeably more professional results than skipping it.
Chill Your Cake for Clean Final Frosting
Because buttercream stays soft at room temperature, I chill my crumb-coated cake for 20 minutes to 1 hour. This allows the frosting to harden without freezing solid. This step locks crumbs in place and provides the stability needed for clean cake stacking.
Cold firms the butter in buttercream, creating a shell that resists damage. When I add my final frosting layer, I avoid smears or shifting layers. For fondant-covered tiers, chilling maintains stability during placement, though I guide each tier carefully to prevent sliding.
I use a cake lifter or ask a friend when transferring. Cold edges crack easily, so careful handling prevents the need to redo work.
Add Final Frosting for a Smooth Finish
How do you get that glass-smooth finish everyone admires? It comes down to patience and the right technique on your stacked cake.
First, I chill my crumb coating for 20 minutes to 1 hour. This hardens the buttercream and seals everything in place. Cold buttercream holds its shape better during application.
Next, I apply final frosting using a straight icing spatula while spinning my cake turntable steadily. The consistent rotation helps you achieve even coverage and eliminates lumps and ridges.
Then I run my bench scraper along the sides, holding it perpendicular to create that smooth exterior. Wipe often and reapply pressure evenly to maintain the finish.
Finally, I pipe decorative borders with a Wilton 1M tip for extra polish. Simple, clean edges are a foundational skill every home baker should develop.
Transfer and Store Your Finished Cake
The final step is getting your cake where it needs to go without disaster. First, refrigerate the finished cake uncovered for at least 20 minutes to set the frosting; you can extend this up to 4-6 hours depending on your frosting type. For multi-tier stacks, chill the tiers briefly before transport to stabilize the structure and prevent smearing.
When you’re ready to move, place the cake on a flat surface in your vehicle. Never place it on seats or angled areas. Ensure ample clearance. A cake carrier protects your work from bumps and temperature shifts during storage and transport.
If refrigeration isn’t available at the venue, consider stacking on-site or using insulated transport to keep tiers cold. Careful preparation ensures the cake arrives in perfect condition.