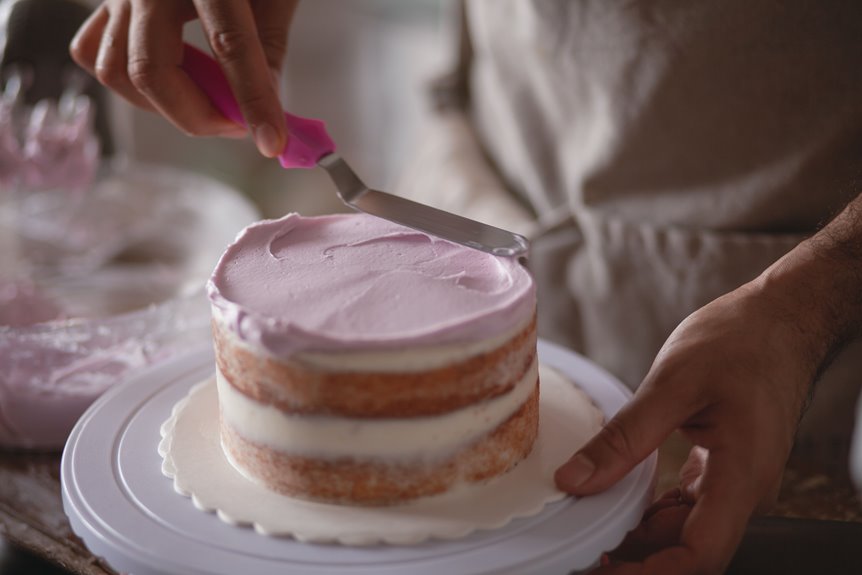
I start by gathering my tools: a turntable, 9-inch angled spatula, and bench scraper. I level my cooled cake layers with a serrated knife, then chill them 20–30 minutes. Next, I apply a thin crumb coat and freeze for 5–20 minutes to firm the buttercream. For the final coat, I spread ¼-inch buttercream on sides, hold my scraper at 90 degrees, and spin steadily. I patch gaps with a hot scraper, chill again, then smooth top edges inward for crisp corners. Temperature control is critical; cold firms, warmth softens. Following these steps will help you fix every bubble, crack, and bulge that appears on your cake.
Gather the Essential Tools for Smooth Frosting
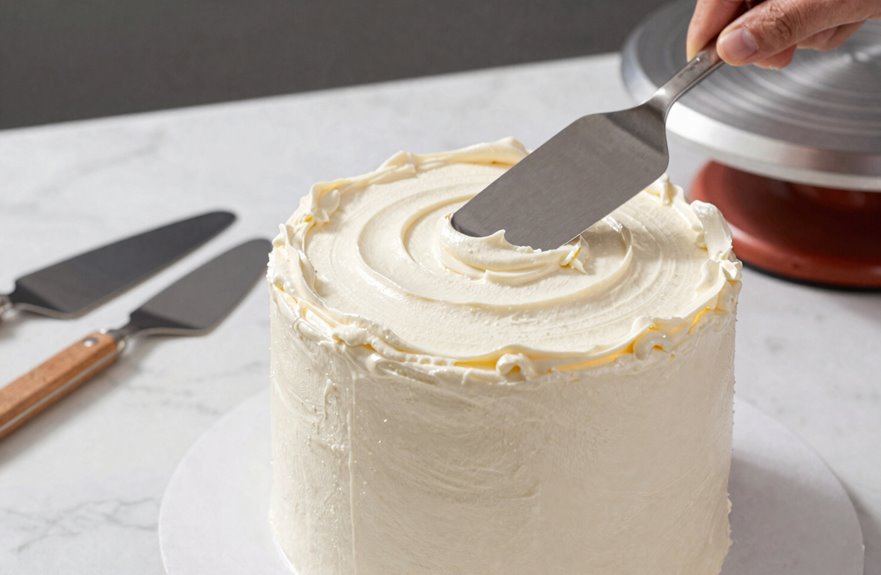
Why struggle with lumpy, uneven frosting when the right tools make all the difference?
Three essentials transform buttercream from frustrating to flawless. First, grab a cake turntable with an anti-slip pad to keep everything steady while you work. Next, you’ll need an angled spatula, roughly 9 inches long, to spread icing evenly across each layer. Finally, invest in a stainless steel icing smoother for sharp edges and easy cleanup.
Place your cake on the turntable, load your spatula with frosting, and rotate while holding the blade steady at the center. After each pass, scrape excess into a separate bowl using a clean spatula or bench scraper. For extra sleekness, warm your icing smoother under hot water for 10 seconds, then glide it along the buttercream. These tools deliver an even layer without requiring a professional kitchen.
Level, Chill, and Crumb Coat Your Cake
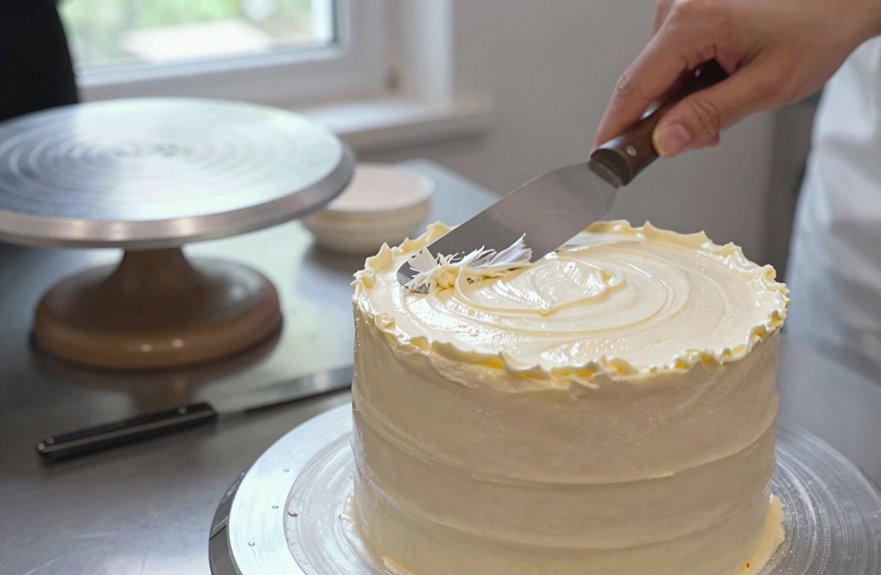
I never frost warm cake layers because they’ll bulge, bubble, and ruin everything. Instead, I let them cool completely, then I trim the domed tops with a serrated knife for flat, stable surfaces that stack like building blocks. Before frosting, I pop those layers in the freezer for 20 minutes. The cold firms the buttercream and stops crumbs from sabotaging a smooth finish.
Leveling Cake Layers
How do you stop a cake from wobbling while you frost it? You start with leveling cake layers. This is the foundation every baker needs.
Here’s my process:
- Chill your cake completely. Cold layers mean fewer crumbs when you cut.
- Grab a straight-edged pan or leveler, and slice off those domed tops for flat surfaces.
- Stack on a turntable, spin slowly, and check alignment with your bench scraper handy.
- Apply a thin crumb coat immediately; chill 30 minutes before final frosting.
A chilled cake firms the buttercream, trapping crumbs so they don’t ruin your smooth finish. Skip this step, and you’re fighting an uphill battle. Leveling takes two minutes. Fixing a lopsided cake takes twenty.
Chilling Before Assembly
A wobbly cake won’t fix itself, so I chill my layers before they ever meet buttercream. I freeze before stacking. Twenty minutes in the freezer firms up each layer, preventing crumbs and slides. Cold cake layers stiffen buttercream instantly, creating the stability needed for smooth frosting.
I level layers completely once they’ve cooled to room temperature. Uneven surfaces create bulges. Air pockets ruin everything.
For chilling, I apply a crumb coat next. Thin buttercream on top and sides, smoothed with a bench scraper, traps every stray crumb. Then I chill the cake again. Thirty minutes minimum sets the coating solid. No drying, no cracking.
This cold foundation holds through final frosting. Repeat these frosting steps if needed. Your crumb coat determines the outcome.
Frost the Top Smooth and Level
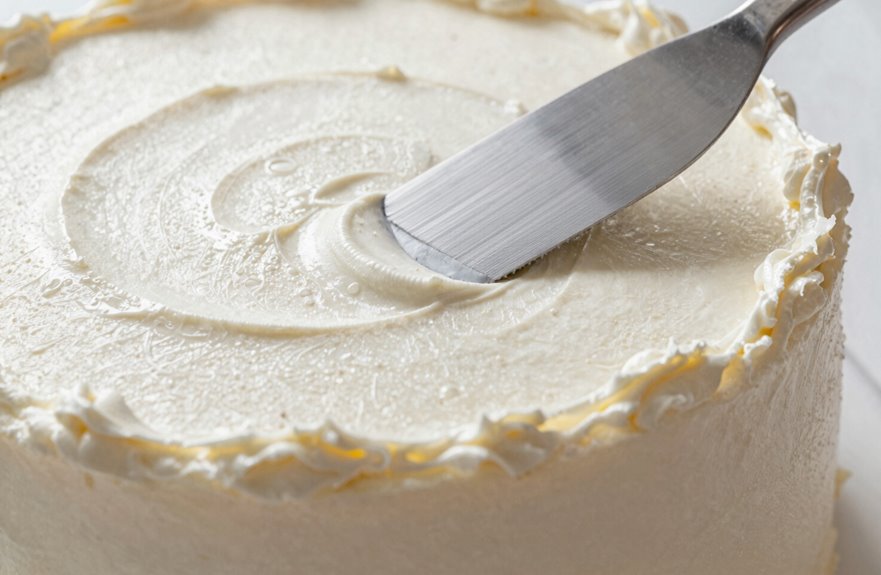
I’ll frost the top first, spreading buttercream thickly, about ¼ inch. Spin the turntable while holding your spatula flat at the center, letting excess icing cascade over the sides in a controlled manner. To level it, keep your bench scraper perfectly horizontal against the cake’s edge, rotating once fully without lifting the tool. This shears off the dome and leaves a crisp, 90-degree corner. Chill the cake for 10-15 minutes if the buttercream softens. A scraper dipped in hot water (120°F) will erase any remaining ridges with a single pass.
Spreading Technique
Why does the top always seem the trickiest? It’s all about control. Here’s how to nail it every time:
- Load and spin. Pile generous buttercream on top, press your offset spatula flat at the center, and rotate the turntable. Excess slides down for side coating later.
- Angle for even frosting. Tilt the spatula slightly, maintaining steady pressure, sweeping from center to edge for that level top.
- Lock in edge control. Hold the spatula vertically at 45° against the sides, rotating to build a smooth surface with thin layer precision.
- Finish with smoothing passes. Check for dips, then glide from edge toward center. If your buttercream turns goopy, refrigerate for 10 minutes.
Leveling Method
Once you’ve mastered spreading, the real magic starts with what’s underneath. I’m talking about leveling because uneven cake layers ruin even the best buttercream.
Here’s my process: First, I wait. Completely cool to room temperature, 60-90 minutes. Warm cake tears. Then I grab my serrated knife or leveler. I trim each dome until the cake layers sit flat and parallel. No crown around the top survives my blade.
Why bother? Level edges stack clean. No wobbling on the cake board. Air pockets disappear. My crumb coat grips better, my smooth frosting needs less rescue work.
After leveling, I chill layers 20-30 minutes (or freeze 10). Firm surfaces lock in place. Shifting stops. Flat foundations are what separate confident bakers from the rest.
Smooth the Sides Without Tearing the Finish
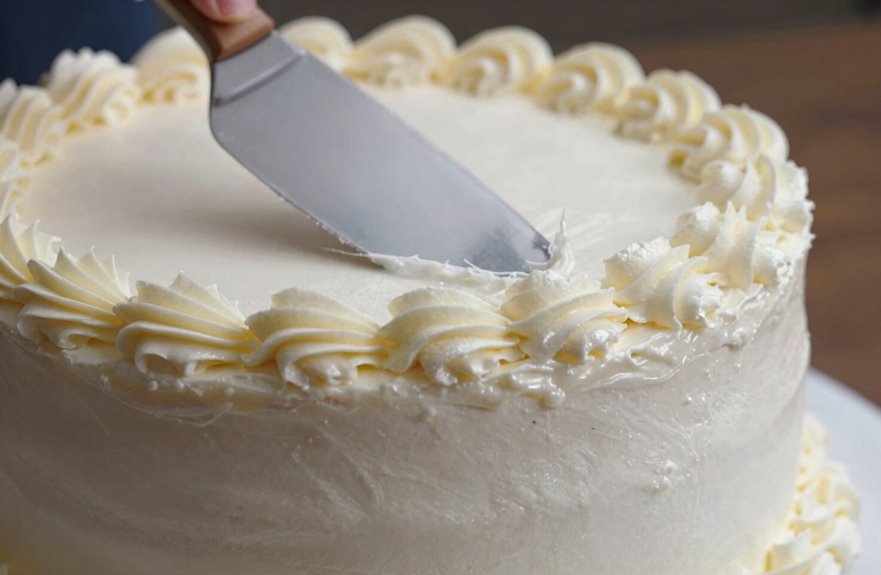
How do you keep a cake’s sides glassy-smooth without wrecking the finish you’ve just worked so hard to build. You already leveled your layers. Now let’s lock in that professional look.
- Spread buttercream ¼ inch thick around the sides without skimping.
- Hold your bench scraper at 90 degrees to the cake, and spin the turntable steadily.
- Chill your crumb coat for 20 minutes (or freeze 5) before adding the final coat; cold firms the surface and stops tearing.
- Patch gaps with extra buttercream, then glide a hot-scraper (barely warmed) for seamless repair.
Keep pressure gentle and consistent. Don’t overwork it. Pulling too hard risks tearing your smooth finish. Patch calmly and re-smooth for clean sides with no visible imperfections.
Create Sharp Edges for Clean Corners
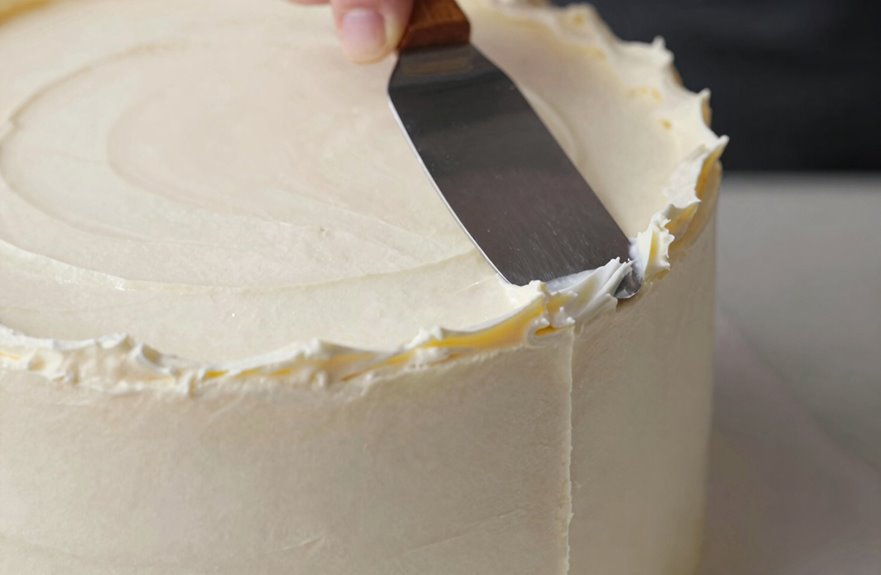
Where do sharp edges come from? They come from precision, patience, and the right technique. Achieving professional-looking sharp edges on buttercream starts with one essential move: swiping the outer edges of the buttercream crown toward the center after applying your final coat of smooth frosting.
First, ensure your top edges are level around the entire cake before you begin. Uneven starting points compromise clean corners from the start. Next, hold a straight-edged tool, like a bench scraper, flat against the side. Rotate the turntable slowly, maintaining steady pressure. For the top edge, use a thinner, sharper pass, pulling slightly inward to form a crisp lip rather than dragging frosting toward the center. Clean your tool between passes; accumulated buttercream creates rounded, ragged results. This technique produces bakery-worthy cakes at home.
Patch Imperfections and Chill Again
Now that your edges look crisp, it’s time to address the small flaws. I chill my crumb coat for 20 minutes minimum. Five minutes in the freezer works too because that firm base stops crumbs from wandering and keeps seams tight. Here’s how I patch what remains:
- Inspect the chilled surface for wrinkles and gaps
- Mix a thin coat of frosting to fill imperfections
- Use a hot-watered bench scraper to wrap or level trouble spots
- Chill again before final frosting
If bubbles persist, I reapply coat sparingly. Pressure must stay even. That second thin coat, barely there, bonds to the cold base and creates the smooth finish you need. Patience here means less fixing later.
Apply the Final Coat for Professional Results
Once the crumb coat has chilled for 20 minutes, or 5 minutes in the freezer if you’re in a hurry, you’re ready to lock in that smooth finish. Start by piling buttercream on top, then spread it thickly over the whole cake. This final coat hides everything.
Chill the crumb coat, then pile on buttercream thick—this final layer hides every flaw beneath smooth perfection.
Set the cake on a turntable and grab an offset spatula. Holding it horizontally, spread around the sides while spinning. This keeps an even height all around with no lumps.
For the top edges, swipe the buttercream crown toward the center. Everything must be level.
Next, take a bench scraper. Starting on top, then down the sides, apply gentle, steady pressure. Smoothing requires patience. If gaps appear, fill them. One more rotation delivers that seamless finish.
Fix Cracks, Bubbles, and Bulges
Even the smoothest final coat can develop flaws: cracks, bubbles, bulges. These issues derail your finish, but spotting them early allows you to fix them fast.
- Chill first. Chill your cake for 20-30 minutes before applying American Buttercream. Cold firms the icing and prevents cracks.
- Level your layers. Trim domed tops with a serrated knife so your cake stays flat. Uneven layers cause bulges every time.
- Pop bubbles gently. Let your cake warm gradually, then poke any bubbles with a toothpick and smooth with a spatula.
- Watch your consistency. Adjust your buttercream so it’s firm, not runny. Thin frosting slides and bulges, while thick, stable icing holds shape.
These steps keep your finish flawless.