I bake one box of vanilla cake mix in a greased 9-by-13-inch pan at 350°F for 25–35 minutes, cool it completely, then crumble it into fine crumbs with no chunks.
I mix in about 10–12 ounces of frosting, roughly three-quarters of a container, until the dough feels like soft playdough and holds its shape when squeezed.
I roll 1 1/2-inch balls, chill them for at least two hours or freeze one hour for extra firmness, dip lollipop sticks into melted coating before inserting, chill again for 10–15 minutes, then dip into 100–110°F candy melts or 88–90°F real chocolate with one smooth swirl.
I tap off excess, add sprinkles immediately while glossy, and stand upright in styrofoam to dry.
Specific temperatures, timing, and troubleshooting tips prevent cracks, sliding sticks, and soggy centers.
What You Need to Make Cake Pops
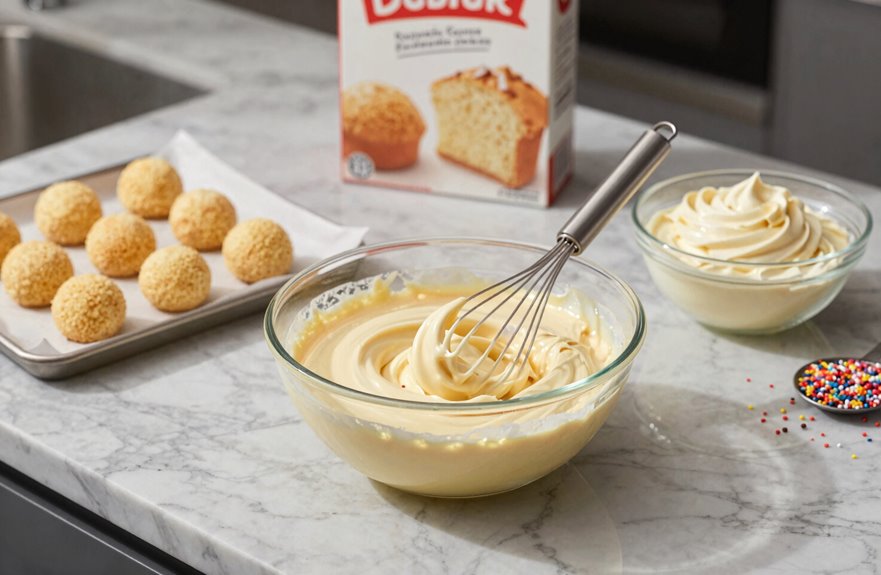
Making cake pops requires just a few essential ingredients and supplies.
I grab one box cake mix—standard 18.25 ounces—and bake it in a 9-by-13-inch pan. Once cooled, I’ll crumble that cake and work in frosting gradually until soft crumbs form. That’s your base.
Next, I need lollipop sticks. A full batch serves 48 cake pops, so I count out 48 sticks. For coating, 48 ounces of candy coating melts smooth and sets hard. This is essential for the signature shell.
Here’s my checklist: box cake mix, frosting, candy coating, lollipop sticks. Chill your rolled cake balls; two hours in the fridge, one in the freezer will ensure they hold their shape during dipping. You can begin dipping by noon.
Bake the Boxed Cake Mix
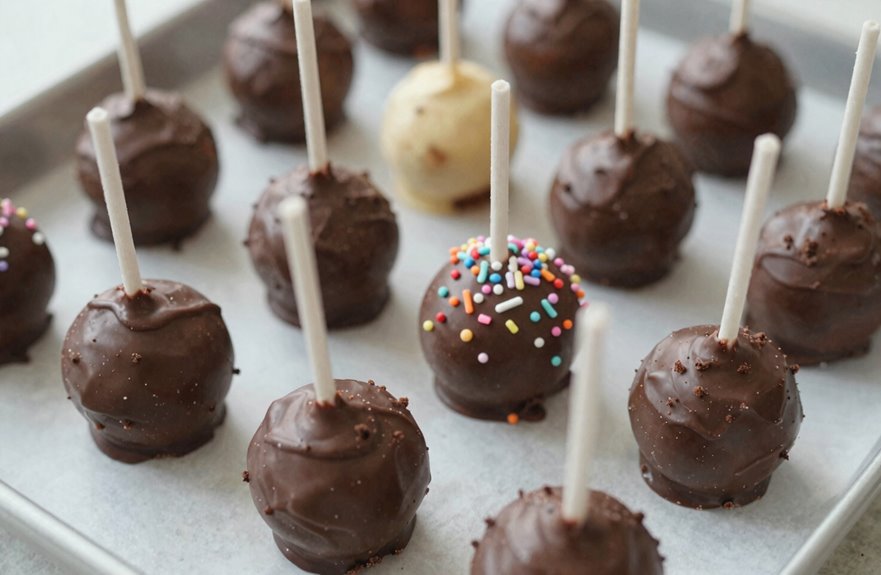
I start by picking my favorite boxed mix—chocolate, vanilla, or whatever I’m craving—and I grease a 9-by-13-inch pan so nothing sticks. I follow the box instructions for temperature and time, usually around 350°F for 25-35 minutes, then I let the cake cool completely on a wire rack before touching it. Once it’s room temperature throughout, I’m ready to crumble it down and move forward.
Choose Your Mix
What kind of cake base works best for cake pops? Vanilla cake mix is the answer. It’s neutral, reliable, and lets your candy coating shine. I grab an 18.25-ounce box, bake it in a 9-by-13-inch pan, then cool it completely. This step is essential because warm cake won’t crumble right.
Here’s my breakdown:
| Component | Specification |
|---|---|
| Cake base | Vanilla cake mix, baked per box directions |
| Yield | 48 cake pops per box |
| Binding | 3/4 container frosting, more if needed |
| Coating | 48 ounces candy coating |
I crumble the cooled cake into fine crumbs with no chunks allowed. Then I work in frosting gradually for proper frosting binding. Too much frosting makes cake pops soggy; too little and they fall apart. This balance comes from consistent testing and adjustment.
Prepare the Pan
With your cake mix selected, bake your boxed cake mix as directed in a 9-by-13-inch pan. Taking time with this step produces better cake pops later.
Once completely cool, crumble the entire cake into a large bowl. Aim for fine cake crumbs with no chunks. Add up to three-quarters of the included frosting, mixing with a spoon until you’ve got soft, moldable crumbs.
Form 1 1/2-inch balls, placing them on wax-paper-lined baking sheets. Let them rest 20 minutes. Refrigerate until firm but not frozen. Cold cake balls hold their shape during dipping, preventing them from falling off the stick.
Bake and Cool
Once you’ve got your boxed cake mix ready, you’ll bake it exactly as the package directs, typically at 350°F for 25–30 minutes in a standard 9-by-13-inch pan. Let the cake cool completely in the baking pan. Warm cake won’t crumble properly.
| Step | Action |
|---|---|
| 1 | Bake per box instructions |
| 2 | Cool fully in pan |
| 3 | Transfer to large bowl |
| 4 | Crumble into fine cake crumbs |
| 5 | Mix in frosting gradually |
Break the cooled cake into large pieces, then rub them between your fingers until you have even crumbs with no chunks. Line your sheets with wax paper for staging. Then add frosting, up to three-quarters of a container, mixing until soft crumbs form. This creates your base.
Crumble the Cake to Fine Crumbs
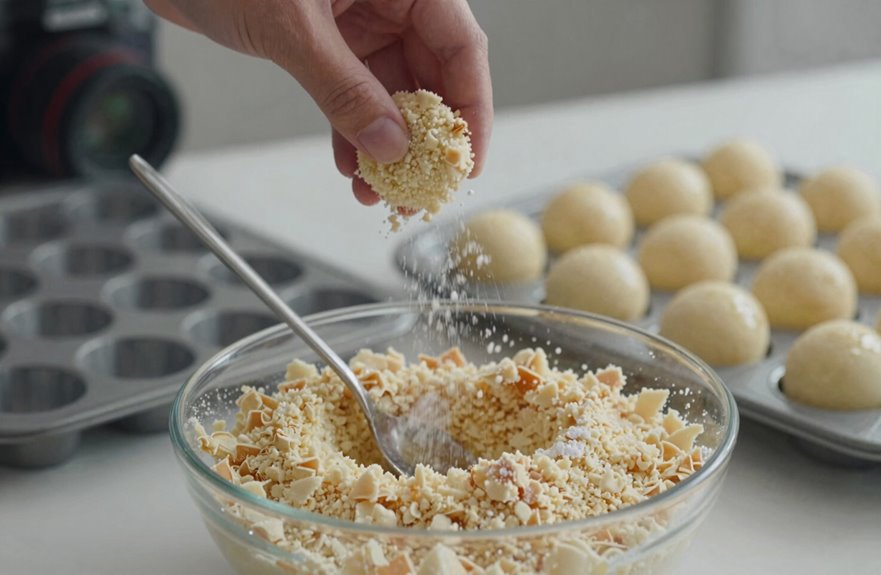
How do we transform a whole cake into the foundation of perfect cake pops. We crumble. Patience here separates good cake pops from great ones.
First, I line my baking sheets with wax paper. This catches every stray bit and keeps my workspace organized. Once my box cake mix cake has cooled completely, with no warmth whatsoever, I transfer it to a large bowl. Warm cake creates mush; cool cake creates proper cake crumbs.
I use my clean hands to crumble the entire cake. I break it apart systematically, working through every section until no large chunks remain. The goal is a cookie crumb texture: uniform, fine, dry particles that will blend seamlessly with frosting later. I rub the crumbs between my fingers, checking consistency. When they resemble coarse sand, I proceed to the next step.
Mix in Frosting (Use the 3/4 Rule)
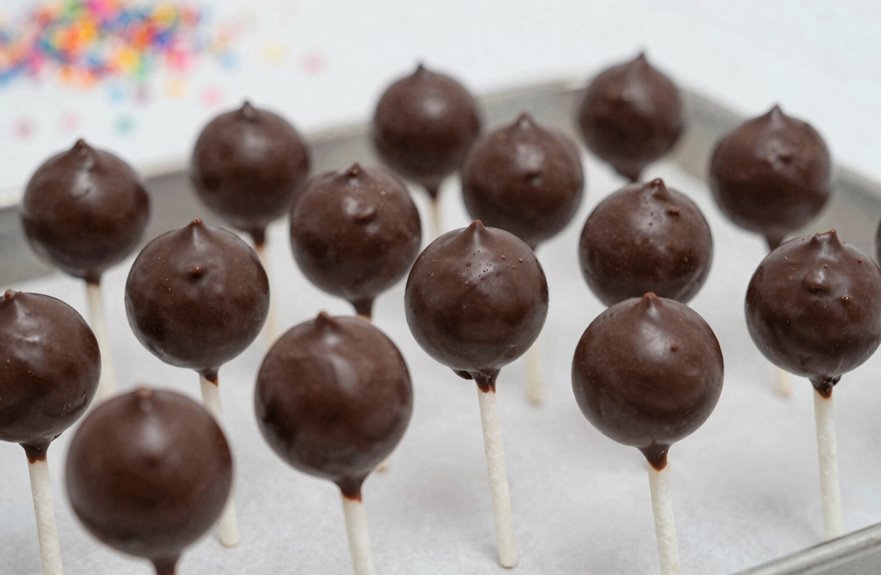
Fine crumbs sit in my bowl, ready for the next step. I grab my frosting, homemade beats boxed frosting for flavor, and start with three-quarters of the container. Use a 3/4 container ratio of frosting to cake. I fold it in gently until my cake pop dough forms a soft crumb that holds together when squeezed. Too dry? I add a teaspoon more. Too wet? I stop immediately. The goal is a 1 1/2-inch ball that won’t collapse. I stash the remaining frosting in the fridge for moistness adjustment later. This balance prevents cracks when we dip.
| Ingredient | Amount | Purpose |
|---|---|---|
| Box cake mix crumbs | Full batch | Base structure |
| Frosting (initial) | 3/4 container | Binding agent |
| Saved frosting | 1/4 container | Moisture backup |
| Homemade frosting | Preferred | Better texture, less sweetness |
| Final dough test | 1 1/2-inch ball | Shape retention check |
Roll Cake Balls That Hold Their Shape
I start by checking my cake texture. It’s got to be moist but not mushy, with no big crumbs sticking out. Then I mix in just enough frosting to bind it without turning the whole thing into paste, which usually means about 1–1.5 tablespoons per cup of crumbled cake. Once I’ve rolled 1 1/2-inch balls between my palms, I pop them on a parchment-lined tray and chill them for at least 2 hours. This firms the butter in the frosting and prevents the balls from slumping or cracking when I dip them later. Cold balls hold their shape. Warm ones collapse. The difference between a properly shaped cake pop and a lopsided failure comes down to temperature control during the chilling stage.
Ideal Cake Texture
The right texture makes or breaks your cake pops. Too dry and they’ll fall apart; too wet and they’ll slump on the stick. I start with vanilla cake, crumbling it completely before working in frosting bit by bit. You’re aiming for soft crumbs that squeeze into 1 1/2-inch balls without cracking or oozing.
- Imagine crumbs that cling together like damp sand, not paste
- Picture balls that hold their roundness when you set them down
- Feel the slight resistance when you press one between your palms
- See smooth sides after re-rolling, no cracks in sight
Chilling firms everything up. I freeze mine two hours minimum, re-roll for that perfect surface, then chill again before coating. Keep them cold between steps so they’ll stay solid through dipping. Watch for softening and return them to the freezer as needed.
Balanced Frosting Ratio
Although perfect texture starts with the cake itself, the frosting ratio determines whether your pops become sturdy treats or sad, soggy failures. I’ve learned this the hard way and want to help you avoid the disaster.
When working with box cake mix, I crumble and bind my cooled cake with about three-quarters of a standard frosting container. That’s roughly 10-12 ounces for most brands. I mix until I see soft, uniform crumbs with no large lumps remaining.
The key is adding more frosting only if the mixture won’t hold together when squeezed. Too much frosting makes your cake pops mushy; too little causes them to crumble apart. For proper moisture balance, work gradually and test as you go. The mixture should feel like playdough: pliable, not sticky.
Proper Chilling Technique
Once you’ve nailed the frosting ratio, shaping and chilling become your next make-or-break steps.
I roll my cake balls and pop them in the freezer for 15 minutes, or refrigerate for an hour. This firms them up so I can re-roll for that perfect roundness. When soft spots collapse, I simply return them to chill again.
As I work, I visualize the process:
- Tiny spheres cooling on a styrofoam stand with sticks pointing skyward like miniature lollipops
- Frosting setting to clay-like firmness in the cold, dry air
- My palms briefly warming each ball before the second rolling smooths every imperfection
- Time required: two hours minimum chilling before dipping begins
I keep everything upright to prevent flat bottoms. Lopsided cake pops won’t serve your party well.
Chill or Freeze to Set Firm
Before you even think about dipping, your cake balls need time to firm up. Otherwise, you’re looking at a crumbly mess sliding off the stick. I chill mine for at least 2 hours, or freeze for about 1 hour, so they hold their shape. Cold keeps the structure intact.
Once chilled, I re-roll the balls to smooth the sides and fix any cracks. Even texture means even coating later.
After dipping, I stand the cake pops upright in a box with holes, a Styrofoam block, or a proper stand. Then I freeze them briefly, about 15 minutes, or chill several hours to let the coating set firmly. If they soften while I’m working, I pop them back to re-firm. Rushing this step results in coating separation and cracking.
Melt Coating for Cake Pop Dipping
Whether you’re using chocolate or candy melts, the goal’s the same: a thin, smooth coating that sets fast and won’t crack. I melt half my coating first, working in 20-second microwave bursts until it’s fluid, and I’ll reheat as needed because coating thinning keeps everything workable.
A thin, smooth, fast-setting coating starts with melted chocolate in 20-second bursts—keep it warm, keep it workable, and never hesitate.
While dipping, I focus on these visual markers:
- Glossy pools of melted chocolate, deep brown or pastel pink, waiting in a shallow cup
- Thin ribbons of excess coating sliding off the tap, revealing a flawless shell underneath
- My cake pops standing at attention, drying smooth and streak-free in their Styrofoam perch
- Sprinkles catching the light, landing exactly where I want before the surface hardens
I dip once, swirling gently, never submerging twice. Quick, confident motions produce better results than hesitant technique.
Insert Sticks (So They Stay Put)
I always dip my stick about ½ inch into the melted chocolate before inserting it into the cake ball. This coating acts as edible glue and prevents wobbling. Push the coated end straight into the center of the cake ball, making sure the chocolate touches both the stick and the cake for maximum adhesion. After inserting all the sticks, chill the pops for 10-15 minutes at 35-40°F so the chocolate hardens fast and locks everything in place.
Stick Preparation Technique
Secure your cake pops with a foolproof stick technique that prevents mid-dip disasters. Proper stick preparation means the difference between picture-perfect treats and cake balls rolling away.
- A small pool of melted chocolate at the stick’s tip, glistening like glue
- The gentle press into cool cake, chocolate meeting frosting in silent partnership
- A brief 5-minute wait as the coating firms, holding everything in place
- Upright drying in foam or boxes, sticks standing at attention like soldiers
Dip each lollipop stick about ½ inch into chocolate heated to 90°F, then insert straight into the center without twisting. This dipping technique creates an anchor. Let it set completely before the final coating. The chocolate coating will properly secure the cake pop to the stick.
Chocolate Adhesion Method
Once your sticks are anchored with that initial chocolate seal, you’re ready for the main event: coating the entire cake ball so nothing shifts, cracks, or slides off. Dip each pop straight down into melted chocolate maintained at about 110°F, then swirl gently to cover the ball and base around the stick. This dipping method ensures complete cake ball adhesion. Tap the coated cake pop on the cup’s edge to remove excess chocolate coating, then twist slowly for thin, even distribution. Reheat the candy melts every ten minutes to keep them smooth. Stand each pop upright in a styrofoam block, spacing them two inches apart. They’ll set in roughly fifteen minutes, becoming firm and secure for the next step in your cake pops journey.
Dip Cake Pops for Smooth Coating
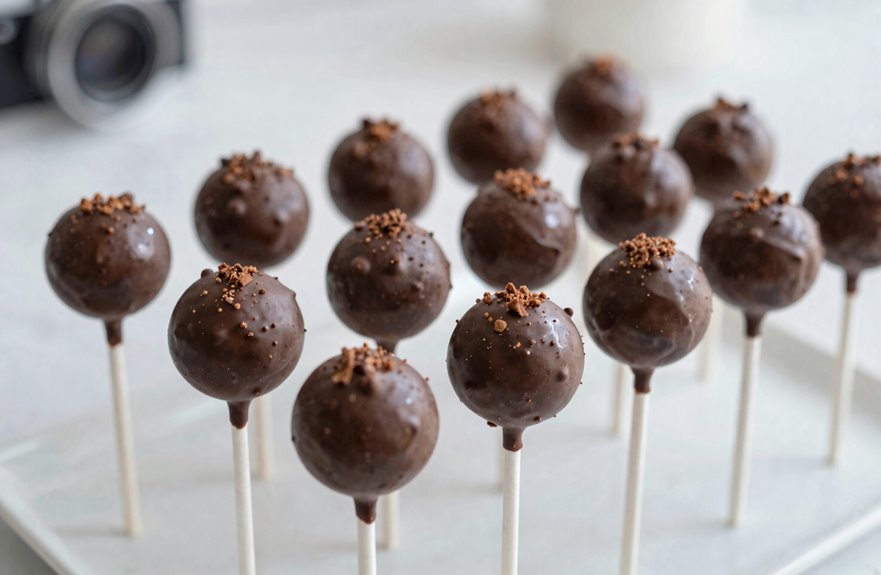
With the cake pops chilled and the coating melted to a smooth, pourable consistency, ideally between 100-110°F for candy melts or 88-90°F for real chocolate, I’m ready to start dipping. I dip 1/2 inch of the lollipop stick into the melted chocolate, insert it into the cake ball, let it set briefly, then submerge completely. I tap the coated pop gently against the cup’s edge so excess drips away. A quick twist ensures even distribution. I keep my coating thin, warm, and glossy, reheating as needed. Before the shell hardens, I add sprinkles. Finally, I stand each finished pop upright in foam or a perforated box to dry undisturbed.
- The stick’s base glistens with fresh coating before piercing the cake ball
- Tapping creates rhythmic drips pooling back into the cup
- Twisting leaves a mirror-smooth surface catching light
- Sprinkles cling like confetti to a still-wet canvas
Troubleshoot Cracked or Thick Coating
Cracks in the coating are a common problem, but the causes are straightforward and fixable.
First, check your base. Dry cake balls prevent coating crack disasters at the junction. Never dip while they’re moist or soft inside.
For the shell itself, use candy melts instead of regular chips. They melt uniformly and set without fuss. To thin your coating: melt half your chocolate at 30-second intervals, stopping before it overheats. If the coating is too thick, stir in ½ teaspoon vegetable oil, then re-temper briefly.
Tempering matters. If the coating cools too fast, cracks form. Keep it fluid, dip upright, and let them set completely without touching for 15 minutes. Follow these steps for consistent results.
Add Sprinkles Before Coating Sets
Proper coating sets fast, so you’ve got a narrow window to decorate. Add sprinkles immediately after dipping each cake pop, while the coating stays glossy and soft, roughly 30-45 seconds at room temperature. Small, evenly distributed sprinkles work best; heavy ones make your box cake mix cake pops wobble on their sticks.
- Tiny rainbow spheres melting slightly into warm chocolate
- A gentle spin pressing decorations flush against the surface
- Glossy shells transforming into matte, sprinkle-studded finishes
- Brief rewarming when coating thickens too quickly
Tap each pop lightly so sprinkles adhere deeply rather than perch on top. If the coating begins to skin over, reheat your chocolate to 90°F for 10-15 seconds. Work in batches of four to six cake pops, decorating each before the coating hardens completely.
Dry and Store Finished Cake Pops
Now that you’ve decorated your cake pops, you need to let the glossy coating harden. Stand your cake pops upright in a box with holes, a Styrofoam block, or a cake pop stand. Gravity works in your favor this way. Let them set and dry completely, which takes about one hour at room temperature. Rushing leads to smudged designs and sticky fingers.
Once firm, transfer your finished cake pops to an airtight container for storage. They’ll stay fresh refrigerated up to one week. You can also prep ahead by freezing undipped cake balls up to three months, or coated pops up to six weeks. Thin coating dries faster, so rewarm chocolate as needed.
Freeze Cake Pops Before or After Coating
Before you worry about drying and storing your finished pops, you need to master the freezing steps that happen earlier in the process. Cold temperature transforms your box cake mix creations from crumbly messes into professional-looking treats.
Proper chilling produces these results:
- Firm, round spheres that won’t fall apart in warm chocolate
- Quick-setting shells that harden within minutes
- Sticks that bond securely instead of sliding out
- Smooth finishes without cracks or fingerprints
Freeze cake pops twice: first for 10 minutes after rolling, then 30 minutes before dipping. Cold balls help the coating set fast. Work in batches, keeping extras cold. When finished, position them setting upright in a styrofoam block or rice-filled cup. Warm rooms require extra refrigeration time between steps.