I’ll help you make a lamb cake that keeps its head.
First, find a vintage two-piece stand-up mold on eBay or Etsy, then coat every crevice with solid vegetable shortening and dust with flour so nothing sticks.
Mix dense pound-cake batter, never light sponge, and fold in stiff egg whites for structure.
Fill the bottom half to just under the rim, press batter firmly into the ear cavities, cap with the top half, and insert toothpicks through the neck and ears for support.
Wrap kitchen string around the mold to seal leaks, bake at 350°F for 45–60 minutes, then cool completely before unmolding.
Frost only when the internal temperature hits 35–40°F, and transport with a braced base and slow driving.
Careful attention to these details prevents structural failure and cracking.
Where to Find a Lamb Cake Pan and Prep It so Nothing Sticks
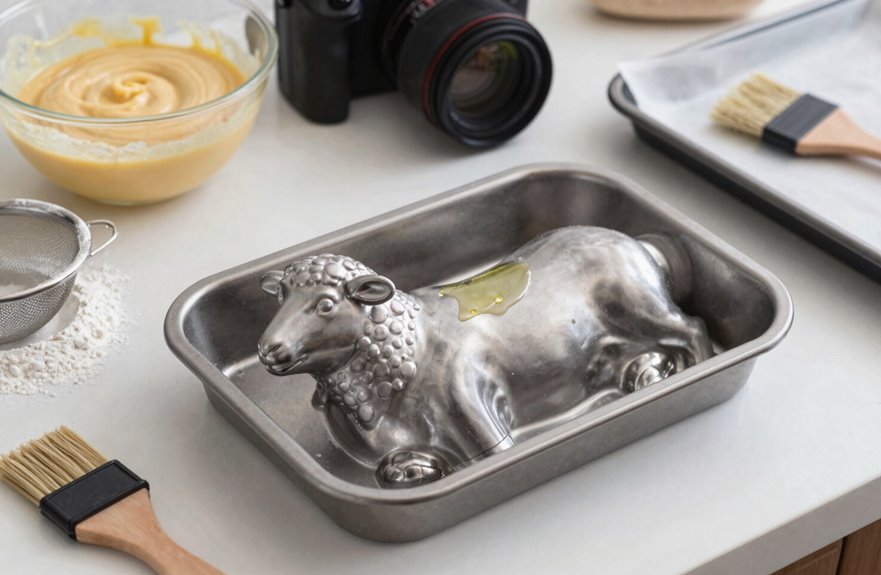
Where exactly does one track down a lamb cake pan these days? You can find them through eBay, Etsy, and dusty antique stores where vintage molds wait patiently. Look for stand-up styles, and note whether yours has a vent hole, as this affects how you’ll seal it later.
For mold prep, coat every crevice with solid vegetable shortening, then apply pan-release spray for backup insurance. Flour or cocoa dusting comes next; cocoa hides any missed spots on chocolate cakes, flour works for vanilla. Inspect twice. Bare patches get more shortening.
Tie the halves with kitchen twine and place on a cookie sheet for bake stability. Some bakers add toothpicks through the neck. Cool completely on that same cookie sheet before attempting removal.
Mix Lamb Cake Batter Thick Enough to Support the Head
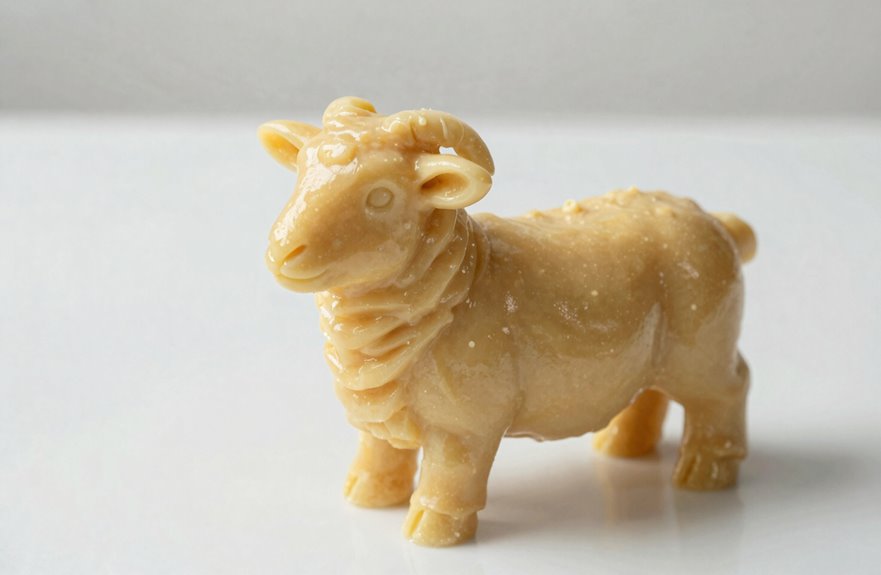
With your pan greased, tied, and ready, I turn to the batter itself because a lamb cake lives or dies by what goes inside. I start with dense pound-cake batter, not light sponge. This density gives head stability where weaker cakes collapse.
I mix until smooth, then fold in stiffly beaten egg whites for extra structure. For my two-pan lamb mold, I fill the bottom face side to just under the rim. Overfilling causes trouble. I press batter firmly into ear cavities for proper ears formation.
I bake at 350–375°F for 45–60 minutes, checking doneness through vent hole baking. Underbaking risks collapse. After baking, I respect mold cooling: 5–10 minutes in the pan, then longer cooling before unmolding. Sagging results from rushing this step.
Fill, Seal, and Bake Leak-Free With Head Supports in Place
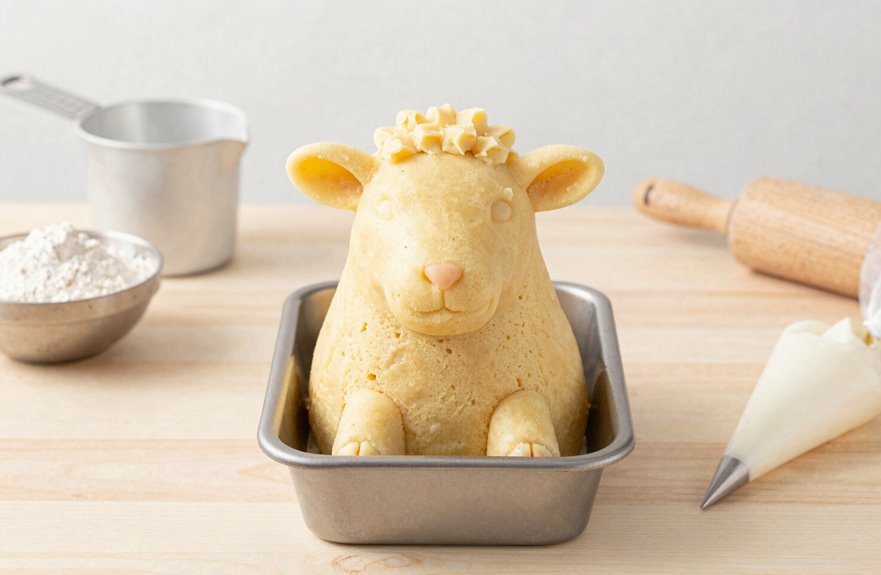
Once the bottom half of my mold is filled to just under the rim, I cap it with the top half, making sure the vent hole faces up so steam can escape without warping the cake. I then secure the two halves together to bake leak-free.
First, I insert toothpicks through the ear centers and drive skewers through the neck into the body for head support. Then I wrap kitchen string around the lamb mold, tying it tight to seal gaps where batter might escape. I place the assembled mold on a cookie sheet for stability.
I assemble and bake for 45–60 minutes at 350°F, checking through the vent hole with a toothpick; it must come out clean. After baking, I let it cool completely before decorating.
Cool Your Lamb Cake to Save the Ears and Face
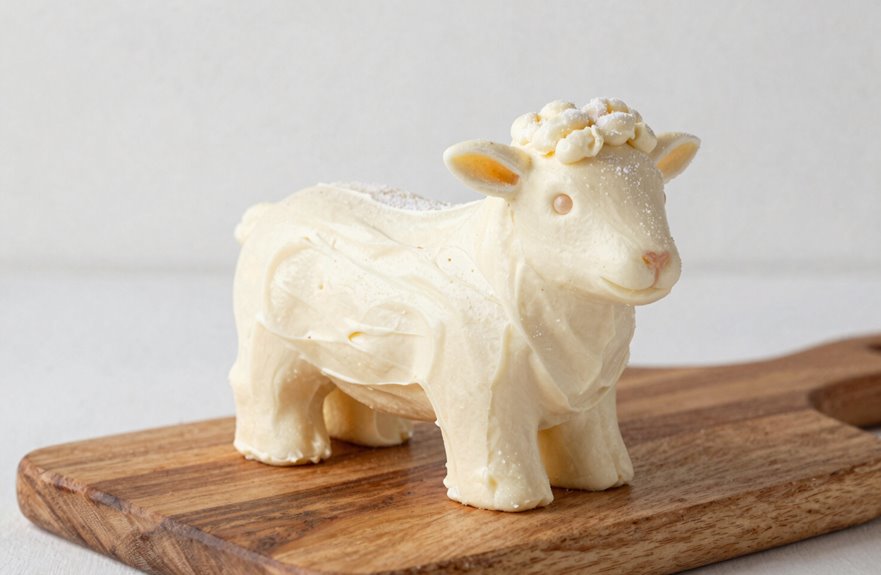
The worst thing you can do right now is rush. I’ve learned this the hard way, and I’m here to save your Easter cake from disaster.
Let the lamb cake mold work for you. Cool the cake inside for 5–10 minutes, then release it. Run a sharp knife around edges before de-molding to protect those delicate ears and face.
Let the mold do the work: cool 5–10 minutes, then release. A sharp knife around the edges protects those delicate ears and face.
These steps prevent cake failure:
- Insert toothpicks or skewers through the neck and ears during cooling
- Prop fragile areas with temporary supports until firm
- Allow 3 hours total for full room-temperature stability
- Wait completely before any trimming or frosting
- Accept nothing less than a crack-free finish
Patience now ensures your creation stays intact.
Frost, Decorate, and Transport Without the Head Falling Off
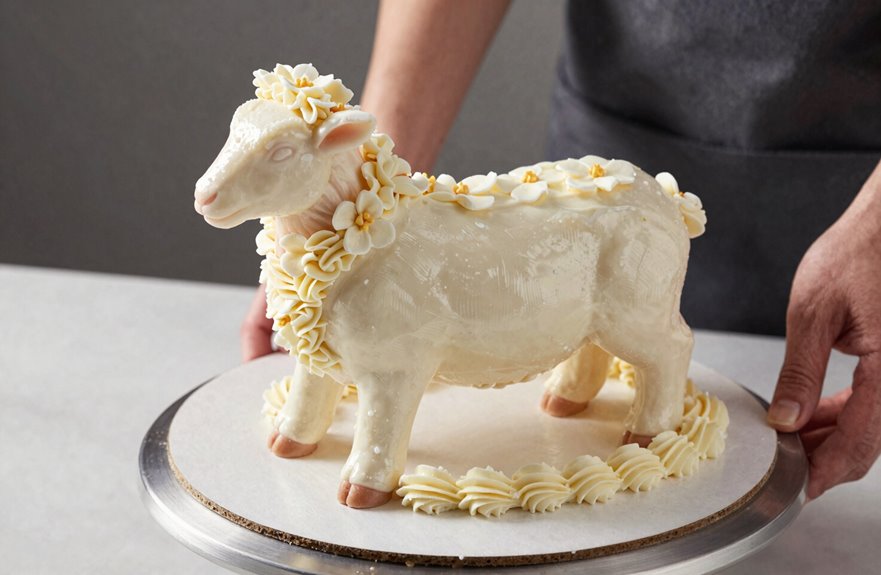
My lamb cake has survived the cooling stage. Now comes the real test: keeping its head attached through frosting, decorating, and a car ride to Grandma’s house.
I frost only after complete cooling, targeting an internal temperature of 35-40°F to prevent sliding. I apply base frosting in horizontal stripes across the seam, pressing twine into the neck while the buttercream sets for 15 minutes. Head stability requires skewers inserted at 45-degree angles through the neck for support.
I decorate with jelly beans for eyes, pressing gently to avoid cracks. Edible grass and shredded coconut hide imperfections and add friction. For transport, I secure the lamb to a cardboard base with additional frosting, bracing the head with crumpled parchment. Slow driving prevents shifting. Careful handling keeps the structure intact.
| Task | Tool/Method | Purpose |
|---|---|---|
| Frosting | Base frosting stripes | Adhesion and upright stability |
| Neck support | Twine + skewers | Structural reinforcement |
| Decorate | Jelly beans, edible grass | Visual appeal, wool simulation |
| Transport | Braced base, slow driving | Head stability, safe arrival |