A smash cake is a small, single-serving cake, usually 4 to 6 inches across, that is set before a baby on their first birthday purely for messy, hands-on destruction. It’s a photographic tradition, not a dessert. Key characteristics include soft buttercream at room temperature (about 70°F), minimal sugar, and natural dyes like beet juice or blueberry puree. The typical window for capturing photos is 2 to 3 minutes before cleanup wipes appear.
Practical considerations include keeping the smash cake separate from what guests eat, prioritizing baby-safe textures that can be easily squished, and accepting that most of it will end up uneaten. The primary goal is capturing irreplaceable milestone photos. Methods for balancing memory-making with waste reduction are available in the sections that follow.
What Is a Smash Cake, Exactly?
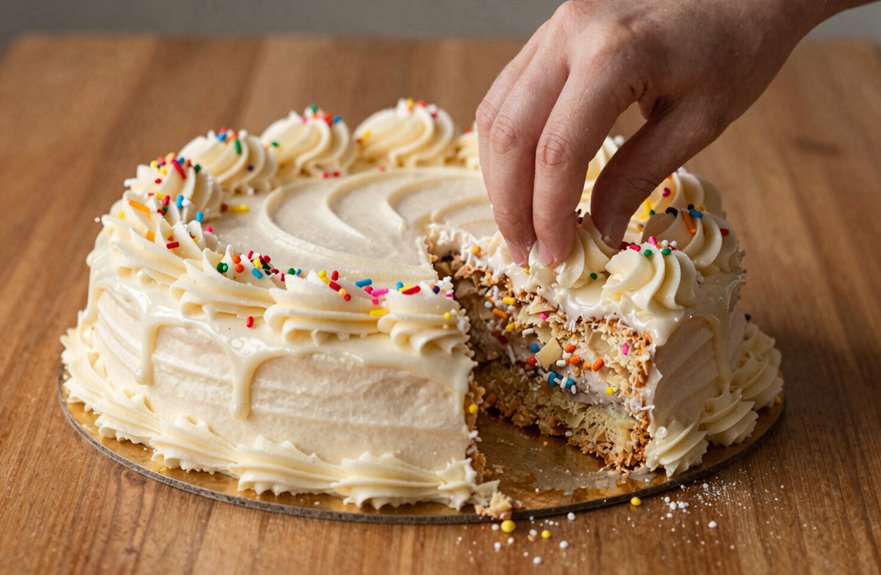
A smash cake is a small, sacrificial dessert set aside specifically for a baby’s hands-on destruction. This 4-inch or 6-inch cake is designated for a child’s first birthday photoshoot, kept entirely separate from the cake guests actually eat. The goal isn’t consumption; it’s tactile exploration. The aim is to capture frosting smeared across cheeks, fingers coated in buttercream, and sensory joy on camera.
Photographers and parents share this tradition because it produces messy, memorable images perfect for sharing with family, friends, and social media communities. Minimal edible portions remain by session’s end, and that’s the intended outcome. This milestone moment celebrates belonging. It marks a child’s entry into a world of ritual, documentation, and collective celebration.
Smash Cake or Regular Cake: Which Should You Choose?
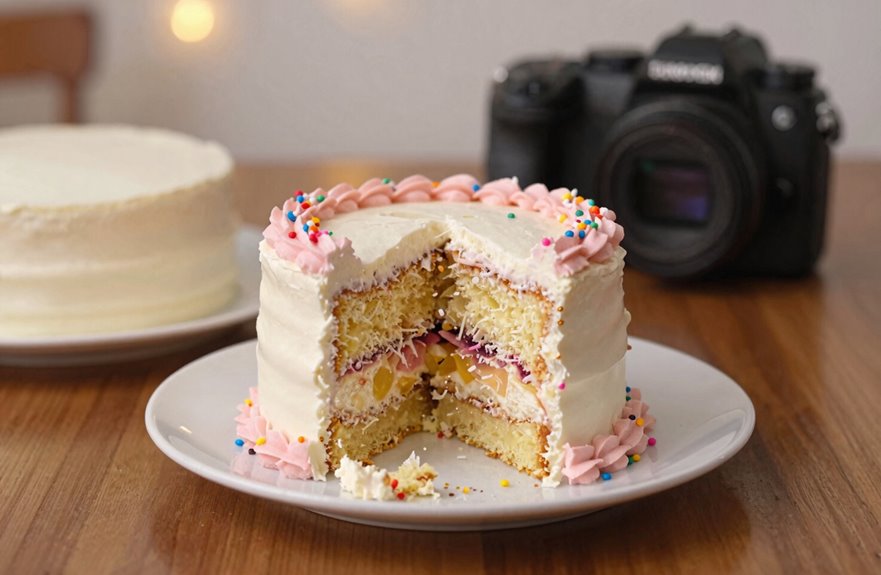
Why commit to cake chaos when a simple frosted wedge might suffice? You’re weighing this decision carefully, and the choice between a smash cake and a regular cake depends on your specific needs.
Consider your priorities. A smash cake creates that glorious, messy photo moment with minimal waste and maximum memory. It’s baby-sized, typically 4 or 6 inches, designed for tiny hands and close-up shots. A regular cake feeds everyone, emphasizes tradition, and skips the high-chair cleanup. You can’t have both dominating the party without overspending.
Ask yourself who needs feeding. Guests deserve slices. Your baby deserves uninhibited fun. Match the smash cake to your theme, use baby-safe buttercream at room temperature, and decide if you’re capturing intimate portraits or table-wide ambiance. Make the choice that aligns with your family’s priorities.
Smash Cake Size Guide: 4-Inch vs. 6-Inch
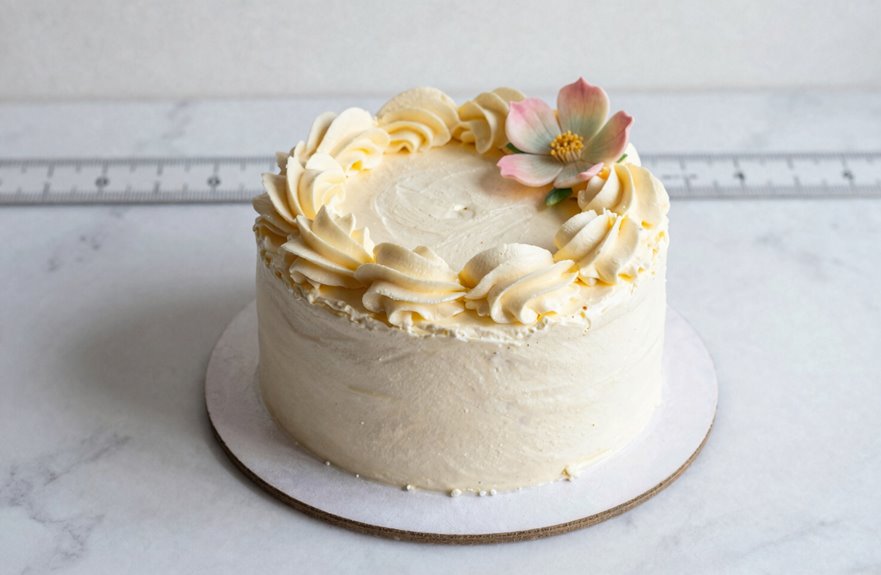
How do you pick between a 4-inch and 6-inch smash cake? Consider three factors: party size, sharing plans, and photo goals.
The 4-inch smash cake suits small gatherings. It’s baby-sized, fits high chairs, and minimizes waste. Use it for tight close-ups where tiny hands meet buttercream.
The 6-inch smash cake feeds guests beyond the baby. Its larger surface showcases theme details and creates striking table photos. Choose this for bigger celebrations.
Your smash cake size decision hinges on practicality versus presentation. Small group with intimate shots? Go 4-inch. Shared dessert with a styled spread? Pick 6-inch.
Both need baby-safe frosting and room temperature serving, about 70°F, for optimal smashability. This reduces mess, improves photos, and creates lasting memories.
Is Smashing a Whole Cake Wasteful? What Critics (and Fans) Say
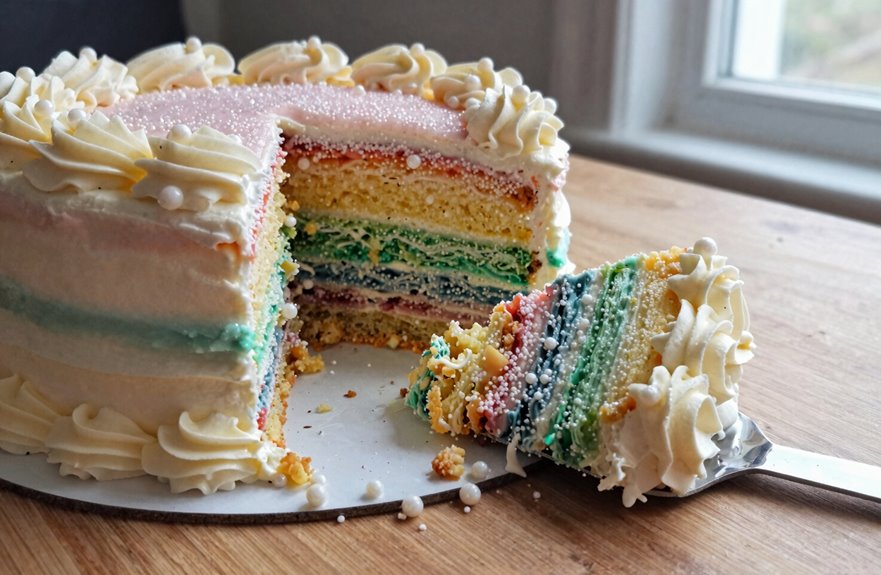
I understand you’re weighing whether smashing a whole cake crosses the line from festive fun into outright waste, and you’re not alone in that calculation. Critics point out that a fully destroyed 6-inch cake, roughly 12 servings at 250 calories each, gets trashed rather than tasted, while supporters counter that the tradition yields irreplaceable first-birthday memories worth the sacrifice. Both sides raise valid points: the etiquette concerns about food waste and messaging to kids, and the nostalgic value families place on those frosting-covered photo ops.
Waste Debate
Where exactly does a perfectly good cake go after it’s been fist-smashed by a one-year-old? Critics call it wasteful, citing buttercream crime scenes with pounds of cake trashed post-photo shoot. We’re talking 6 inches of vanilla sponge, 2 cups of frosting, gone. Fans push back. Size matters. A 4-inch smash cake limits excess. Some serve the smashed portion to guests (yes, really) or repurpose undamaged layers.
| Problem | Solution |
|---|---|
| Full-size waste | 4-inch mini cake |
| Uneaten remains | Repurpose for guests |
| Excessive cleanup | Number cakes (less crumby) |
| Forced participation | Skip if baby resists |
Not all babies enjoy the smash, raising etiquette questions. Photographers now advocate edible alternatives. Balancing tradition against food responsibility requires weighing cultural expectations with practical waste reduction.
Tradition Value
The smash cake tradition sits at a messy crossroads between memory-making and common sense.
Critics call it wasteful. Food becomes photo props, not nourishment. Cakes measuring 6 to 8 inches wide often land in trash bins after 10-minute shoots. Fans push back hard. They treasure these sticky, giggling moments. Tradition matters here.
Generations divide on this. Grandparents who scraped by rarely understand smashing perfectly good dessert. Millennials frame it differently: fleeting childhood documented digitally, shared instantly.
A 4-inch smash cake, or a number-shaped sheet, cuts waste by roughly 60 percent while preserving the shot. You’ll still capture frosting-coated fingers and surprised eyes. Some families skip smashing entirely, serving guests first, then staging a brief, small-cake moment.
Cake Smash Alternatives That Waste Less Food
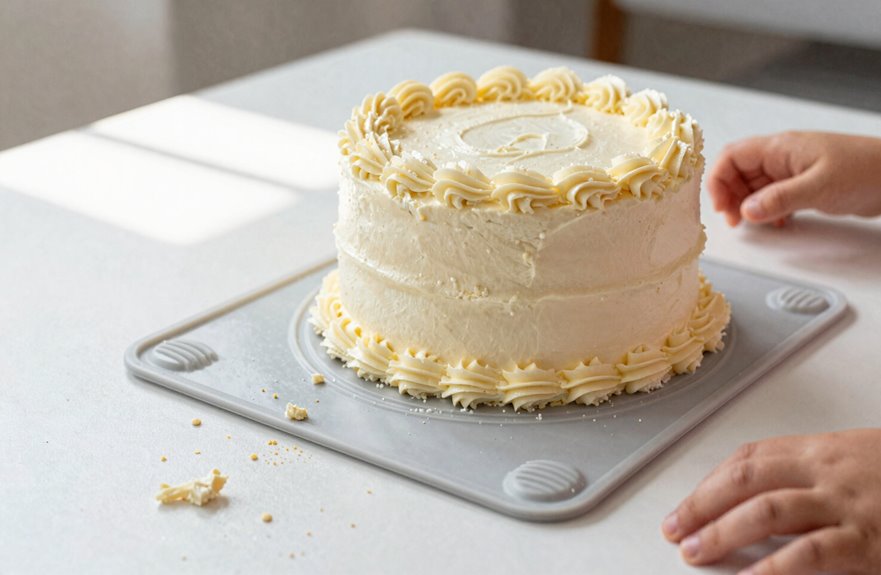
Letting a baby demolish an entire cake feels excessive when guests are watching. Instead, consider slicing a larger cake so everyone can eat it, or use a 4-inch smash cake (perfect for tiny hands) alongside a 6-inch number cake for photos. Any scraps become truffles; leftovers go home in boxes.
Slice Over Whole
Why let a perfectly good cake go to ruin when a single slice captures the same joy. Too many parents watch a $60 cake become a buttercream crime scene. The solution is simple: slice, don’t smash whole.
Use a 4-inch smash cake or single edible slice for baby’s hands-on moment. Keep the rest intact for guests. This cuts waste by 75%. Pair baby’s mini cake (4 inches, 2 layers) with a standard 8-inch cake for the party. Guests eat clean slices; baby still gets messy photos.
Some families use one large cake for display only, then serve pre-cut portions. Leftover cake transforms into trifle or cake pops within 24 hours. You preserve the tradition while reducing food waste.
Number Cake Option
One alternative pulls double duty: a number cake shaped like your baby’s milestone digit. This approach works well for parents who want that smash cake moment without the waste.
The number cake, say a “1” for a first birthday, becomes your baby’s personal smash cake. You pair it with a standard round or sheet cake for guests. This keeps the edible portion small, typically 4-6 inches, while the display cake handles photography duties.
Buttercream or ganache provide optimal smashing texture. Serve at room temperature, about 70°F, so crumbs spread properly. Avoid hard toppers; they’re choking hazards and photograph poorly.
The outcome: guests eat the main cake, your baby destroys the number cake, and nothing lands in the trash.
Repurpose Leftovers Smartly
Smaller smash cakes solve the waste problem at its source. I recommend a 4-inch smash cake for tight gatherings. It offers 10 centimeters of puree-able cake with minimal leftovers. For shared moments, a 6-inch version feeds siblings too. I always plan for uneaten portions. Guests take home slices, or I repurpose those leftovers into tomorrow’s dessert.
Waste-cutting breakdown:
| Approach | Size | Best For |
|---|---|---|
| Mini smash cake | 4 inches | Solo baby photos, zero waste |
| Shared smash cake | 6 inches | Family participation |
| Number cake | Varies | Edible guest portions |
| Leftover plan | Any | Guest take-home bags |
| Room temp serving | All sizes | Easier smashing, 20 minutes out |
I match my smash cake to the party theme, serve at 68-72°F for ideal texture, and skip hard toppers. Safety comes before photography.
Best Smash Cake Flavors for Babies (And What to Avoid)
How do you pick a flavor a one-year-old will actually enjoy and not just wear. Stick to baby-friendly options: vanilla, banana, or mild strawberry. These familiar tastes won’t overwhelm developing palates.
For frosting, choose yogurt-based or whipped cream toppings with minimal powdered sugar, about ¼ cup per cup of cream. Buttercream works too, but use unsalted butter and keep sugar low. Skip artificial dyes entirely. Instead, tint frosting naturally: 1 tablespoon beet juice for pink, 2 tablespoons blueberry puree for purple. Less mess, zero chemical exposure.
Avoid citrus-heavy flavors, cinnamon, and nutmeg because they irritate tiny stomachs. For filling, mash ½ cup ripe fruit into cream cheese. No heavy icing needed.
Keep it simple. Your baby needs appropriate nutrition at this developmental stage, not excess sugar.
How to Make Sure Your Smash Cake Is Safe for Babies
You’ve settled on vanilla or banana, and you’ve nixed the artificial dyes. Smart moves for your baby’s safety.
I always bake small cakes, 4-inch or 6-inch rounds work perfectly. They’re manageable, and I’m not wasting ingredients when most ends up smashed. I use soft buttercream at room temperature; cold cake doesn’t squish right.
Here’s my safety checklist:
| Risk | My Solution | Why It Matters |
|---|---|---|
| Choking | No hard toppers or decorations | Keeps airways clear |
| Slipping | Stable, non-slip surface | Prevents face-plants into frosting |
| Non-edible ingestion | Remove all decorations beforehand | Avoids emergency room visits |
I test the frosting’s texture myself first. If I can’t squish it easily, baby can’t either. Supervise closely, and keep cleanup wipes handy. This approach reduces choking hazards and prevents accidents during the smash cake experience.
How to Photograph Your Cake Smash Session
I’ll position my camera low, at roughly 12-18 inches from the floor, to catch every flicker of surprise as frosting meets fingers. Natural window light works best. Place your setup within 3-5 feet of the largest window between 10 AM and 2 PM for soft, even illumination. For indoor or overcast day shoots, bounce a flash off a white wall or ceiling at 1/4 to 1/2 power to keep shadows gentle and skin tones warm at 5600K color temperature. Preset your camera to continuous shooting mode at 3-5 frames per second. Start recording 30 seconds before the smash to capture the initial hesitation, then the plunge, and finally the glorious mess. The perfect shot lives in the 2-3 minute window before cleanup becomes unavoidable.
Lighting Setup Essentials
Soft, continuous lighting transforms a chaotic cake smash into a portfolio-worthy session. Your lighting setup makes or breaks these messy milestones.
Go-to approach:
- Position two key lights at 45–60 degree angles, plus a fill light, for even skin tones without harsh shadows
- Keep the cake smash setup simple: centered cake, evenly lit backdrop, no hotspots
- Use continuous diffused sources like softboxes; skip the flash to avoid redeye and maintain consistent color
- Add a reflector under the chin to fill shadows; shoot at f/2.8–f/4, ISO 100–400, 1/200–1/400 sec
Shoot at eye level, capturing frontal, three-quarter, and overhead angles. That shallow depth of field keeps baby and cake sharp while the background melts away. You’re creating memories, not just documenting frosting.
Timing The Smash
Once your lights are locked in, the real work begins: choosing when to shoot. I always plan smash cake sessions for mid-morning, roughly 10:00–11:00 AM, when babies are alert, fed, and freshly napped. Timing directly affects whether a baby engages with the cake. A tired baby won’t interact with it, and you’ll miss those messy, joyful moments.
Here’s what I’ve learned about session structure:
| Shot Type | Purpose | Timing Within Session |
|---|---|---|
| “Before” | Clean outfit, curious expression | First 2–3 minutes |
| “During” | Hands in cake, frosting everywhere | Peak engagement, minutes 5–10 |
| “After” | Mess documentation, cleanup beginning | Final 3–5 minutes |
I keep wet wipes, towels, and backup outfits within arm’s reach. A shallow depth of field, f/2.8 to f/4, keeps focus on expressions while the smash cake stays recognizable. Move fast because babies don’t wait.
Smash Cake Costs: Bakery Prices vs. DIY
A smash cake’s price tag depends heavily on whether you buy from a bakery or bake it yourself. Bakery smash cake costs range from $15 to $40 for 4-inch versions, while 6-inch options hit $25 to $60. Custom designs with fondant or personalized toppers cost $50–$100 or beyond. Add-ons like stands or coordinating accessories tack on $10–$30 more. DIY routes slash expenses dramatically, with basic ingredients totaling roughly $5 to $15.
Four factors influence the bakery versus DIY decision:
- Budget constraints – bakeries strain wallets faster
- Time availability – DIY demands 2–3 hours minimum
- Skill comfort level – piping smooth buttercream takes practice
- Customization needs – specific themes favor professional hands
Some photography studios bundle smash cakes into packages, reducing separate purchases. Select the option that aligns with your family’s priorities and resources.
How to Make a Smash Cake at Home (Step-by-Step)
Because you’re weighing a bakery’s convenience against your own kitchen’s potential, DIY smash cake construction demands less expertise than you’d expect. It does require methodical preparation and baby-specific safety considerations.
First, bake a single-layer 4–6 inch cake using a basic box mix or homemade batter. Vanilla and chocolate work beautifully. Cool completely on a wire rack for 45–60 minutes. Whip up soft buttercream or yogurt-based frosting, and apply a smooth crumb coat to seal loose crumbs before your final layer. Use only food-grade, baby-safe colors. Skip hard toppers entirely.
Mount the smash cake on a highchair tray with silicone mat underneath. Test stability at room temperature. Offer a tiny unsweetened sample beforehand.
When to Skip the Smash Cake: Simple First Birthday Ideas
You don’t need a smash cake to mark your baby’s first birthday. The pressure to follow trends is real, but skipping it keeps things simple and still special.
Here’s how I approach low-key celebrations:
- Serve guests a traditional cake – Offer your baby a single 4-inch slice, or skip sugar entirely with a banana “cupcake.”
- Build a sensory station – Fill a tray with whipped cream, oatmeal, or chilled fruit for tactile play without the waste.
- Stage photos with props – Use balloons, a milestone board, or a “ONE” banner; add one pastry or strawberry for interaction.
- Plan a clean activity – Try bubble photos at 10 a.m. or golden-hour family portraits.
These first birthday ideas deliver memories without the frosting-carpet disaster. Multiple approaches work depending on your family’s preferences.