I preheat my oven to 350°F, grease both mold halves, and fill each cavity exactly 1 mm below the rim to prevent domed tops or hollow centers. I seal the mold firmly, bake 15–20 minutes, then cool five minutes before peeling out perfect spheres. I dip stick ends in 92–98.5°F coating, insert into each ball, and chill 30 minutes for a secure bond. Finally, I dip fully, add toppings while wet, and stand upright to set.
These steps will help you troubleshoot common pitfalls and achieve professional results.
The Exact Cake Pop Mold Recipe (No Crumbling Required)
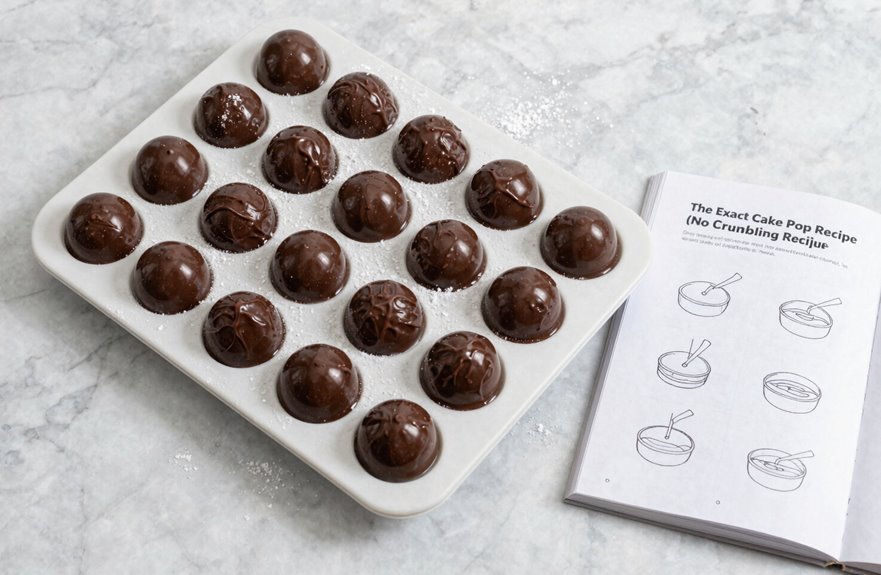
When I first tried making cake pops, I expected perfect spheres right out of the gate. Instead, I got crumbly blobs that fell off the stick. The cake pop mold matters more than blind optimism.
I preheat to 350°F, grease my silicone mold lightly on both sides, and set it on a baking sheet. I fill each cavity to 1 mm below the rim, seal the top half, and bake for 20 minutes. A toothpick through the vent hole indicates when they’re done. After brief cooling, I remove them once fully set.
I dip lollipop sticks into melted chocolate or candy melts, insert into pop centers, and chill 30 minutes to secure. Finally, I coat completely, swirl off excess, set and decorate with sprinkles while the coating stays wet. This method produces consistent, uniform results.
Mix Batter That Rises Into Perfect Balls
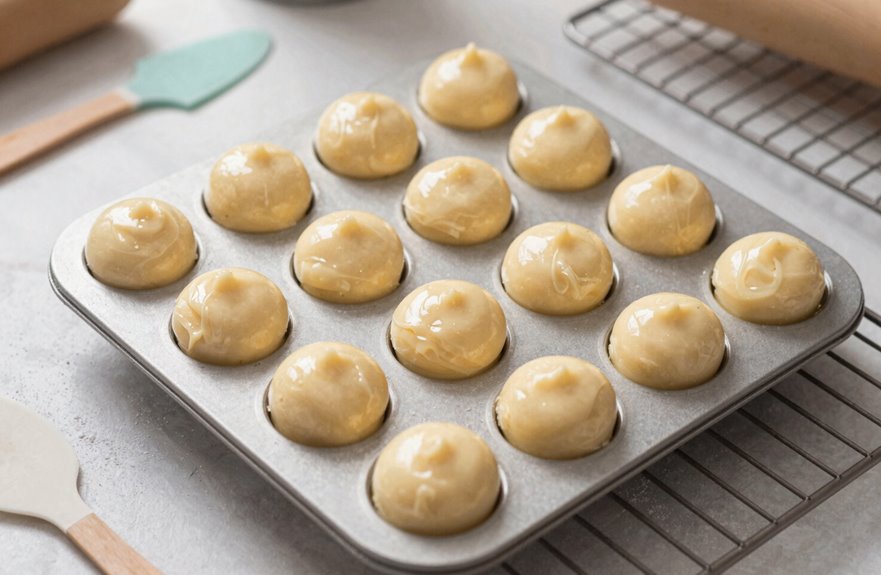
I always start with the dry mix: flour, baking powder, and salt, whisked together and set aside. Then I cream butter, sugar, and vanilla until fluffy. I add eggs one at a time, mixing until smooth, then fold in the dry ingredients just until combined. The batter should be thick but pourable.
I pour it into my pre-greased cake pop mold, filling each cavity to 1 mm below the top. I bake for 15 to 20 minutes until the batter rises into round balls. I let them cool slightly, then remove carefully. Refrigerate the balls for 30 minutes. This firms them into moldable dough. If the consistency is off, too sticky or crumbly, adjust with a touch more egg or flour, or chill longer.
Fill and Seal Your Cake Pop Mold for Baking
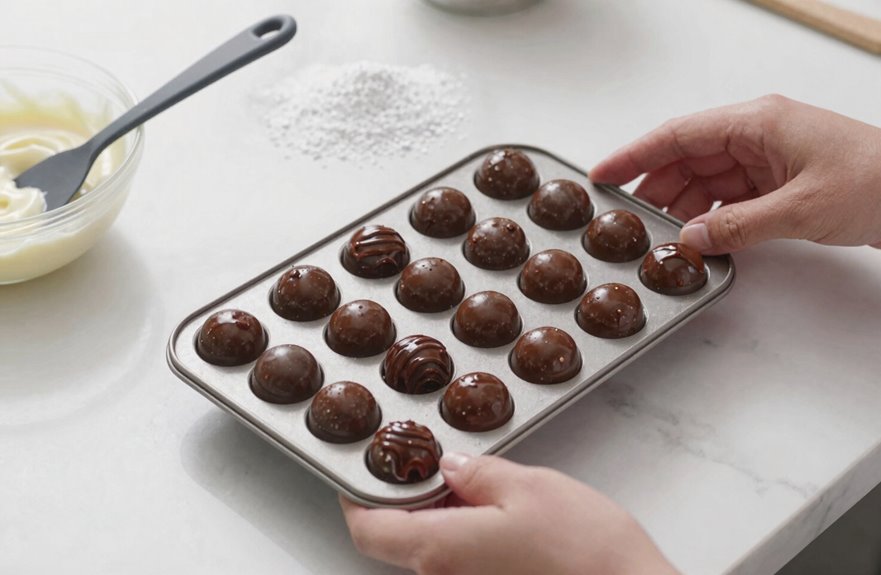
I lightly oil both halves of my mold before spooning batter into each cavity until it sits 1 mm below the rim. If the batter rises higher, the cake pops will form mushroom caps instead of spheres. I make sure the edges fill evenly so the top and bottom pieces seal flush without gaps, then I snap the mold shut tight and set it on a cookie sheet to catch drips. I bake for roughly 20 minutes, watching smaller molds closely since they finish faster.
Batter Fill Level
Ever stood frustrated over misshapen cake pops that leaked or domed unevenly? I’ve been there. The secret lies in your batter fill level. I fill each cavity about 1 mm below the top, enough for rise without overflow. Proper mold preparation matters; I grease both halves lightly first. Edging the batter into every detail prevents air pockets. Here’s how I balance it:
| Filling Level | Result | Fix |
|---|---|---|
| Too high | Overflow, flat bottoms | Reduce by 2 mm |
| 1 mm below top | Perfect spheres | Standard bake time |
| Too low | Hollow domes, gaps | Add 1 mm more |
| Uneven | Lopsided cake pops | Level with spatula |
I bake 15 to 20 minutes, then brief cooling allows clean release from the mold. Precision in batter fill level directly produces better results.
Mold Sealing Technique
Why do so many cake pops crack, leak, or bake unevenly? It’s usually poor sealing technique. I oil mold halves lightly, top and bottom, every time. Then I watch my cavity fill level carefully: 1 millimeter below the rim, never flush. That small gap prevents overflow when pressure builds.
I close the cake pops mold firmly, pressing edges until they meet evenly. I bake with mold closed on a flat sheet, checking doneness through vent holes with a toothpick. Avoid peeking early because steam escapes and structure collapses.
After baking, cooling mold for exactly five minutes matters. Too hot causes shapes to distort; too cold causes sticking. I gently peel the top, slide out each sphere, and finish with seam trimming. This produces clean results consistently.
Remove Pops Cleanly and Secure Sticks
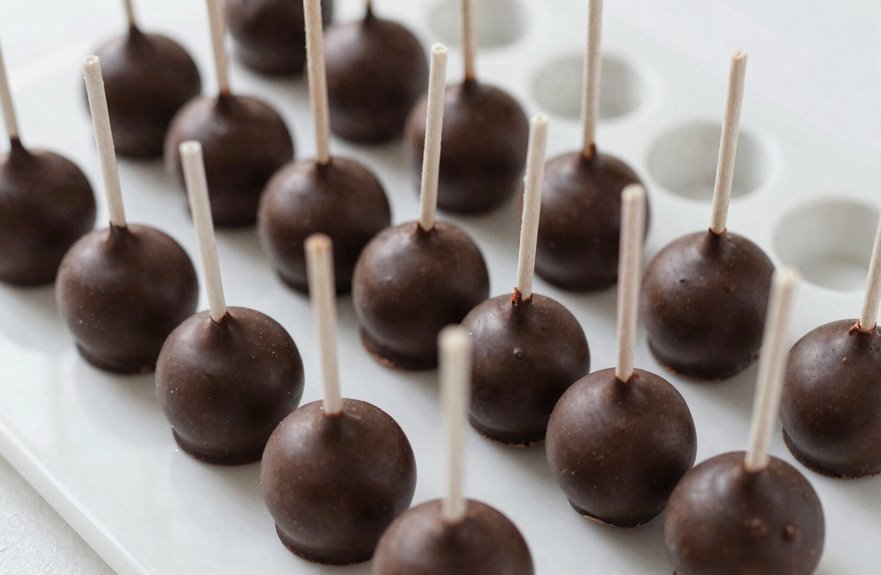
How do you get those perfectly rounded cake pops out of the mold without tearing them apart? Grease your cake pop mold thoroughly before filling to prevent sticking and ensure clean release. After baking, cool the mold slightly, then open it carefully to remove the shaped pops without tearing the seams.
| Step | Action | Time/Temp |
|---|---|---|
| 1 | Chill formed pops in fridge | 30 minutes |
| 2 | Remove excess dough from edges | Small knife |
| 3 | Roll stick along edge to smooth | Immediate |
| 4 | Secure sticks with coating | Dip ¼ inch |
Insert sticks by coating the tips in chocolate coating, then pushing firmly into each ball. The coating sets as it chills, creating a bond that holds the stick securely. Check for visible seams and trim if needed for a polished, professional appearance.
Dip and Decorate for a Smooth Finish
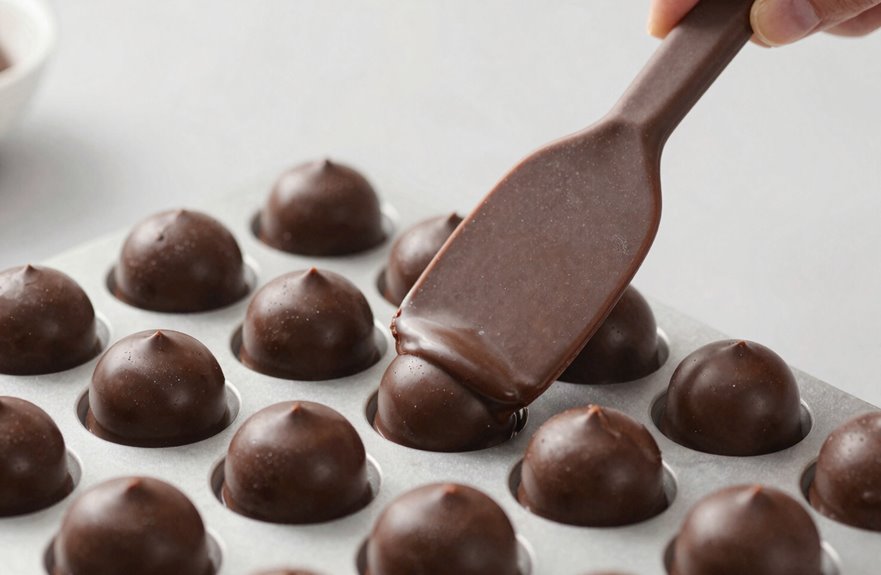
Melt chocolate to 92–98.5°F (33–37°C) for dipping. Secure sticks with a quick candy-coat base before the full dip, then apply toppings like vermicelli or chopped nuts while the coating is still wet. Thin your coating with Paramount Crystals or Crisco if it’s too thick. Stand the pops upright in a carton box to dry. A brief chill speeds setting, or use a fan for gloss without the coating sliding down the stick.
Chocolate Melting Techniques
The secret to a flawless cake pop finish starts with proper chocolate preparation. I use candy melts or high-quality chocolate, melting in 30-second microwave intervals and stirring between bursts to prevent scorching. For proper chocolate tempering, I monitor the dipping temperature carefully. 92–98.5°F (33–37°C) works best. If my coating consistency feels thick, I add Crisco/Paramount Crystals for a thin coating that flows smoothly.
| Problem | Solution |
|---|---|
| Thick, gloopy coating | Add 1 tsp Paramount Crystals per cup |
| Dull finish | Chill between coats, then dip again |
| Color won’t mix | Switch to oil-based coloring |
I always chill my molded pops completely before dipping. This mold technique prevents cracks. For vibrant hues, I use oil-based coloring in white chocolate. One dip and a quick chill prepares the pops for decoration with consistent, professional results.
Stick Attachment Method
Why do so many cake pops end up with sticks sliding out or lopsided coatings? Smart stick attachment prevents these common problems.
First, dip each stick end about ½ inch into melted coating (candy melts work best at 88-90°F) before inserting into the cake ball. This creates a chocolate “glue” that bonds stick to cake. Next, chill cake ball plus stick for 30 minutes until firm. Cold cake means better coating adhesion later.
For the dipping setup, use a cardboard box with holes poked through, or a commercial stand. This keeps pops vertical while coating sets. Dip each fully coated pop smoothly, then refrigerate briefly for a glossy finish. If adding decorative toppings, apply them while the coating stays tacky, usually within 60 seconds.
Topping Application Tips
Now that your sticks are set, it’s time to make these pops look as good as they’ll taste. I heat my dipping coating, melted chocolate or candy melts, to 92–98.5°F (34–36°C). Too thick? I add Paramount Crystals or Crisco, bit by bit, until I’ve got that glossy flow.
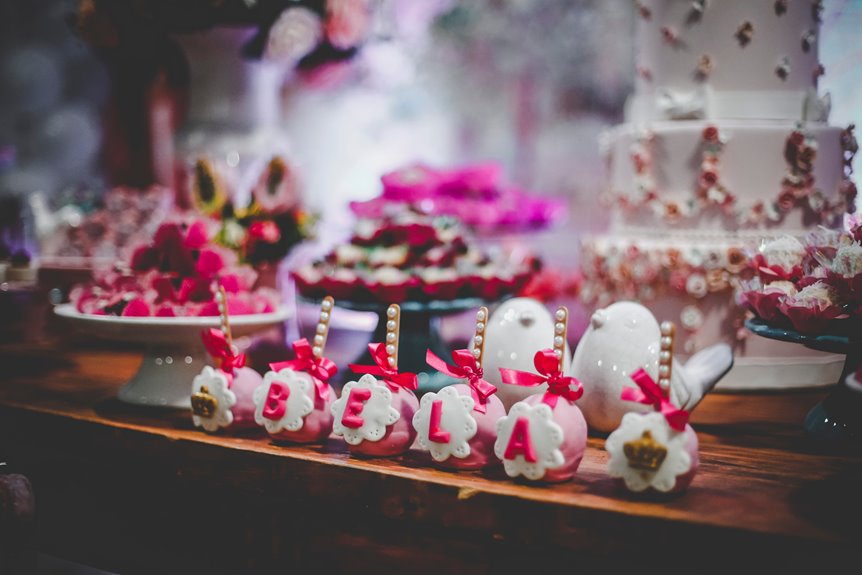
For topping application, I dip each cake pop straight in, use the swirl technique to coat evenly, then tap off excess. While wet, I work fast: decorating with sprinkles, nuts, or vermicelli before anything sets. I stand them upright to dry.
For that finished shine, I chill pops 10 minutes, no more, to lock the coating without smudging. Multiple colors? I apply each candy melt layer separately, letting one set before the next. This produces clean, distinct, professional results.
How Long Do Cake Pops Last? (Storage Guide)
A finished cake pop’s shelf life depends entirely on how you store it. Proper storage keeps cake pops fresh and presentable.
Room Temperature: Store cake pops in a sealed container for 3–5 days. This prevents moisture loss and odor absorption.
Refrigeration: Extend shelf life to 1 week. Ensure pops are completely cold before dipping or assembling to avoid sogginess.
Freezing: Freeze up to 3 months after coating has set. For unfrozen pops, complete dipping and decorating within the storage window.
Key tips: Keep containers sealed. Thaw frozen pops minimally to maintain texture. Never refreeze once thawed. Following these guidelines, cake pops stay delicious and ready to share.