A springform pan is a round baking vessel with a removable sidewall that unlatches from its flat base, letting you release delicate desserts without flipping or scraping. It works best for cheesecakes, deep-dish tarts, or layered mousse cakes over 2 inches tall; anything that would crumble against fixed sides.
The 8-inch or 9-inch size handles most recipes. Lock the latch tight, line the bottom with parchment, and wrap the exterior in heavy-duty foil, folded 2–3 inches up the sides, to prevent leaks during water baths. Use one if you need pristine edges and clean removal.
Bake at 325°F for 60–70 minutes, then release the ring without cracks.
What Is a Springform Pan and How Does It Work?
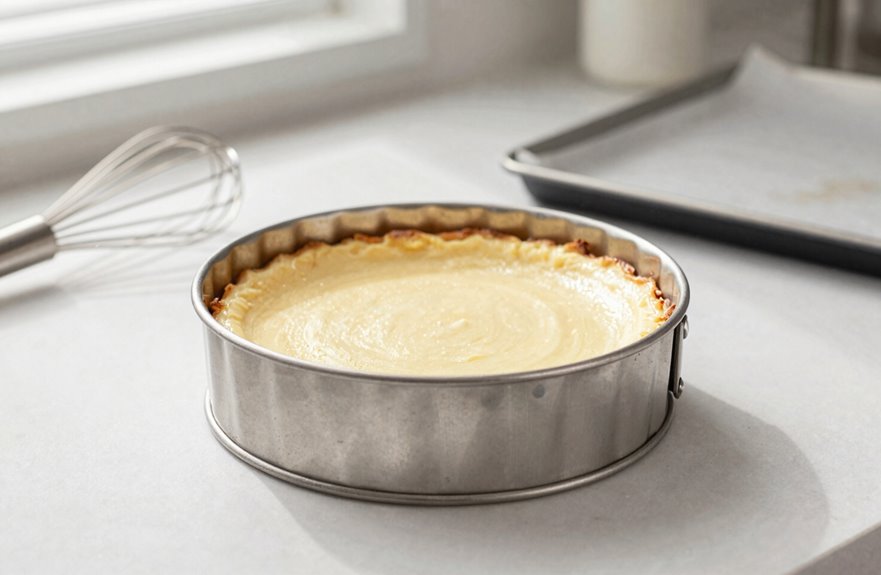
Why do I reach for a springform pan when I’m baking something delicate? This round baking vessel has a latch on its side that releases the wall from the base when opened. Unhooking that latch allows the bottom and sides to separate completely, making removal effortless and keeping cheesecake edges pristine.
Typical sizes range from 6 to 10 inches, though 8-inch or 9-inch pans work best for cheesecakes and tortes. The sides are removable, but the outer ring must be secured tightly; runny batters leak, and water baths require a proper seal. After lightly greasing or lining the pan and letting the creation cool fully, unhook the latch and lift for a clean release.
When to Use a Springform Pan vs. a Regular Cake Pan
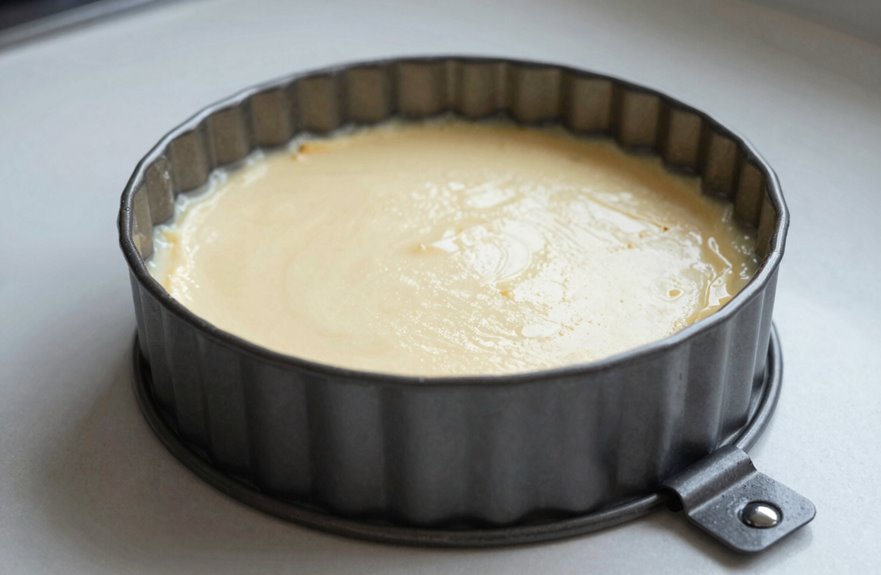
Knowing how a springform pan works is one thing; knowing when to grab it instead of a sturdy regular pan is where baking gets strategic. Springform pans work best for delicate desserts that would crumble against fixed sides and require clean edge release. Regular pans handle sturdy layer cakes beautifully with no fuss and no leaks. Runny batters present a problem with springform pans unless you wrap the base in foil.
- Choose a springform pan for no-bake cheesecakes needing smooth sides
- Grab it for tall mousse cakes requiring gentle edge release
- Pick regular pans for standard 9-inch layer cakes with thick batter
- Wrap springforms in foil to prevent leaks with water baths
- Avoid springforms for very thin, pourable batters without precautions
Which Desserts Require a Springform Pan?
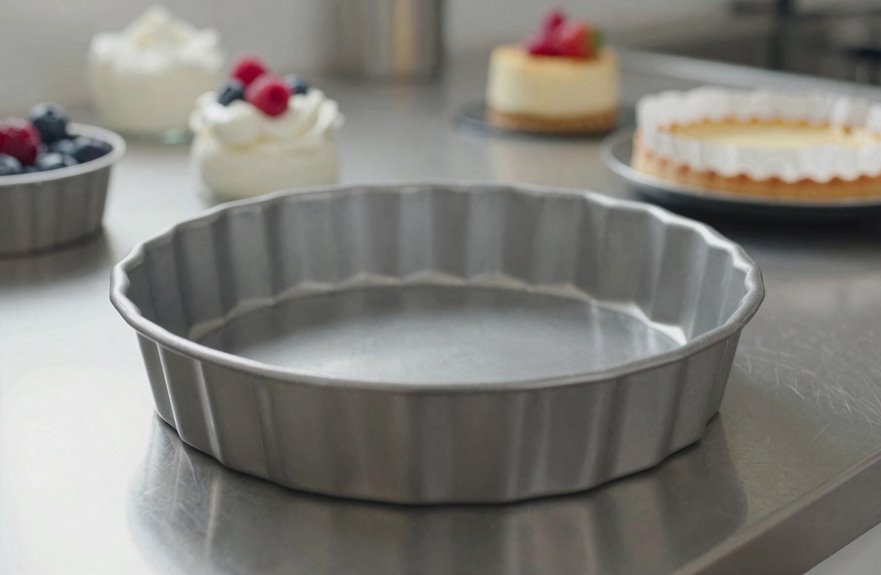
I can’t imagine making a classic New York-style cheesecake without one—it’s non-negotiable. You’ll also reach for this pan when building layered mousse cakes, where each 30-minute chill between layers demands neat sides, and for frozen desserts like ice cream cakes that need to release cleanly at 0°F without cracking. These three categories, plus deep-dish tarts and tortes over 2 inches tall, are why I keep multiple sizes on hand.
I can’t imagine making a classic New York-style cheesecake without one; it’s essential. You’ll also reach for this pan when building layered mousse cakes, where each 30-minute chill between layers demands neat sides, and for frozen desserts like ice cream cakes that need to release cleanly at 0°F without cracking. These three categories, plus deep-dish tarts and tortes over 2 inches tall, make multiple sizes necessary.
Cheesecake Essentials
How exactly do you get a cheesecake out of a pan without destroying it? I use a springform pan. Its removal edges separate cleanly, leaving my cheesecake intact.
Here’s what I’ve learned:
- Line the base with parchment for guaranteed release
- Wrap the pan in foil when using a water bath to prevent leaks
- Bake at 325°F for 60-70 minutes until the center jiggles slightly
- Cool completely before releasing the ring, or you’ll crack the top
- Slide onto a serving plate using the flat base as support
The springform pan prevents cheesecake from sticking to the pan. You get tall, straight sides every time. No inverted plates. No guessing. Just lift the ring and serve.
Layered Mousse Cakes
Why risk tearing delicate layers when you’re building something beautiful? Mousse cakes demand precision, and a springform pan delivers exactly that.
The removable sides enable easy unmolding without disturbing fragile whipped mousse, ganache, or custard layers. The snug, sealable base prevents leakage during chilling, which is critical when stacking textures that set at 35-40°F for 4-6 hours. Wrapping the exterior in foil and placing it in a water bath keeps everything steady throughout the setting process.
The result is neat, straight sides and clean slices. Whether crafting a pineapple mousse torte or chocolate hazelnut layers, this pan transforms refrigerated setting from an unpredictable process into a controlled one.
Frozen Desserts
When I’m building an ice cream cake, I don’t want to wrestle it out of a standard pan and watch the edges crumble. That’s why I reach for a springform pan. Its removable sides let me release frozen desserts cleanly, keeping every layer intact and presentable.
- Ice cream cakes with cookie crumb bases
- Frozen mousse tortes with ganache layers
- Semifreddo desserts with fruit swirls
- Icebox cheesecakes set in the freezer
- Neapolitan-style striped frozen cakes
I wrap the outside with foil, line the base with parchment, and freeze for 6-8 hours minimum. The springform pan’s structure supports stacking soft components like custard and whipped cream that firm up at 0°F. Before serving, I run a warm knife along the removable sides, unbuckle the latch, and lift the ring away. The result is clean edges every time.
What Size Springform Pan Should You Buy?
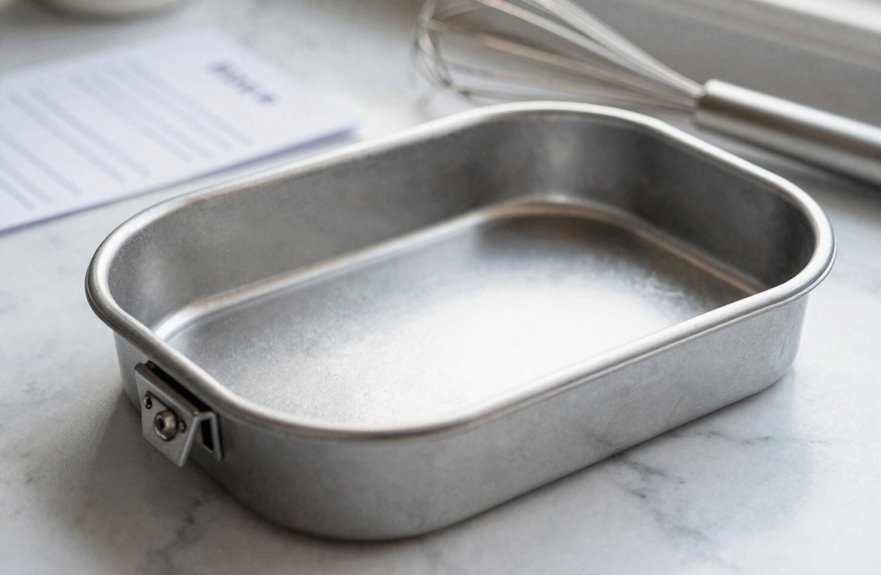
So you’ve decided to get a springform pan, but now you’re staring at options and wondering which size actually belongs in your kitchen.
The most common pan diameters are 6, 8, 9, and 10 inches, with depths of 2 to 3 inches. Your choice depends on who you’re feeding and what you’re baking. Here’s how they break down:
| Size | Best For | Serves |
|---|---|---|
| 6-inch | Mini cheesecakes, individual tarts | 2-4 people |
| 8-inch | Tortes, standard cheesecakes | 4-6 people |
| 9-inch | Family cheesecakes, quiches | 8-10 people |
| 10-inch | Large cheesecakes, deep-dish pies | 10-12 people |
When substituting sizes, adjust your batter quantity and baking time. More batter in a smaller pan requires longer baking; less batter in a larger pan bakes faster. Always measure the top inside edge to confirm your springform pan size before buying.
How to Prepare a Springform Pan for Baking
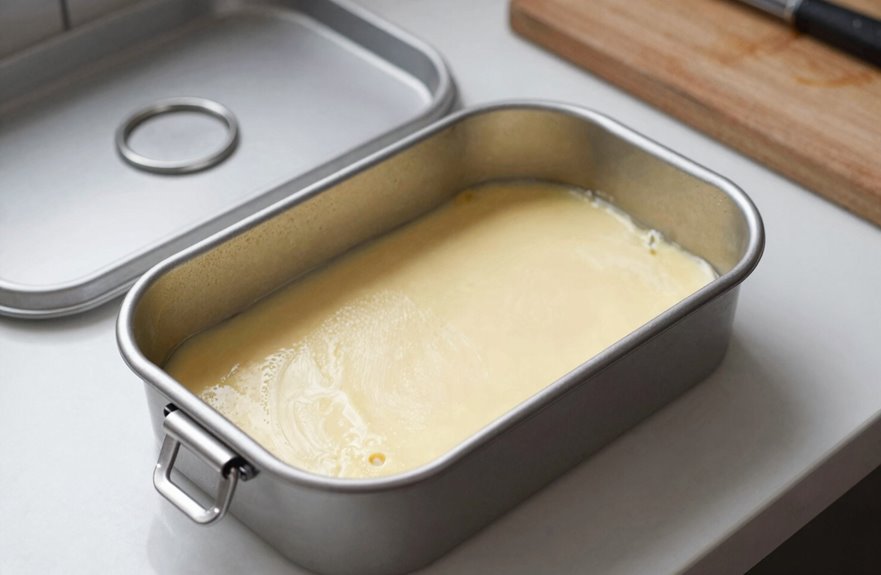
Before I pour any batter, I measure my pan’s interior, checking that 9-inch diameter and 2.5-inch height against my recipe’s specifications, because a mismatch throws off baking times and rise. I grease the bottom and sides with butter or cooking spray, or I line with parchment for sticky batters. For water baths, I wrap the exterior in heavy-duty foil to seal the seam where ring meets base. This three-step prep, measure, grease, and seal, takes under two minutes and prevents a stuck cheesecake or leaky chocolate torte.
Measuring Pan Dimensions
How do you know if your springform pan will actually fit that cheesecake recipe? Getting your springform pan dimensions right prevents baking disasters before they start.
Measuring pan size is straightforward. Grab your measuring tape and check the top inside edge for diameter. Most pans are 8 or 10 inches across. Then measure pan height from the bottom interior to the top lip, typically finding 2 to 3 inches of side wall. These numbers matter. A too-small pan overflows; too large, and your dessert looks flat.
Before starting, verify:
- Measure across the top inside edge for diameter
- Check bottom-to-top lip for side height
- Confirm capacity matches your batter volume
- Note whether your recipe specifies 8-inch or 10-inch
- Record measurements for future reference
Accurate measurements prevent wasted ingredients and failed batches.
Greasing Pan Surfaces
Once I’ve confirmed my pan dimensions, I turn my attention to surface preparation. Even the perfect-sized springform pan will fail if my cheesecake sticks to the walls.
Springform pan greasing matters only for oven baking. I skip it for refrigerator or freezer desserts unless the recipe insists. For oven use, I measure my pan’s top inside edge, typically 8 or 10 inches, and note the side height to calculate adequate coverage.
I grab non-stick spray or shortening and coat the interior walls lightly. This helps delicate batters release from sides cleanly. I line the bottom with parchment paper for additional protection.
Before baking, I secure the removable ring and wipe excess fat from the seams. Clean edges prevent leaking and ensure the cheesecake releases properly from the pan during removal.
Preventing Batter Leaks
Because I bake cheesecakes in water baths, I’ve learned that a springform pan without proper sealing will leak on my oven floor. I’ve stopped springform pan leaks with a few reliable tricks that keep my batter where it belongs.
- Lock the latch tight so the ring seals flush against the base
- Add a parchment lining to the bottom before snapping the ring closed
- Wrap the outside with a waterproof wrap of heavy-duty aluminum foil, folding it 2-3 inches up the sides
- Set the pan on a rimmed baking sheet at 350°F to catch drips
- Double-check the ring sits evenly before pouring batter
These steps take two minutes and prevent hours of scrubbing.
How to Prevent Leaks in a Springform Pan
Why does a springform pan leak in the first place? Springform pan leaks happen when batter seeps through tiny gaps between the removable ring and the base plate, especially with thin batters or water baths. The latch isn’t watertight.
To prevent leaks, start by wrapping the outside bottom edge with heavy-duty aluminum foil, folding it up the sides about two inches. This foil wrap creates a barrier.
Next, double-check the gasket seal. Press the ring firmly until you hear it click, then run your finger around the seam to feel for gaps. The base must sit flush against the rubber seal; debris causes most leaks.
Finally, avoid runny batters and always place your filled pan on a sturdy baking sheet at 350°F. This prevents the majority of water bath leaks.
How to Line a Springform Pan With Parchment Paper
I always line my springform pan with parchment when I’m baking delicate cakes that need a clean release. You’ll need two pieces: a circle traced from the pan bottom, cut about ¼ inch smaller so it lies flat, and a long strip for the sides, roughly 3 inches wide and long enough to wrap the circumference with a slight overlap. Press the circle onto the base first, then fit the strip against the walls. This prevents batter from sticking or tearing when you unlatch the ring.
Parchment Circle Method
The parchment circle method gives you a foolproof way to keep your cheesecake or mousse from sticking to the pan. I fold a sheet of parchment into quarters, measure the inside diameter of my springform pan, typically 8 or 10 inches, and cut the circle to fit snugly against the bottom interior. This creates release ease that protects delicate desserts.
- Measure your pan’s interior bottom precisely before cutting
- Fold parchment into quarters for symmetrical circle cutting
- Press the circle firmly into place for complete coverage
- Lightly grease parchment edges to enhance release
- Add a ring for sides if you’re tackling extra-sticky batters
I always grease the parchment lightly. This small step prevents frustration. Your cake lifts cleanly without sticking to the pan.
Side Strip Technique
How do you keep a cheesecake from clinging desperately to the sides of your pan? The side strip technique solves this completely.
Start by measuring your springform pan’s inner circumference, typically 9 to 10 inches for standard sizes. Cut a parchment sheet into a long strip, roughly 3 inches wide and 30 inches long. Wrap this strip around the inside wall, pressing firmly against the bottom edge. The lining should extend from base to rim without gaps.
Follow this sequence: measure, cut, wrap, trim excess. Secure the parchment overlap with a dab of butter. This method prevents batter from sticking to sides and guarantees clean release after baking at 325°F for 55–60 minutes.
Once cooled, unlatch your springform pan and lift. The parchment peels away effortlessly, leaving your cheesecake pristine.
How to Bake With a Springform Pan Water Bath
Why does my cheesecake crack every single time? I’ve been there, staring at that fractured surface, wondering what went wrong. The answer is simple: I wasn’t using a water bath with my springform pan.
This is the solution that works:
- Wrap my springform pan with heavy-duty aluminum foil for leakage prevention, using two layers pressed tight
- Set my wrapped pan inside a larger roasting pan before I add batter
- Pour hot water halfway up the sides of the springform pan, never touching the top
- Slide a baking sheet underneath to catch drips and make moving easier
- Bake at 325°F for about 60 minutes, then cool gradually in the turned-off oven
The water bath creates steamy moisture that keeps my cheesecake silky. The result is a smooth, creamy texture with no cracks and no dry edges.
How to Remove Cakes From a Springform Pan
Once I’ve nursed that cheesecake through its water bath and slow cooling, I face the real test of getting it out alive.
First, I chill the cake for at least 4 hours, preferably overnight. Cold sets the structure. Then I run a thin spatula around the edges to loosen any stuck spots. I unclamp the latch completely, lift the ring straight up, and set it aside.
For delicate cakes, I slide the whole base onto a flat serving board. If I’ve used a parchment sling, and I always do for cheesecakes, I grab those paper wings and lift. This method produces clean edges without tears or damage. The parchment sling prevents sticking and keeps the presentation flawless.
How to Clean and Store Springform Pans
A springform pan demands proper cleaning if you want it to last through dozens of cheesecakes and tortes. I hand-wash mine with warm, soapy water, then dry every crevice thoroughly, especially where the ring meets the base. Rust hides there.
- Skip the dishwasher; it’s too harsh for nonstick coating care
- Use soft sponges only; no abrasive scrubbers
- Dry the ring completely before reassembling it closed
- Wrap the exterior with heavy-duty foil for leak-proof baking
- Store disassembled in a cool, dry spot
For springform pan storage, I keep my ring and base separate, or latched tight if space demands. This prevents warping. Proper springform pan cleaning protects your investment and extends the life of your bakeware. Treat your pan right, and it will release every cake flawlessly.
10 Things to Make in a Springform Pan Besides Cheesecake
With your springform pan cleaned, dried, and ready for action, it’s time to put it to work on something unexpected. I use mine for ice cream cake layered with cookie crumbles, freezing solid in 4-6 hours. You’ll get perfect edges every time.
| Dish Type | Prep Time | Key Tip |
|---|---|---|
| Deep-dish pizza | 45 min | Oil the sides |
| Quiche | 30 min | Parchment wrap the base |
| Pasta bake | 25 min | Foil-wrap exterior |
For savory creations, your springform pan handles quiche, casseroles, and tortes beautifully. Line with parchment, wrap with foil for water baths, and bake at 375°F for 35-45 minutes. The removable ring releases your dish intact. Sizes range 6-10 inches; choose based on serving needs. This tool works well beyond its traditional cheesecake purpose.