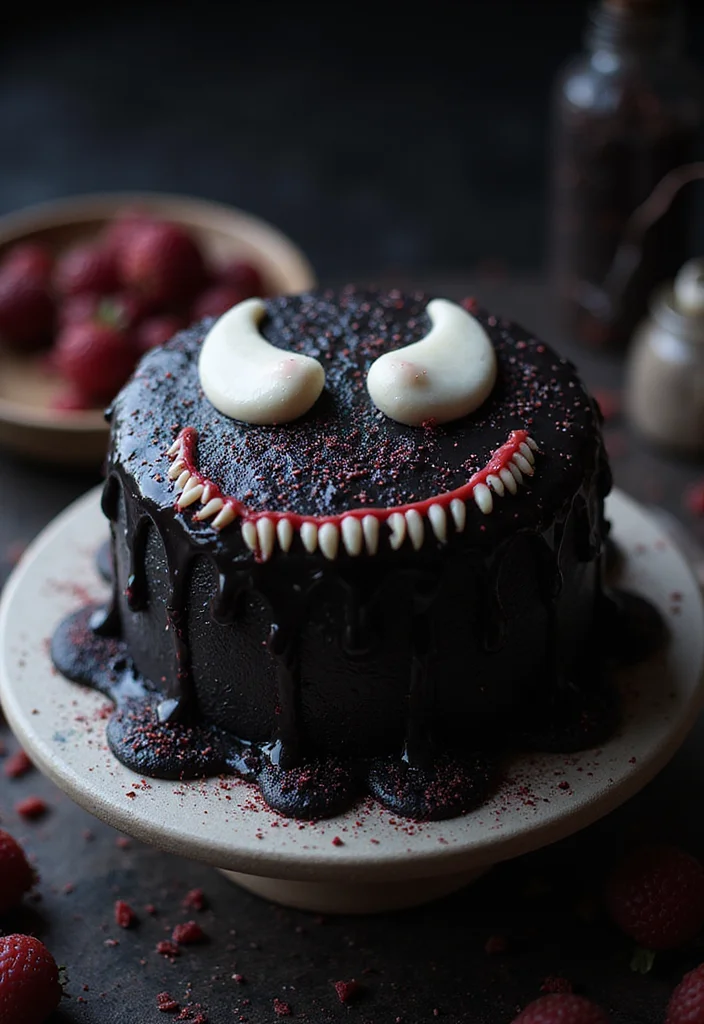
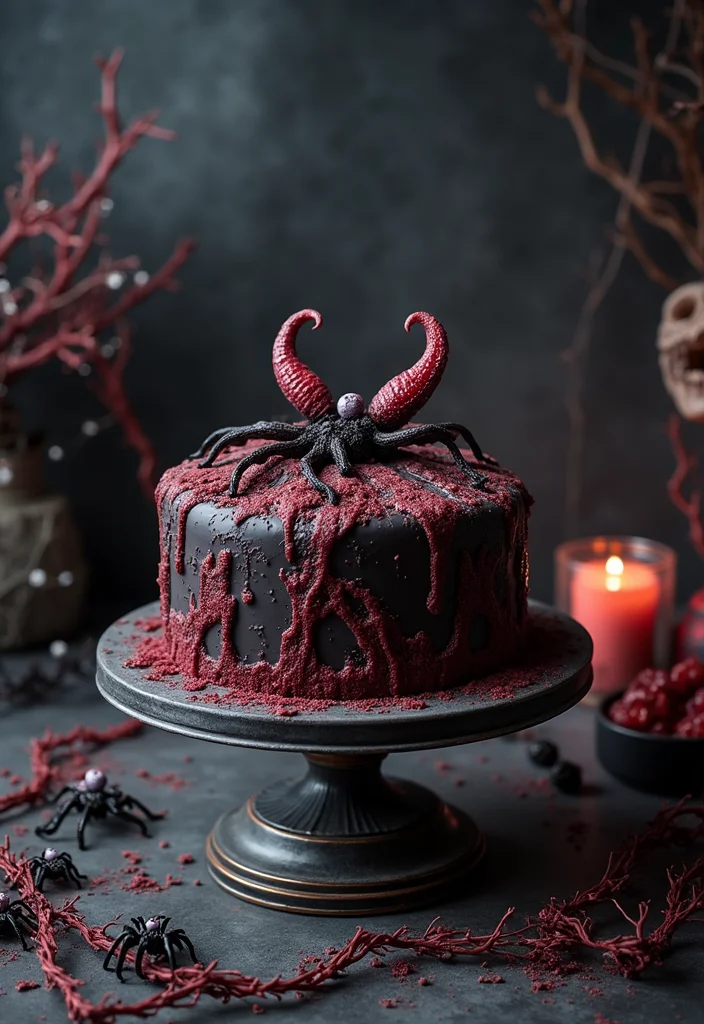
Halloween is just around the corner, and that means it’s time to whip up some spooky treats! I’ve been dreaming of creating the perfect venom cake, and I know I’m not alone. If you love baking and want to impress your friends or family with something uniquely creepy, you’re in the right place.
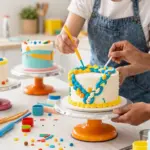
This post is for anyone who enjoys making desserts that not only taste great but also look spectacular. Whether you’re a seasoned baker or just starting out, these decorating tips will help you elevate your cake game. You want your treats to stand out at that Halloween party or family gathering, and nothing says “spooky” like a venom cake dripping with eerie elegance.
Get ready for a collection of 13 fun and creative venom cake decorating tips! From choosing bold colors to creating a dripping effect, each tip will guide you step by step. By the end of this post, you’ll have everything you need to create a standout dessert that will thrill and delight your guests. Let’s dive in and turn that ordinary cake into a chilling masterpiece!
Key Takeaways
– Use bold colors like deep greens and blacks to create an eye-catching venom effect.
– A dripping effect with ganache or colored frosting adds a creepy, realistic touch.
– Edible glitter can enhance the spooky appearance of your cake while making it more festive.
– Incorporating creepy decor, like candy spiders or gummy worms, will add fun elements to your cake.
– Experimenting with unique fillings and flavored frostings can make your venom cake not just spooky, but delicious too!
1. Choose Bold Colors
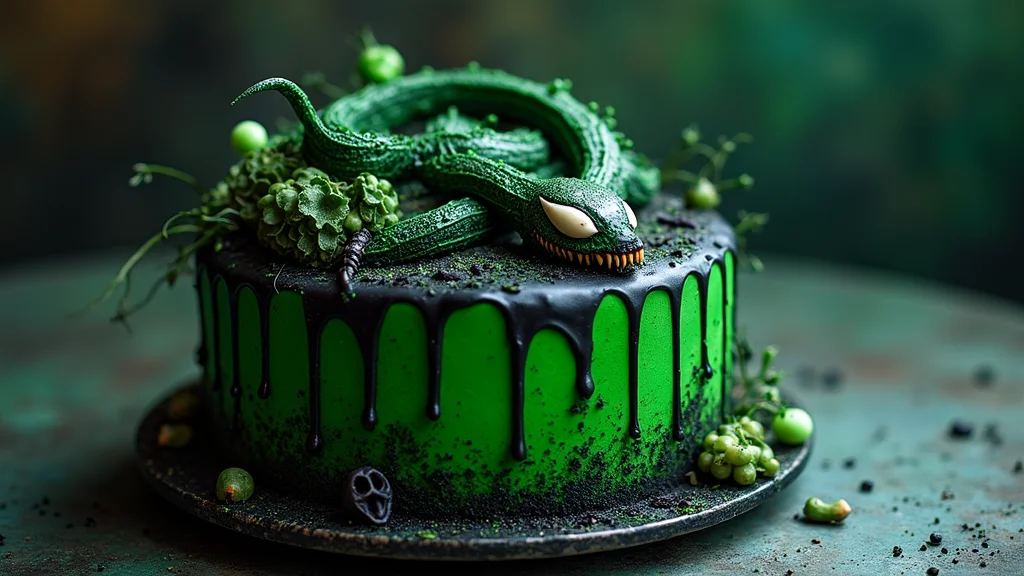
When you decorate a venom cake, bold colors make a big impact. Go for deep hues like black, dark green, or rich purple. These shades create a spooky vibe perfect for your Halloween treats. You can mix colors or dab them on with a sponge for texture. This adds depth and makes your cake look even more eye-catching.
Tips:
– Use gel food coloring for vibrant results.
– Combine matte and shiny finishes for extra flair.
– Layer colors for a cool ombre effect.
Recipe Overview:
– Servings: 12
– Prep Time: 30 minutes
– Cook Time: 25 minutes
– Total Time: 55 minutes
– Calories: About 350 per slice.
Nutritional Information:
– Sugar: 30g
– Fat: 15g
– Carbohydrates: 45g
Step-by-Step Instructions:
1. Preheat your oven to 350°F (175°C).
2. Prepare your cake batter in your favorite flavors.
3. Divide the batter and color each part.
4. Pour layers for a marbled look.
5. Bake and let cool before decorating.
Tips:
Always let your cake cool fully before decorating to prevent melting!
Choose Bold Colors
Editor’s Choice

WAFJAMF 30 Pcs Assorted Size Round Sponges Brush Set 4 Sizes DIY Paintin…

Food Coloring Set – 12 Color Food Grade Vibrant Food Dye Tasteless Liqui…

Wilton Color Swirl Icing Kit, Color Swirl Plastic Coupler With Swirl Fea…
2. Create a Dripping Effect
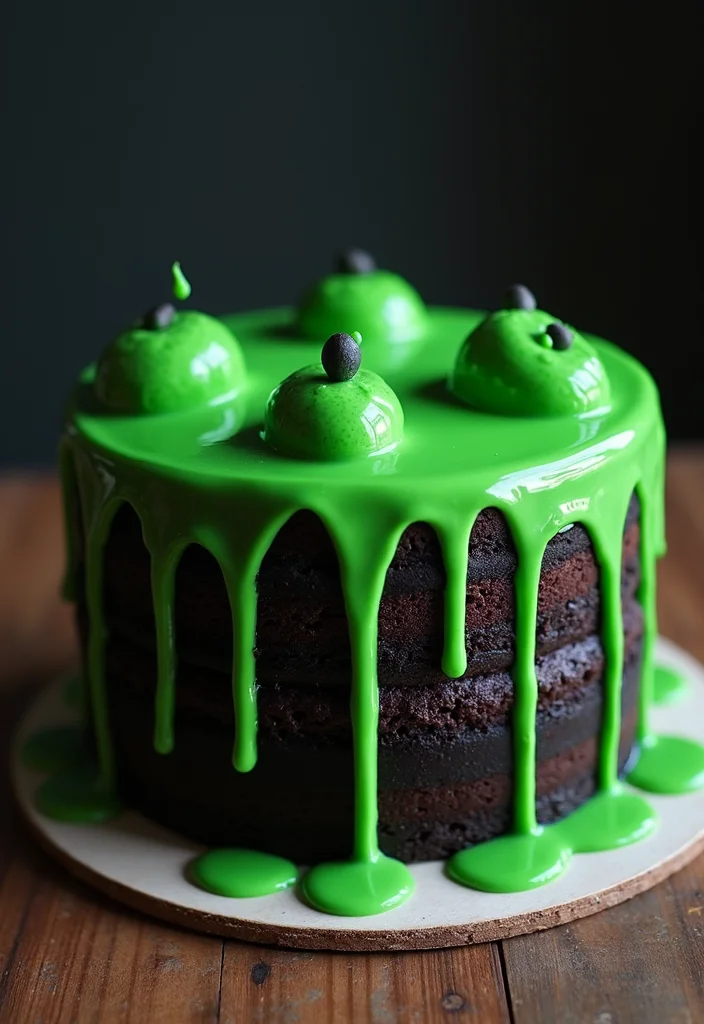
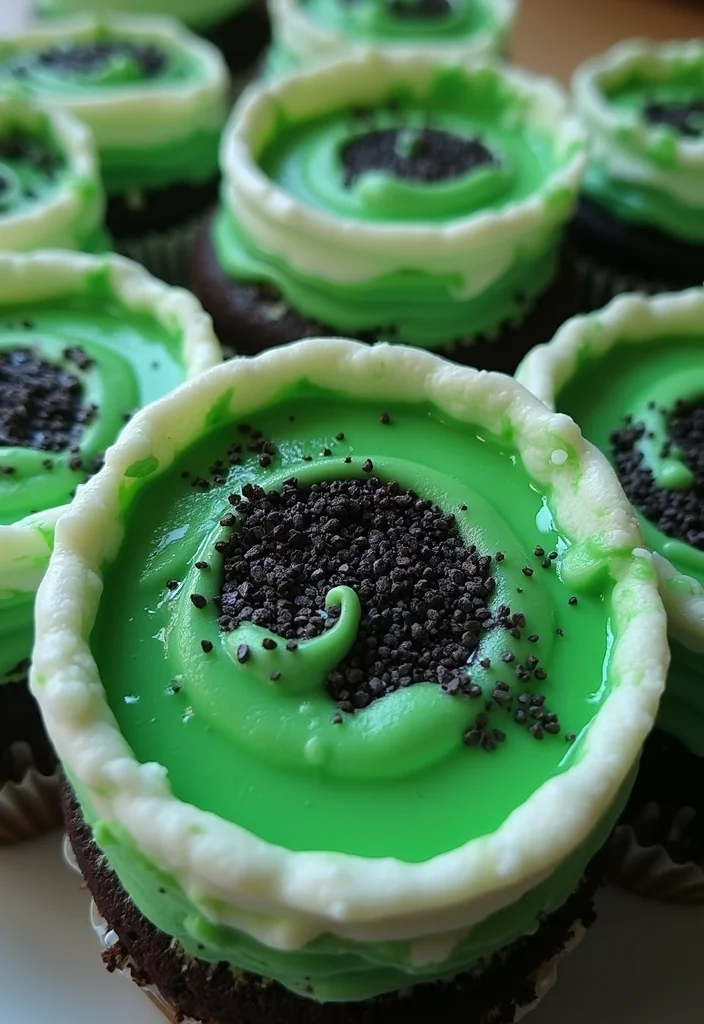
Want to make your cake look like it’s oozing? A dripping effect does the trick! Use dark chocolate ganache or a bright green glaze to mimic poison dripping down. This adds a dramatic flair, making your cake a standout for Halloween.
Instructions:
1. For ganache: heat 1 cup of heavy cream until simmering, then pour over 8 ounces of chopped dark chocolate. Let sit for 5 minutes, then stir until smooth.
2. For glaze: mix powdered sugar with milk and green food coloring until thick yet pourable.
Tips:
– Chill your cake first for better drips.
– Practice on a plate to perfect your technique.
– Use a squeeze bottle for precise drips.
This ooze effect truly captures attention and makes your cake the star of the show!
Fun fact: a perfect drip can make your venom cake look alive. Dark ganache or bright green glaze create dramatic ooze with minimal effort. Pro tip: test a drip on the edge first, then let it flow slowly for an authentic melt.
Create a Dripping Effect
Editor’s Choice
Nuuva Foods Chocolate Semisweet Ganache | Perfect for Dubai Chocolate Ba…

Ann Clark Leaf Green Food Coloring Gel .70 oz. Professional Grade Made i…

Webake Round Cake Pan Set, Silicone Mold Deep Baking Pans for 4 Tiered L…
3. Add Edible Glitter
Looking to add some sparkle? Edible glitter is the answer! A sprinkle of glitter gives your venom cake an enchanting shimmer. It enhances the creepy theme without overwhelming the cake.
Tips:
– Choose colors like green, silver, or black to match your theme.
– Apply glitter right after frosting for the best stick.
– Use a fine mesh sieve to spread it evenly.
Edible glitter can make your cake shine and catch the eye, especially for kids!
Add Edible Glitter
Editor’s Choice

Cuisinart Mesh Strainers, 3 Count (Pack of 1) Set, CTG-00-3MS Silver

Shimmer White Edible Glitter Spray, 5g Edible Glitter for Cocktails, Cob…
4. Play with Textures

Textures can really enhance your venom cake. Use spatulas, combs, or even forks to create unique patterns in the frosting. Mixing smooth and rough textures draws the eye and adds intrigue.
Tips:
– Use a cake comb for edgy lines that resemble jagged edges.
– A spatula smooths frosting for a polished look or creates swirls for a natural feel.
– Add crushed cookies or candy for extra texture on top.
This variety not only beautifies your cake but also makes each slice exciting!
Play with Textures
Editor’s Choice


5 Pieces Silicone Spatula Set, Food Grade Rubber Spatula, Upgrade Strong…

Mwellewm 4 Pcs/set Cake Scraper Decorating Plastic Sawtooth Comb Mousse …
5. Incorporate Creepy Decor
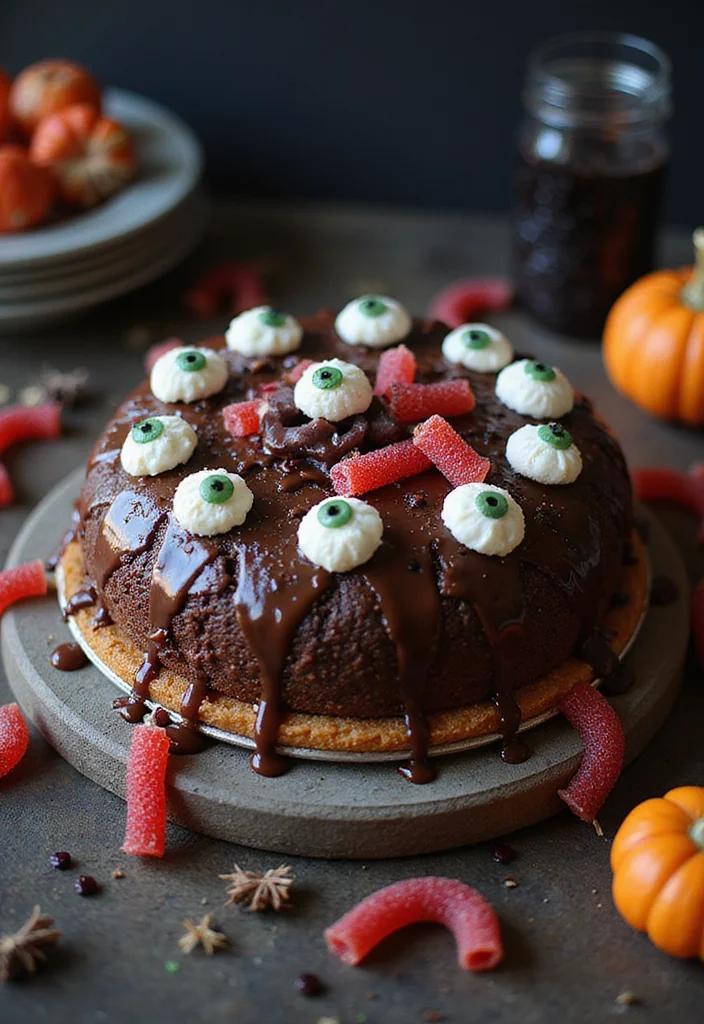
Creepy decorations take your cake to the next level! Think edible eyeballs, plastic spiders, or gummy worms for that extra Halloween touch. These fun elements can create a thrilling atmosphere around your cake.
Tips:
– Use cake-safe decor to keep everything safe to eat.
– Arrange decorations to tell a story, like a spider climbing.
– Make sure decorations fit the size of your cake.
These creepy additions spark conversation and make serving your cake a fun experience!
Incorporate Creepy Decor
Editor’s Choice

Fruidles Halloween Missing Body Parts Gummies, Fun And Festive Holiday S…

Candy Eyes for Decorating Edible Small Candy Eyes Eyeballs Halloween Spr…

Halloween Happy Birthday Cake Topper, Spooky Haunted House Black Glitter…
6. Use a Unique Base Layer
Why stick to regular cake layers? Try using brownies, cheesecake, or mousse as your base! These options surprise guests with different flavors and textures.
Options:
– Brownie base: Rich and fudgy for chocolate fans.
– Cheesecake base: Creamy and tangy, perfect with sweet toppings.
– Mousse layers: Light and airy for an elegant twist.
Unique bases not only enhance flavor but also add a fun twist to your dessert!
Fun fact: swapping a standard cake layer for brownie, cheesecake, or mousse makes a venom cake base dramatically tastier and texturally exciting. Expect a 50% boost in wow-factor and guests asking for seconds.
Use a Unique Base Layer
Editor’s Choice

King Arthur Gluten Free Fudge Brownie Mix: Rich, Chocolatey Dessert for …

NileHome Silicone Whisk Set 8″ 10″ Kitchen Whisk Kitchen Wisk Wire Whisk…

HIWARE 9 Inch Non-stick Cheesecake Pan Springform Pan with Removable Bot…
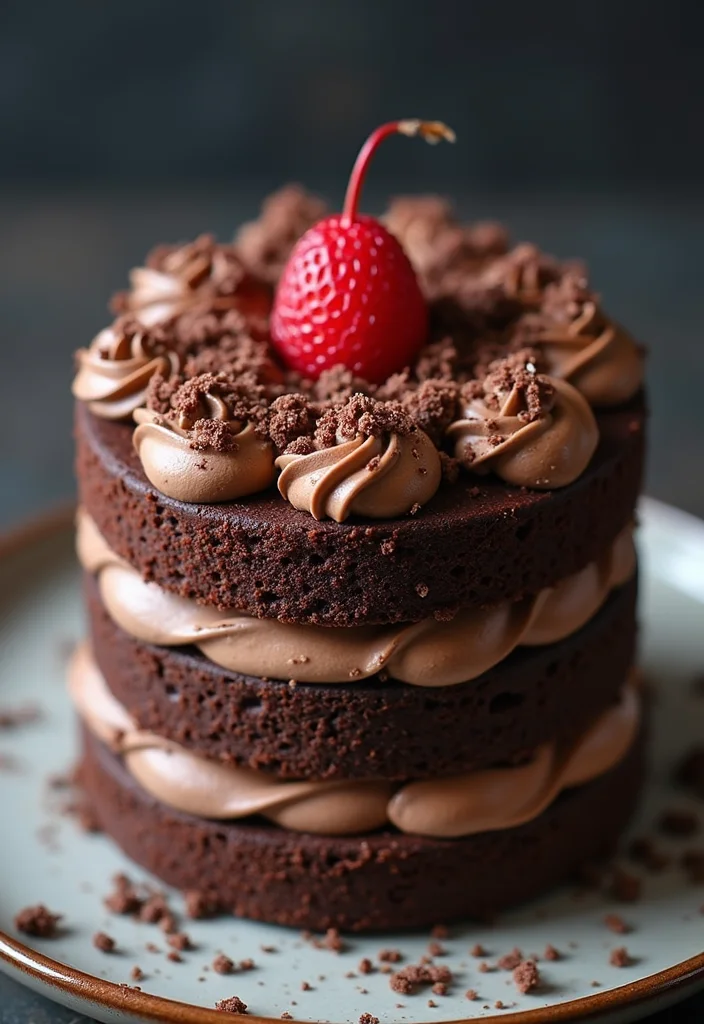
7. Create a Venomous Filling

Don’t forget about what’s inside your cake! Use a venom-inspired filling like sour green apple curd, raspberry jam, or gooey chocolate. Each slice can bring a fun flavor surprise!
Suggestions:
– Green apple curd: Tart to balance sweetness.
– Raspberry jam: Fruity flavor with chocolate.
– Chocolate ganache: Rich and loved by all.
Step-by-Step Instructions:
1. Prepare your filling while the cake cools.
2. Slice the chilled cake in half.
3. Spread the filling before stacking the layers back.
A surprising filling makes your cake even more delightful!
Create a Venomous Filling
Editor’s Choice

Bonne Maman Preserve, Raspberry, 13-Ounce (Pack of 2)
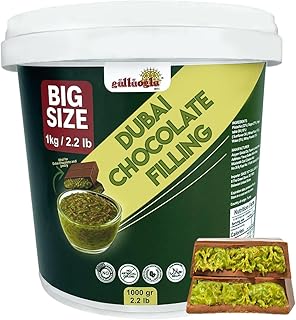
Gulluoglu Dubai Chocolate Filling 2.2 Lb / 1 Kg Pistachio Cream with Cri…

Green Jay Gourmet Apple Pie Jam – All-Natural Fruit Jam with Apples, Cin…
8. Embrace the Power of Fondant
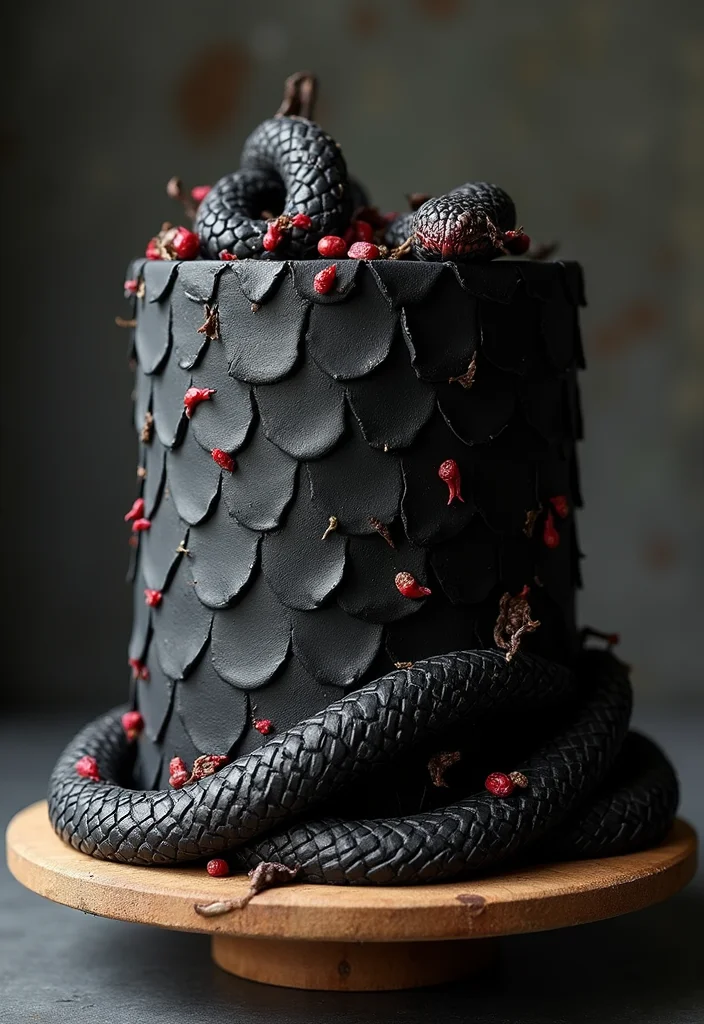
Fondant can give your venom cake a sleek finish. It’s great for intricate designs, like snake scales or creepy decorations.
Suggestions:
– Use black and green fondant for realistic scales.
– Mold fondant into fun shapes for added flair.
Step-by-Step Instructions:
1. Roll out fondant to your desired thickness.
2. Drape it over your frosted cake.
3. Trim excess and use it for decoration.
Working with fondant opens up a world of creative possibilities!
Embrace the Power of Fondant
Editor’s Choice

Satin Ice Fondant for Cake Decorating, White (2 Pound)

Bakerpan Premium Rolled Black Fondant for Cake Decorating, Vanilla Flavo…

Marshmallow Fondant Cake Decorating Hand Tool 12 Pcs 5 Sets Sugarcraft G…
9. Create a Multi-Layered Effect
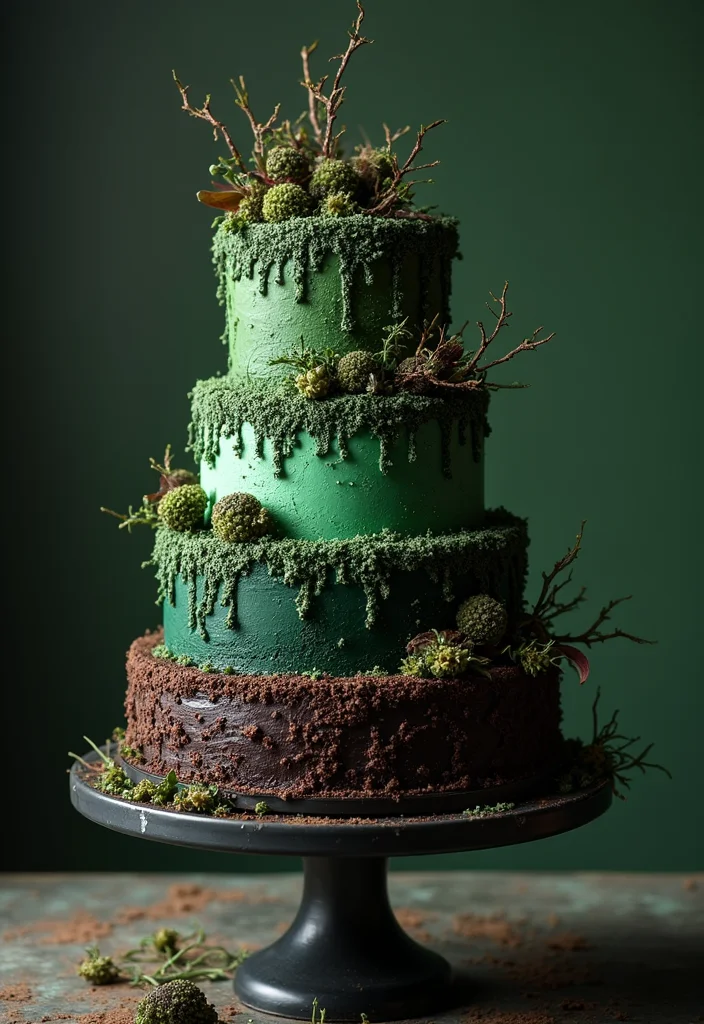
Adding layers to your cake can boost its visual appeal. Use different flavors and colors to make every slice interesting.
Suggestions:
– Alternate chocolate and vanilla layers for a classic combo.
– Mix different fillings for surprises in every bite.
Step-by-Step Instructions:
1. Bake different flavored layers in equal sizes.
2. Stack layers by alternating colors and flavors.
3. Frost the cake uniformly or use a variety of colors.
Multi-layering adds excitement and makes cutting the cake more fun!
Creating a venom cake with multiple layers makes every slice a surprise. Alternate flavors and colors so guests keep guessing—it’s simple, practical, and irresistibly shareable for spooky treats.
Create a Multi-Layered Effect
Editor’s Choice
Food Coloring Set – 12 Color Food Grade Vibrant Food Dye Tasteless Liqui…

Wilton Adjustable Cake Leveler for Leveling and Torting, Small Cake Leve…

Wilton Easy Layers 5-Piece Layer Cake Pan Set, 6-Inch, Steel
10. Experiment with Flavored Frosting

Why settle for just vanilla or chocolate frosting? Try flavors like mint, lime, or coconut! Unique flavors can elevate your cake and create a memorable experience.
Suggestions:
– Match flavors with your fillings for a balanced taste.
– Use citrus flavors to cut sweetness.
Step-by-Step Instructions:
1. Choose your frosting base (buttercream, cream cheese).
2. Infuse with your chosen flavors.
3. Frost your cake as desired.
Flavorful frosting brings a delightful twist to every bite!
Experiment with Flavored Frosting
Editor’s Choice
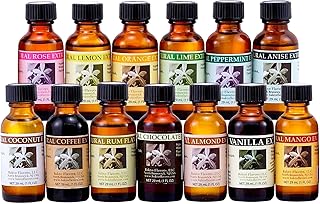
Bakto Flavors – Natural Flavors & Extracts – PICK YOUR OWN FLAVORS – Box…

The Simple Buttercream Frosting Cookbook: Quick And Professional Butterc…
11. Use Seasonal Ingredients
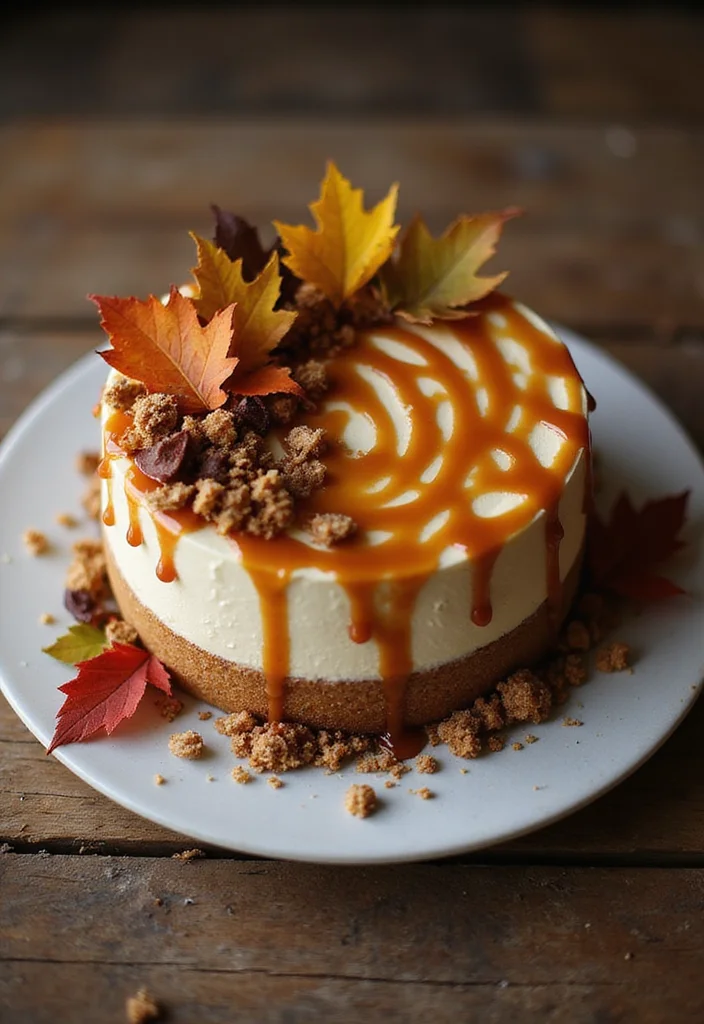
Incorporate seasonal ingredients to make your venom cake special! Think pumpkin spice, caramel apples, or autumn spices.
Ideas:
– Add pumpkin puree to your cake mix.
– Drizzle caramel sauce on top for a rich finish.
Seasonal ingredients create warmth and keep the spooky theme alive. They can make your treats more inviting and flavorful.
12. Don’t Forget the Presentation
Presentation is everything! Use unique plates and props to match your venom theme. Consider spider-web tablecloths, black plates, and eerie lighting.
Tips:
– Use cake stands with height for drama.
– Match the surrounding decor to enhance the theme.
A captivating display can transform your venom cake into a stunning centerpiece for any Halloween gathering!
Don’t Forget the Presentation
Editor’s Choice

DII Black Lace Overlay Tabletop Collection Gothic Halloween Decor, Table…

2PCS Enchanted Willow Vine Lights with Remote, Christmas Swags Decoratio…

Martha Stewart Highbrook 11″ Jadeite Glass Cake Stand – Handmade Vinta…
13. Share the Love
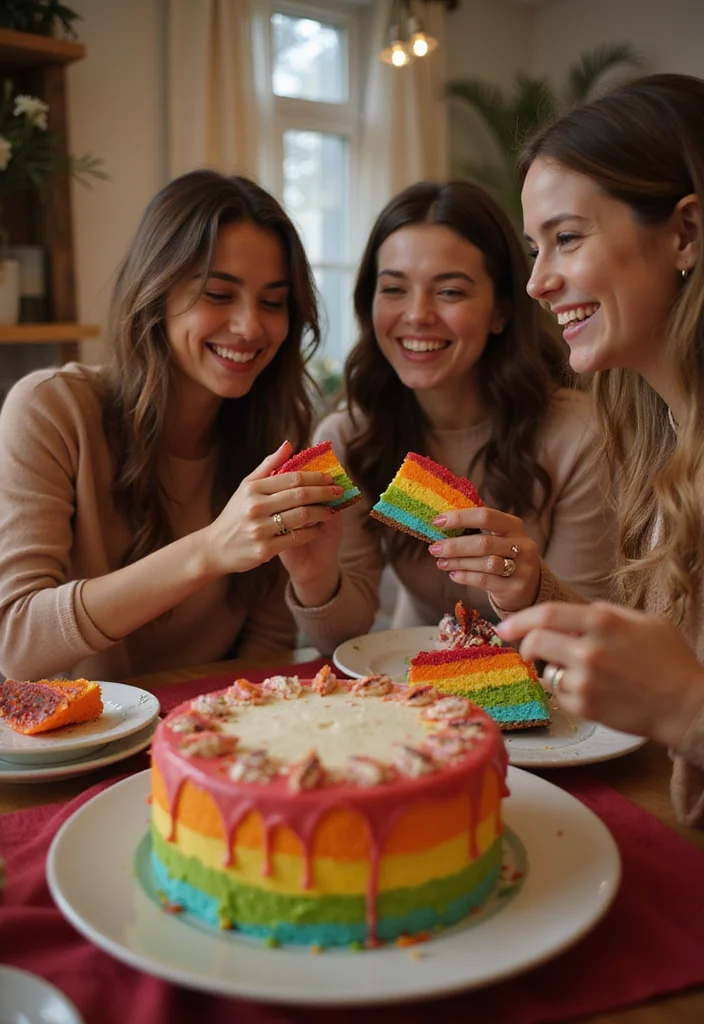
Finally, share your baking creations! Whether on social media or at gatherings, sharing spreads joy. Plus, feedback from others can inspire your next baking project.
Suggestions:
– Host a cake-tasting party to showcase your treats.
– Take beautiful photos to share online.
– Invite friends and family to join your baking journey.
Sharing your delicious cakes not only spreads happiness but also sparks creativity in others!
Share the Love
Editor’s Choice

Food Coloring AmeriColor Student – Kit 12 .75 Ounce Bottles Soft Gel Pas…

Wilton, 55-Piece Cake Supply Master Decorating Tip Set & Adjustable Cake…
Martha Stewart Highbrook 11″ Jadeite Glass Cake Stand – Handmade Vinta…
Conclusion
Decorating a venom cake can be a thrilling adventure filled with creativity and fun! With these tips, your spooky treats will definitely stand out and impress your guests. Remember to let your imagination run wild and enjoy the process. Each cake becomes a canvas, ready to showcase the perfect blend of flavor and aesthetics. Happy baking!
Experiment with these ideas and share your venom cake creations with us on social media!
Frequently Asked Questions
What Is a Venom Cake and How Is It Different from Other Cakes?
A venom cake is a themed dessert designed to look creepy and exciting, perfect for Halloween or spooky parties. Unlike regular cakes, venom cakes often feature dark colors, dramatic designs, and elements that evoke a sense of fun fear. The creative use of decorations, like edible spiders or slime-like frosting, adds to their unique appeal, making them stand out on any dessert table!
What Are Some Key Decorating Tips for Making My Venom Cake Look Spooky?
To achieve that perfect spooky look for your venom cake, consider using dark color palettes like black, purple, and green. Incorporate edible decorations like glitter or fondant shapes to create an eerie vibe. Don’t forget to play with textures—using dripping ganache or spider web designs can elevate your cake’s appearance and make it truly eye-catching!
Can I Use Natural Ingredients for Decorating My Venom Cake?
Absolutely! You can create a stunning venom cake using natural ingredients. For instance, consider using beet juice for a deep red hue or activated charcoal for a dark black color. Fresh fruit, like blackberries or dark cherries, can also add a spooky touch while keeping it healthy. Just remember to balance aesthetics with flavor!
What Are Some Fun Themes I Can Incorporate into My Venom Cake Design?
The possibilities are endless! You could go with a poison apple theme, featuring red icing and green accents, or a creepy crawlies theme with edible insects and dark chocolate. Think about incorporating elements from your favorite horror movies or spooky stories. The key is to let your creativity run wild and make it as fun or frightening as you like!
How Can I Ensure My Venom Cake Stays Fresh for a Party?
To keep your venom cake fresh, store it in an airtight container or cover it tightly with plastic wrap. If you’re using perishable ingredients in your decorations, such as whipped cream or fresh fruit, try to assemble those right before serving. Additionally, keeping the cake in a cool, dry place will help maintain its moisture and flavor. After all, a fresh cake is a happy cake!
Related Topics
venom cake
spooky treats
cake decorating
Halloween desserts
beginner friendly
advanced techniques
creative baking
festive desserts
edible art
party treats
seasonal baking
easy recipes